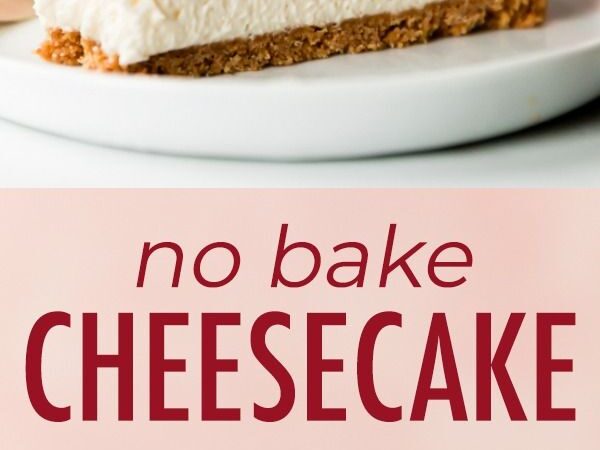
There's something magical about a cheesecake that doesn't require turning on the oven, especially on a hot summer day. This no-bake cheesecake has been my go-to for years, ever since my air conditioner gave up during a heatwave and I refused to give up dessert. The result was so creamy and luscious that it became a permanent favorite.
Advertisements1
What I love most is how forgiving it is. No water baths, no cracked tops, no fuss. Just a simple graham cracker crust and a filling that sets beautifully in the fridge. It's the kind of dessert that impresses guests but is secretly effortless.
Whether you're a seasoned baker or a kitchen newbie, this recipe will make you look like a pro. And the best part? You can customize it endlessly with different toppings and flavors.
Why You'll Love This Recipe
About the Ingredients
1 1/2 cups (150g) graham cracker crumbs
About 10 full sheets. For a gluten-free option, use gluten-free graham crackers or crushed gluten-free cookies.
1/4 cup (50g) granulated sugar
Adds sweetness to the crust. You can substitute with coconut sugar for a deeper flavor.
1/2 cup (115g) unsalted butter, melted
Use salted butter and reduce added salt if you prefer. Melted coconut oil works for a dairy-free crust.
16 oz (450g) cream cheese, softened
Full-fat cream cheese gives the best texture. For a lighter version, use 1/3 less fat, but avoid fat-free as it may not set well.
1/2 cup (100g) granulated sugar
For the filling. You can use powdered sugar for an even smoother texture.
1 teaspoon vanilla extract
Pure vanilla extract adds the best flavor. You can use vanilla bean paste for a more intense aroma.
1 cup (240ml) heavy cream, cold
Heavy cream or whipping cream (35% fat) whips best. Chill the bowl and beaters for faster whipping.
1 tablespoon lemon juice
Fresh lemon juice brightens the flavor and helps set the cheesecake. Bottled works in a pinch.
Tips & Tricks
- Soften cream cheese to room temperature to avoid lumps. If in a hurry, cut into cubes and microwave for 10 seconds.
- Chill the bowl and beaters for the whipped cream to get stiff peaks faster.
- Use a springform pan for easy removal. Line the bottom with parchment for clean slices.
- Let the cheesecake chill for at least 4 hours, preferably overnight, for the best texture.
Pro Tips
Step-by-Step Instructions
1. Make the crust
In a medium bowl, combine graham cracker crumbs, 1/4 cup sugar, and melted butter. Mix until all crumbs are moistened. Press firmly into the bottom of a 9-inch springform pan. Chill in the refrigerator while you prepare the filling.
2. Beat the cream cheese
In a large bowl, beat the softened cream cheese with an electric mixer on medium speed until smooth and creamy, about 2 minutes. Add the remaining 1/2 cup sugar and vanilla, and beat until combined. Scrape down the sides as needed.
3. Add lemon juice
Mix in the lemon juice until fully incorporated. This helps stabilize the filling.
4. Whip the cream
In a separate chilled bowl, whip the cold heavy cream until stiff peaks form. Be careful not to over-whip, or you'll get butter.
5. Fold in the cream
Gently fold the whipped cream into the cream cheese mixture using a spatula. Work in thirds to keep the mixture light and airy.
6. Pour into crust
Pour the filling over the chilled crust and smooth the top with a spatula. Tap the pan gently on the counter to release any air bubbles.
7. Chill until set
Refrigerate for at least 4 hours, or overnight, until firm. The cheesecake is ready when the center is set and doesn't jiggle.
8. Serve and enjoy
Remove the sides of the springform pan. Slice with a hot knife for clean pieces. Serve chilled with your favorite toppings.
Delicious Variations
Strawberry Swirl
Spoon strawberry jam over the top before chilling and swirl with a knife.
Chocolate Hazelnut
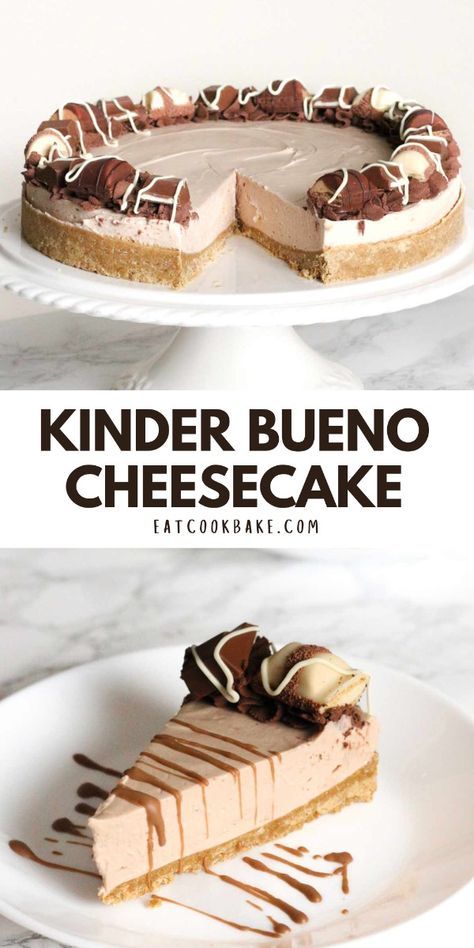
Add 1/2 cup Nutella to the filling and top with chopped hazelnuts.
Lemon Blueberry
Add 1 tablespoon lemon zest and fold in fresh blueberries.
How to Store No-Bake Cheesecake
Refrigerator
Store covered in the fridge for up to 5 days.
Freezer
Freeze the whole cheesecake or slices for up to 3 months. Wrap tightly in plastic wrap and foil.
Reheating
No reheating needed – serve cold. If frozen, thaw in the fridge overnight.
Frequently Asked Questions
Q: Why is my no-bake cheesecake runny?
The most common cause is not whipping the cream enough or not chilling long enough. Ensure stiff peaks and chill for at least 4 hours.
Q: Can I use low-fat cream cheese?
Yes, you can use low-fat, but the texture may be less firm. Avoid fat-free as it often results in a runny cheesecake.
Q: How long does no-bake cheesecake need to set?
At least 4 hours, but overnight is best for a clean slice. The longer it chills, the firmer it gets.
Q: Can I freeze no-bake cheesecake?
Absolutely. Freeze for up to 3 months. Thaw overnight in the fridge before serving.
Next time you're craving cheesecake, skip the oven and try this no-bake version. Your taste buds will thank you!
No-Bake Cheesecake
Indulge in this easy no-bake cheesecake with a buttery graham crust and silky smooth filling. Perfect for summer desserts!
🧂 Ingredients
- 1 1/2 cups (150g) graham cracker crumbs
- 1/4 cup (50g) granulated sugar
- 1/2 cup (115g) unsalted butter, melted
- 16 oz (450g) cream cheese, softened
- 1/2 cup (100g) granulated sugar
- 1 teaspoon vanilla extract
- 1 cup (240ml) heavy cream, cold
- 1 tablespoon lemon juice
📋 Instructions
- 1Make the crust — In a medium bowl, combine graham cracker crumbs, 1/4 cup sugar, and melted butter. Mix until all crumbs are moistened. Press firmly into the bottom of a 9-inch springform pan. Chill in the refrigerator while you prepare the filling.
- 2Beat the cream cheese — In a large bowl, beat the softened cream cheese with an electric mixer on medium speed until smooth and creamy, about 2 minutes. Add the remaining 1/2 cup sugar and vanilla, and beat until combined. Scrape down the sides as needed.
- 3Add lemon juice — Mix in the lemon juice until fully incorporated. This helps stabilize the filling.
- 4Whip the cream — In a separate chilled bowl, whip the cold heavy cream until stiff peaks form. Be careful not to over-whip, or you'll get butter.
- 5Fold in the cream — Gently fold the whipped cream into the cream cheese mixture using a spatula. Work in thirds to keep the mixture light and airy.
- 6Pour into crust — Pour the filling over the chilled crust and smooth the top with a spatula. Tap the pan gently on the counter to release any air bubbles.
- 7Chill until set — Refrigerate for at least 4 hours, or overnight, until firm. The cheesecake is ready when the center is set and doesn't jiggle.
- 8Serve and enjoy — Remove the sides of the springform pan. Slice with a hot knife for clean pieces. Serve chilled with your favorite toppings.

Maya writes about sustainable living and zero-waste practices, focusing on small, actionable swaps for everyday routines. She tests products and shares what actually works for busy households.