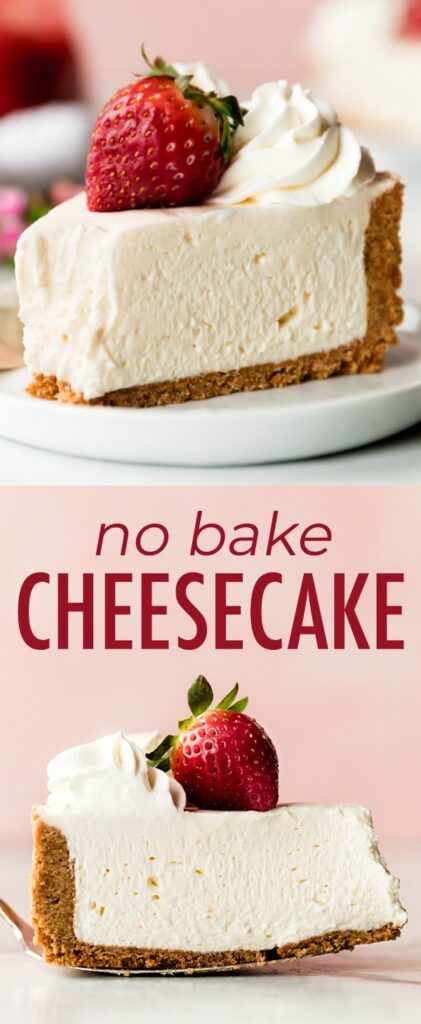
Welcome back, friends! It's Maya here. You know that moment when you crave something rich and creamy, but the thought of turning on the oven makes you wilt? That's exactly when I whip up these No-Bake Creamy Cheesecake Jars. They're my go-to for hot summer evenings on my little balcony, where the only heat I want is from the setting sun.
Advertisements1
This recipe is all about simplicity and pure, unadulterated flavor. We're talking a buttery graham cracker crust, a velvety smooth cheesecake filling that's tangy and sweet, and your favorite toppings. The best part? It all comes together in about 15 minutes of hands-on time, then the fridge does the rest. No water baths, no cracking, no fuss.
Whether you're a seasoned baker or a kitchen newbie, these jars are practically foolproof. They're perfect for making ahead for a party, and they're endlessly customizable. So grab your mixing bowl and let's create something beautiful and delicious together!
Why You'll Love This Recipe
About the Ingredients
1 1/2 cups (150g) graham cracker crumbs (about 10-12 full sheets)
The classic base. For a twist, use crushed vanilla wafers or chocolate cookies. If you don't have graham crackers, pulse any crispy cookie in a food processor.
6 tablespoons (85g) unsalted butter, melted
Binds the crust together. Salted butter works too—just skip the added salt. For a dairy-free option, use coconut oil.
2 tablespoons (25g) granulated sugar
Adds a touch of sweetness to the crust. You can use brown sugar for a deeper flavor.
16 oz (450g) full-fat cream cheese, softened to room temperature
The heart of the filling. Full-fat is essential for that dense, creamy texture. Low-fat will result in a thinner filling. Leave it out for 30 minutes to soften.
1/2 cup (100g) granulated sugar
Sweetens the filling. Adjust to your taste—some like it less sweet.
1 teaspoon vanilla extract
Enhances the flavor. Use pure vanilla extract for the best taste, or substitute with almond extract for a nutty note.
1 cup (240ml) heavy cream, cold
Whipped and folded in to make the filling light and airy. You can substitute with full-fat coconut cream (chilled) for a dairy-free version.
1/4 cup (60ml) fresh lemon juice
Adds a subtle tang that brightens the cheesecake. Bottled lemon juice works in a pinch, but fresh is better. If you don't have lemon, use lime juice.
1 cup (150g) fresh berries (strawberries, blueberries, or raspberries) for topping
Adds a fresh, fruity contrast. Use any fruit you love—sliced peaches or mango are amazing too. Frozen berries can be used if thawed and patted dry.
Tips & Tricks
- Make sure your cream cheese is truly at room temperature to avoid lumps. If you forget, cut it into cubes and microwave for 10-15 seconds.
- Whip the heavy cream to stiff peaks before folding. This ensures the filling is light and holds its shape.
- Use a gentle hand when folding the whipped cream into the cream cheese mixture; overmixing will deflate the air and make the filling dense.
Pro Tips
Step-by-Step Instructions
1. Make the crust
In a medium bowl, combine the graham cracker crumbs, 2 tablespoons sugar, and melted butter. Stir until the mixture resembles wet sand. Divide the mixture evenly among 6 (8-ounce) jars or glasses, about 3 tablespoons each, and press firmly into the bottom.
2. Whip the cream
In a chilled bowl, beat the heavy cream until stiff peaks form. Set aside in the refrigerator.
3. Beat cream cheese
In a large bowl, beat the softened cream cheese and 1/2 cup sugar until smooth and creamy, about 2 minutes. Add the vanilla extract and lemon juice, and beat until combined.
4. Fold in whipped cream
Gently fold the whipped cream into the cream cheese mixture using a spatula until no white streaks remain. Be careful not to deflate the mixture.
5. Fill the jars
Spoon or pipe the cheesecake filling over the crusts, dividing evenly. Smooth the tops with a spatula.
6. Chill to set
Place the jars in the refrigerator for at least 4 hours, or overnight, until the filling is firm. The cheesecake is set when the top is no longer sticky to the touch.
7. Add toppings
Just before serving, top each jar with fresh berries. You can also add a drizzle of berry sauce or a dollop of whipped cream if desired.
Delicious Variations
Chocolate Swirl
Add 1/4 cup melted chocolate to half the filling, then swirl it into the plain filling for a marbled effect.
Lemon Blueberry
Fold in 1 tablespoon lemon zest and top with blueberry compote.
Salted Caramel
Drizzle with salted caramel sauce and sprinkle with sea salt before serving.
How to Store No-Bake Creamy Cheesecake Jars
Refrigerator
Store in the fridge for up to 3 days. Keep the jars covered with a lid or plastic wrap.
Freezer
Freeze the cheesecake jars (without toppings) for up to 2 months. Thaw overnight in the refrigerator before serving.
Reheating
This dessert is served cold, no reheating needed. If frozen, thaw in the fridge.
Frequently Asked Questions
Q: How long does no-bake cheesecake need to set?
At least 4 hours in the fridge, but overnight is best for a firm, sliceable texture.
Q: Can I use low-fat cream cheese?
Yes, but the filling will be less creamy and may not set as firmly. Full-fat is recommended for best results.
Q: Can I make this without a mixer?
Absolutely! You can whisk the cream by hand or use a jar with a tight lid and shake until thick. Just be prepared for a workout.
Q: What if I don't have jars?
You can use small glasses, ramekins, or even a single 8-inch pie plate. Adjust chilling time slightly if using a larger dish.
I'd love to see your cheesecake jar creations! Tag me on Instagram @mayachen and use #NoBakeCheesecakeJars. And don't forget to subscribe for more easy, delicious recipes. Happy growing!
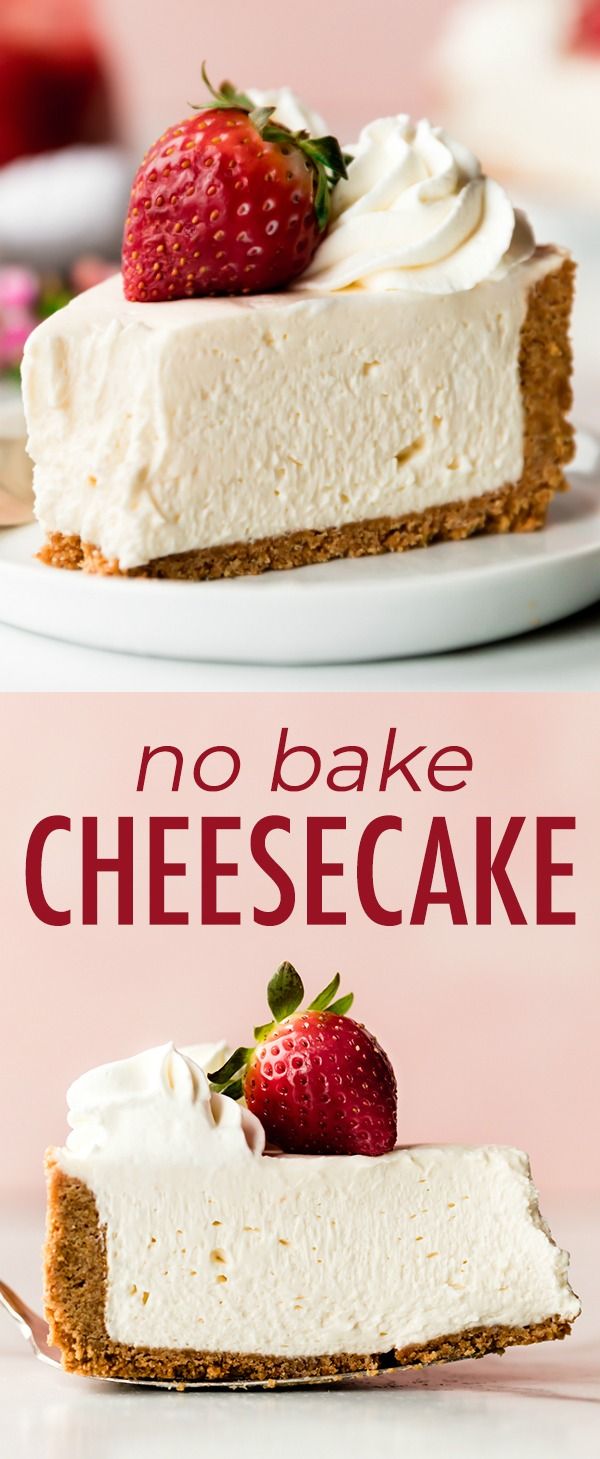
No-Bake Creamy Cheesecake Jars
Easy No-Bake Creamy Cheesecake Jars: a luscious, foolproof dessert that sets in the fridge—no oven needed. Perfect for busy weeknights or elegant entertaining.
🧂 Ingredients
- 1 1/2 cups (150g) graham cracker crumbs (about 10-12 full sheets)
- 6 tablespoons (85g) unsalted butter, melted
- 2 tablespoons (25g) granulated sugar
- 16 oz (450g) full-fat cream cheese, softened to room temperature
- 1/2 cup (100g) granulated sugar
- 1 teaspoon vanilla extract
- 1 cup (240ml) heavy cream, cold
- 1/4 cup (60ml) fresh lemon juice
- 1 cup (150g) fresh berries (strawberries, blueberries, or raspberries) for topping
📋 Instructions
- 1Make the crust — In a medium bowl, combine the graham cracker crumbs, 2 tablespoons sugar, and melted butter. Stir until the mixture resembles wet sand. Divide the mixture evenly among 6 (8-ounce) jars or glasses, about 3 tablespoons each, and press firmly into the bottom.
- 2Whip the cream — In a chilled bowl, beat the heavy cream until stiff peaks form. Set aside in the refrigerator.
- 3Beat cream cheese — In a large bowl, beat the softened cream cheese and 1/2 cup sugar until smooth and creamy, about 2 minutes. Add the vanilla extract and lemon juice, and beat until combined.
- 4Fold in whipped cream — Gently fold the whipped cream into the cream cheese mixture using a spatula until no white streaks remain. Be careful not to deflate the mixture.
- 5Fill the jars — Spoon or pipe the cheesecake filling over the crusts, dividing evenly. Smooth the tops with a spatula.
- 6Chill to set — Place the jars in the refrigerator for at least 4 hours, or overnight, until the filling is firm. The cheesecake is set when the top is no longer sticky to the touch.
- 7Add toppings — Just before serving, top each jar with fresh berries. You can also add a drizzle of berry sauce or a dollop of whipped cream if desired.

Maya writes about urban gardening and sustainable living, focusing on small-space solutions and budget-friendly projects. She shares practical tips for growing food in apartments and balconies.