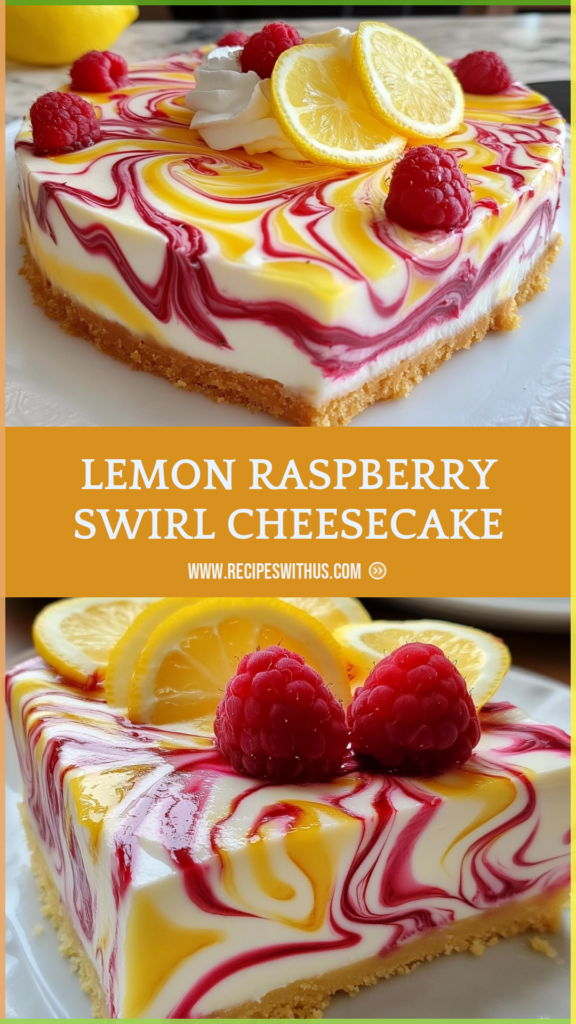
Hey there, fellow dessert explorers! Diego here, and today we're diving into a dessert that's basically a party on a plate: the Colorful Rainbow Poke Cake. I know, I know, 'poke cake' sounds like something you'd do to a voodoo doll, but trust me, this is the good kind of poking. It's a moist vanilla cake that gets little holes poked into it, then we pour a rainbow of berry goodness right into those holes. The result? A slice that looks like a stained glass window and tastes like pure joy.
Advertisements1
I remember the first time I made this for my niece's birthday. I poked the cake with a wooden spoon handle (because I didn't have a straw, classic Diego), and I got a little too enthusiastic. Let's just say the cake looked like a colander. But you know what? It still tasted amazing, and the kids didn't care one bit. That's the beauty of this recipe: it's forgiving, it's fun, and it's impossible to mess up. Plus, it's a great way to get the little ones involved in the kitchen – they can help poke holes and pour the colorful jello.
So, if you're ready to bring some color to your table and your life, grab your apron and let's get poking! This recipe is perfect for birthdays, holidays, or any day that needs a little extra sparkle. And remember, the more colorful, the better. Let's make some magic!
Why You'll Love This Recipe
About the Ingredients
1 box (15.25 oz / 432g) white cake mix
Use a good quality white cake mix for a neutral base. You can substitute with a homemade vanilla cake if you prefer.
3 large eggs
Room temperature eggs blend better into the batter. If you're out, you can use 1/4 cup unsweetened applesauce per egg.
1/2 cup (120ml) vegetable oil
Any neutral oil works. You can swap for melted coconut oil or canola oil.
1 cup (240ml) water
Use warm water for better mixing. You can also use milk for a richer cake.
1 box (3 oz / 85g) strawberry gelatin (Jell-O)
Pick your favorite flavor – strawberry gives a nice red. You can use any red or pink flavor.
1 box (3 oz / 85g) lime gelatin (green)
Lime gives a bright green. If you want a different green, try lime or green apple flavor.
1 box (3 oz / 85g) berry blue gelatin (blue)
Berry blue is a fun blue. You can use any blue-flavored gelatin.
1 box (3 oz / 85g) lemon gelatin (yellow)
Lemon gives a sunny yellow. You can also use pineapple or peach flavor.
1 box (3 oz / 85g) orange gelatin (orange)
Orange gives a vibrant orange. You can also use tangerine or apricot.
1 box (3 oz / 85g) grape gelatin (purple)
Grape gives a deep purple. You can also use blackberry or plum.
3 cups (720ml) boiling water, divided
You'll need 1/2 cup (120ml) for each gelatin flavor. Boil fresh water for each to keep it hot.
1 container (8 oz / 227g) frozen whipped topping, thawed
Use thawed whipped topping for easy spreading. You can also make homemade whipped cream with 1 cup heavy cream and 2 tbsp sugar.
Tips & Tricks
- Don't overmix the cake batter – mix until just combined to keep the cake tender.
- Poke holes evenly and deep enough (about 1 inch) so the gelatin can soak in well.
- Pour the gelatin slowly and evenly over the cake – use a measuring cup with a spout for control.
- Chill the cake thoroughly (at least 4 hours) before serving to allow the gelatin to set.
Pro Tips
Step-by-Step Instructions
1. Preheat & Prep Pan
Preheat your oven to 350°F (175°C). Grease a 9×13-inch (23×33 cm) baking pan with butter or nonstick spray.
2. Mix Cake Batter
In a large bowl, combine the cake mix, eggs, oil, and water. Beat with an electric mixer on low speed for 30 seconds, then medium for 2 minutes until smooth. Pour the batter into the prepared pan and spread evenly.
3. Bake the Cake
Bake for 25-30 minutes, or until a toothpick inserted in the center comes out clean. The top should be golden brown and the edges pulling away from the pan. Let cool completely on a wire rack.
4. Poke the Holes
Once cool, use the end of a wooden spoon or a straw to poke holes all over the cake, spacing them about 1 inch apart. Poke all the way down to the bottom of the cake.
5. Prepare Gelatins
In separate small bowls, dissolve each gelatin flavor in 1/2 cup (120ml) of boiling water, stirring until completely dissolved. Let cool slightly for about 5 minutes.
6. Pour the Rainbow
Carefully pour each gelatin over the cake in rows or sections, one color at a time. Pour slowly to allow the gelatin to seep into the holes. Let the cake sit for 10 minutes to absorb the gelatin.
7. Chill the Cake
Cover the cake with plastic wrap and refrigerate for at least 4 hours, or overnight, to let the gelatin set and the flavors meld.
8. Top with Whipped Topping
Spread the thawed whipped topping evenly over the chilled cake. For a fun touch, pipe it with a star tip or sprinkle with colorful sprinkles.
9. Slice and Serve
Cut into squares and serve chilled. Each slice shows off the rainbow layers. Enjoy!
Delicious Variations
- Use different gelatin flavors to match a theme – like red, white, and blue for the 4th of July.
- Swap the white cake mix for a lemon or funfetti mix for extra flavor.
- Top with a cream cheese frosting instead of whipped topping for a tangier twist.
How to Store Colorful Rainbow Poke Cake
Refrigerator
Store covered in the fridge for up to 5 days. The flavors get better with time!
Freezer
Freeze unfrosted (without whipped topping) for up to 3 months. Wrap tightly in plastic wrap and foil. Thaw overnight in the fridge before frosting.
Reheating
This cake is best enjoyed cold. If you prefer it at room temperature, let it sit out for 15-20 minutes before serving.
Frequently Asked Questions
Q: Can I use sugar-free gelatin?
Yes, you can use sugar-free gelatin. It works the same way and reduces the sugar content. Just follow the same instructions.
Q: How long does the cake need to chill?
You need at least 4 hours of chill time, but overnight is best. This allows the gelatin to fully set and the cake to absorb all the flavors.
Q: Can I make this cake ahead of time?
Absolutely! In fact, it's better when made a day in advance. Just prepare the cake, pour the gelatin, chill, and top with whipped topping the next day.
Q: Can I use homemade cake instead of a mix?
Yes, you can use your favorite vanilla cake recipe. Just make sure it's a sturdy cake that can handle the poking and soaking.
Q: What if I don't have all the gelatin flavors?
No problem! You can use just a few colors or even one color. The cake will still be delicious and moist.
So, what are you waiting for? Get your hands dirty and make this Colorful Rainbow Poke Cake for your next celebration! Trust me, it'll be the star of the show. And don't forget to share your colorful creations with me – I'd love to see them!
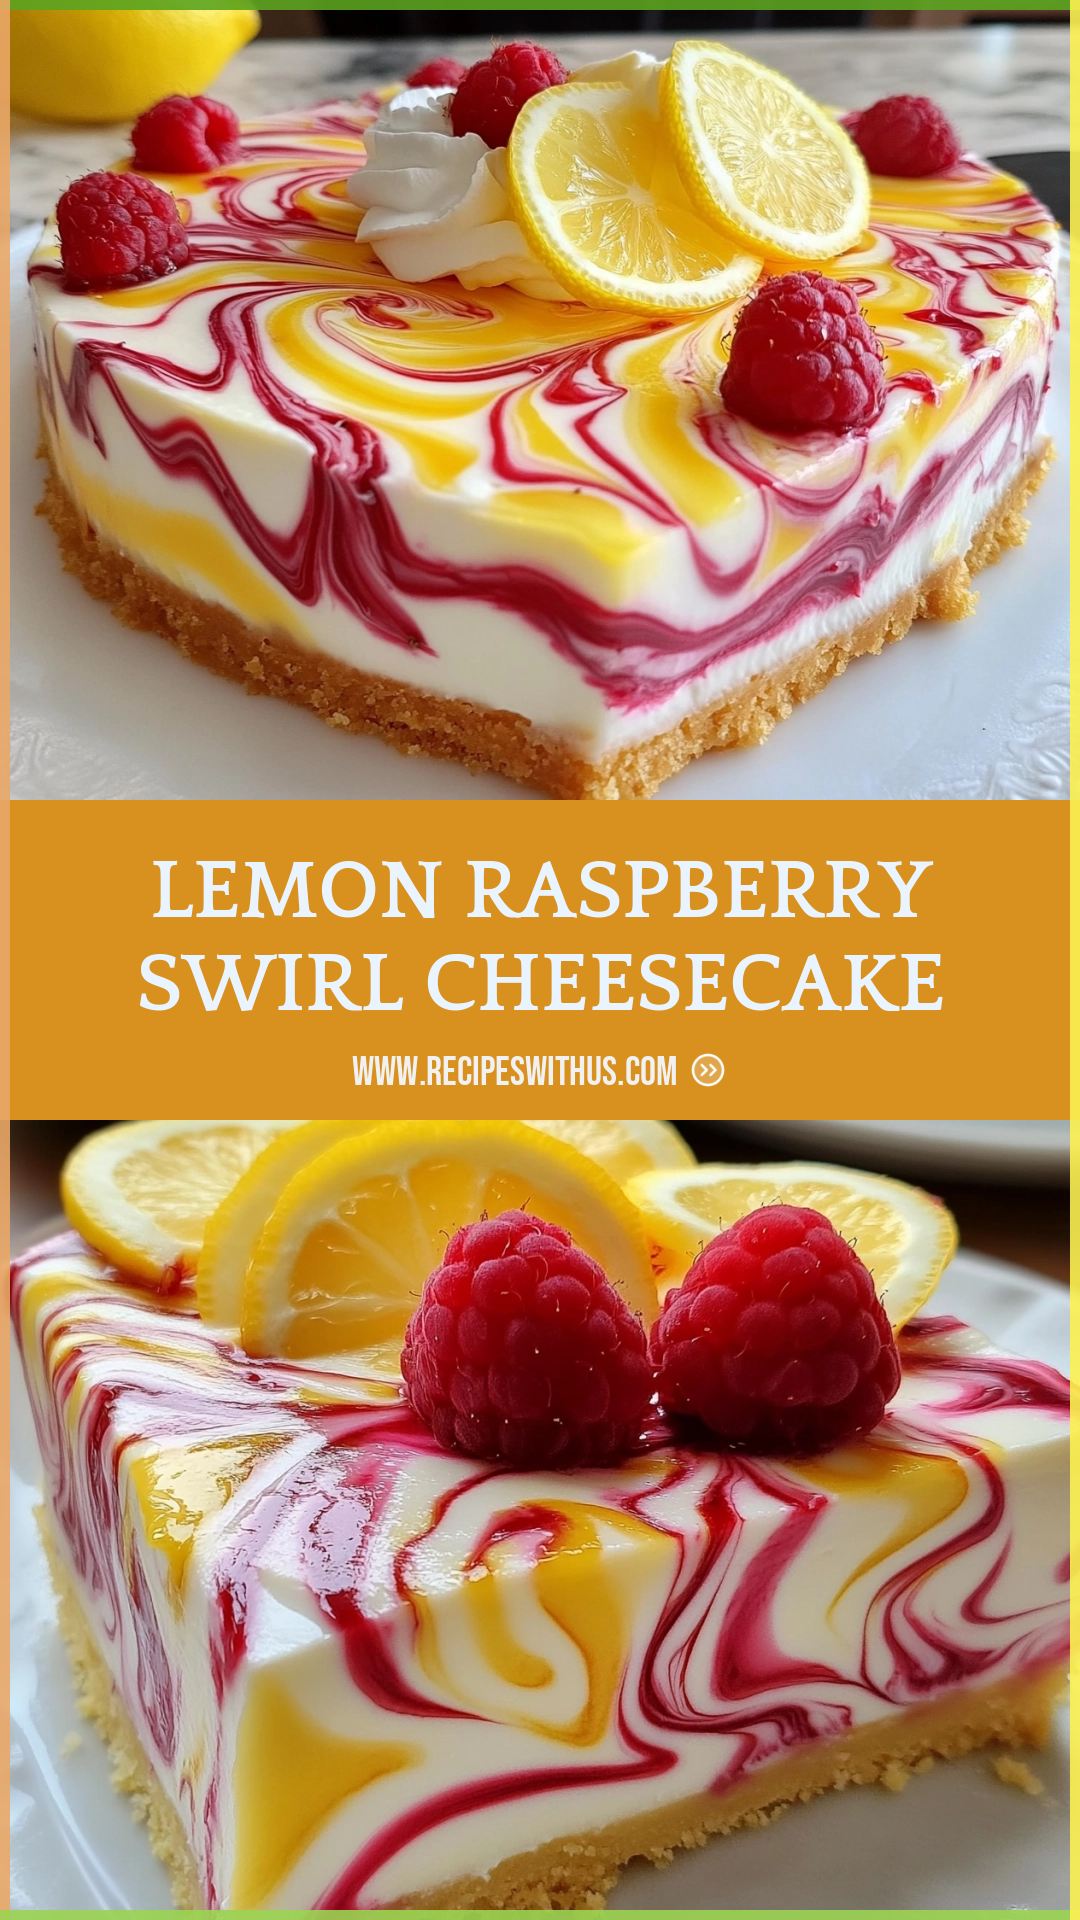
Colorful Rainbow Poke Cake
Colorful Rainbow Poke Cake is a moist vanilla cake soaked with berry gelatin and topped with fluffy whipped cream. Perfect for parties.
🧂 Ingredients
- 1 box (15.25 oz / 432g) white cake mix
- 3 large eggs
- 1/2 cup (120ml) vegetable oil
- 1 cup (240ml) water
- 1 box (3 oz / 85g) strawberry gelatin (Jell-O)
- 1 box (3 oz / 85g) lime gelatin (green)
- 1 box (3 oz / 85g) berry blue gelatin (blue)
- 1 box (3 oz / 85g) lemon gelatin (yellow)
- 1 box (3 oz / 85g) orange gelatin (orange)
- 1 box (3 oz / 85g) grape gelatin (purple)
- 3 cups (720ml) boiling water, divided
- 1 container (8 oz / 227g) frozen whipped topping, thawed
📋 Instructions
- 1Preheat & Prep Pan — Preheat your oven to 350°F (175°C). Grease a 9×13-inch (23×33 cm) baking pan with butter or nonstick spray.
- 2Mix Cake Batter — In a large bowl, combine the cake mix, eggs, oil, and water. Beat with an electric mixer on low speed for 30 seconds, then medium for 2 minutes until smooth. Pour the batter into the prepared pan and spread evenly.
- 3Bake the Cake — Bake for 25-30 minutes, or until a toothpick inserted in the center comes out clean. The top should be golden brown and the edges pulling away from the pan. Let cool completely on a wire rack.
- 4Poke the Holes — Once cool, use the end of a wooden spoon or a straw to poke holes all over the cake, spacing them about 1 inch apart. Poke all the way down to the bottom of the cake.
- 5Prepare Gelatins — In separate small bowls, dissolve each gelatin flavor in 1/2 cup (120ml) of boiling water, stirring until completely dissolved. Let cool slightly for about 5 minutes.
- 6Pour the Rainbow — Carefully pour each gelatin over the cake in rows or sections, one color at a time. Pour slowly to allow the gelatin to seep into the holes. Let the cake sit for 10 minutes to absorb the gelatin.
- 7Chill the Cake — Cover the cake with plastic wrap and refrigerate for at least 4 hours, or overnight, to let the gelatin set and the flavors meld.
- 8Top with Whipped Topping — Spread the thawed whipped topping evenly over the chilled cake. For a fun touch, pipe it with a star tip or sprinkle with colorful sprinkles.
- 9Slice and Serve — Cut into squares and serve chilled. Each slice shows off the rainbow layers. Enjoy!

Diego writes about urban gardening and DIY projects for small spaces, turning balconies and windowsills into green retreats. He shares hands-on tips for beginners and seasoned growers alike.