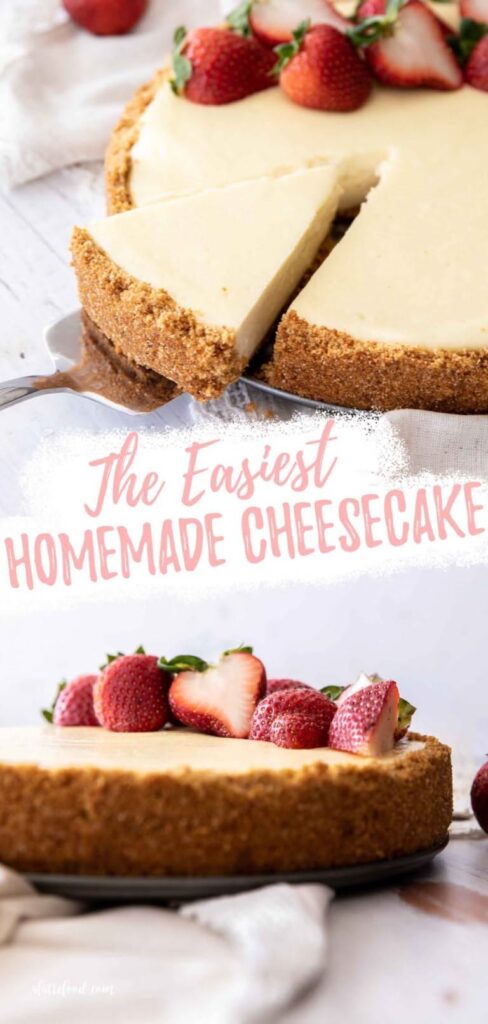
Most cheesecake recipes insist on a water bath to prevent cracks. But that step is fiddly, risks leaks, and often steams your crust. This recipe eliminates the water bath entirely while still delivering a dense, creamy, and crack-free cheesecake. The key is a low oven temperature and a gradual cooling process.
Advertisements1
I've tested this method dozens of times. The result is a cheesecake with a smooth, velvety texture and a perfectly set center. The crust stays crisp, and the top is evenly golden. You'll never go back to the water bath.
By following the precise temperatures and times below, you'll get a professional-quality cheesecake with minimal effort. Let's get started.
Why You'll Love This Recipe
About the Ingredients
1 1/2 cups (150g) graham cracker crumbs
Use standard graham crackers. For a gluten-free version, use gluten-free graham-style cookies or crushed gluten-free digestive biscuits.
1/4 cup (50g) granulated sugar
Regular white sugar works best. You can use coconut sugar for a deeper flavor, but it will darken the crust.
1/2 cup (115g) unsalted butter, melted
Salted butter works if you reduce the added salt in the filling by half. Use vegan butter for a dairy-free option.
4 packages (32 oz / 900g) full-fat cream cheese, softened
Use full-fat block cream cheese, not the spreadable kind. It's essential for the right texture. Low-fat will result in a runny filling.
1 1/4 cups (250g) granulated sugar
Fine sugar dissolves easily. You can use superfine sugar if you have it, but regular is fine.
1 tablespoon (8g) all-purpose flour
This helps stabilize the filling and prevents cracking. Use cornstarch as a gluten-free substitute.
1 teaspoon vanilla extract
Pure vanilla extract gives the best flavor. Vanilla bean paste also works well.
3 large eggs, at room temperature
Room-temperature eggs blend into the filling smoothly, preventing lumps. If you're in a hurry, place them in warm water for 5 minutes.
1/2 cup (120ml) sour cream
Full-fat sour cream adds richness and tang. Greek yogurt can replace it 1:1, but the texture will be slightly lighter.
Tips & Tricks
- Ensure all dairy ingredients are at room temperature before mixing. Cold ingredients cause lumps and overmixing, which leads to cracks.
- Do not overmix the filling once the eggs are added. Overmixing incorporates too much air, which can cause the cheesecake to puff up and crack as it cools.
- Cool the cheesecake gradually in the oven with the door slightly ajar for 1 hour. This prevents sudden temperature changes that cause cracking.
Pro Tips
Step-by-Step Instructions
1. Preheat oven and prep pan
Preheat your oven to 325°F (163°C). Grease a 9-inch springform pan with butter and line the bottom with parchment paper. Wrap the outside of the pan with a double layer of heavy-duty foil to prevent any leakage.
2. Make the crust
In a medium bowl, mix the graham cracker crumbs and 1/4 cup sugar. Pour in the melted butter and stir until the mixture resembles wet sand. Press the mixture firmly into the bottom of the prepared pan. Bake for 10 minutes until lightly golden and fragrant. Set aside to cool completely.
3. Beat cream cheese and sugar
In a large bowl using a hand mixer or stand mixer, beat the softened cream cheese and 1 1/4 cups sugar on medium speed until smooth and creamy, about 2 minutes. Scrape down the sides and bottom of the bowl.
4. Add flour and vanilla
Mix in the flour and vanilla extract until just combined. Do not overmix.
5. Add eggs one at a time
Add the eggs one at a time, beating on low speed after each addition until just incorporated. Beat in the sour cream until the batter is smooth. Be careful not to overmix.
6. Pour and smooth filling
Pour the filling over the cooled crust. Use a spatula to smooth the top into an even layer. Tap the pan on the counter a few times to release any air bubbles.
7. Bake low and slow
Place the cheesecake on the middle rack of the oven. Bake at 325°F (163°C) for 50-60 minutes, or until the edges are set and the center is slightly jiggly (about 2 inches in diameter). The internal temperature should read 150°F (65°C) in the center.
8. Cool gradually
Turn off the oven and crack the door open. Let the cheesecake cool in the oven for 1 hour. Then remove it to a wire rack and cool completely at room temperature. Refrigerate for at least 8 hours or overnight before serving.
Delicious Variations
Chocolate swirl
Melt 4 oz (115g) semisweet chocolate and swirl it into the batter before baking.
Lemon blueberry
Add 1 tablespoon lemon zest and 1/2 cup fresh blueberries to the filling.
Pumpkin spice
Replace 1/2 cup of the cream cheese with pumpkin puree and add 1 teaspoon pumpkin pie spice.
How to Store No-Water-Bath Cheesecake
Refrigerator
Store the cheesecake in an airtight container in the refrigerator for up to 5 days.
Freezer
Wrap the cooled cheesecake tightly in plastic wrap and foil. Freeze for up to 2 months.
Reheating
Serve cold or at room temperature. Do not reheat in the microwave as it will melt the cheesecake.
Frequently Asked Questions
Q: Why did my cheesecake crack without a water bath?
Cracks are caused by overbaking or rapid temperature changes. Make sure to bake at 325°F (163°C) and remove it when the center is still slightly jiggly. Cool it gradually in the oven with the door ajar to prevent cracking.
Q: Can I use a water bath with this recipe?
Yes, you can place the springform pan in a larger pan with hot water, but it's not necessary. If you do, wrap the pan in foil to prevent water from seeping in. The baking time may be similar.
Q: How do I know when the cheesecake is done?
The edges should be set and slightly puffed, but the center (about 2 inches) should jiggle slightly. The internal temperature should be around 150°F (65°C). It will continue to set as it cools.
Q: Can I use low-fat cream cheese?
Low-fat cream cheese contains more water and less fat, which can result in a softer, less stable cheesecake that may crack. For best results, use full-fat cream cheese.
Ready to bake a perfect cheesecake without the water bath? Try this recipe and let me know how it turns out in the comments below. If you enjoyed this, share it with a friend who loves cheesecake!
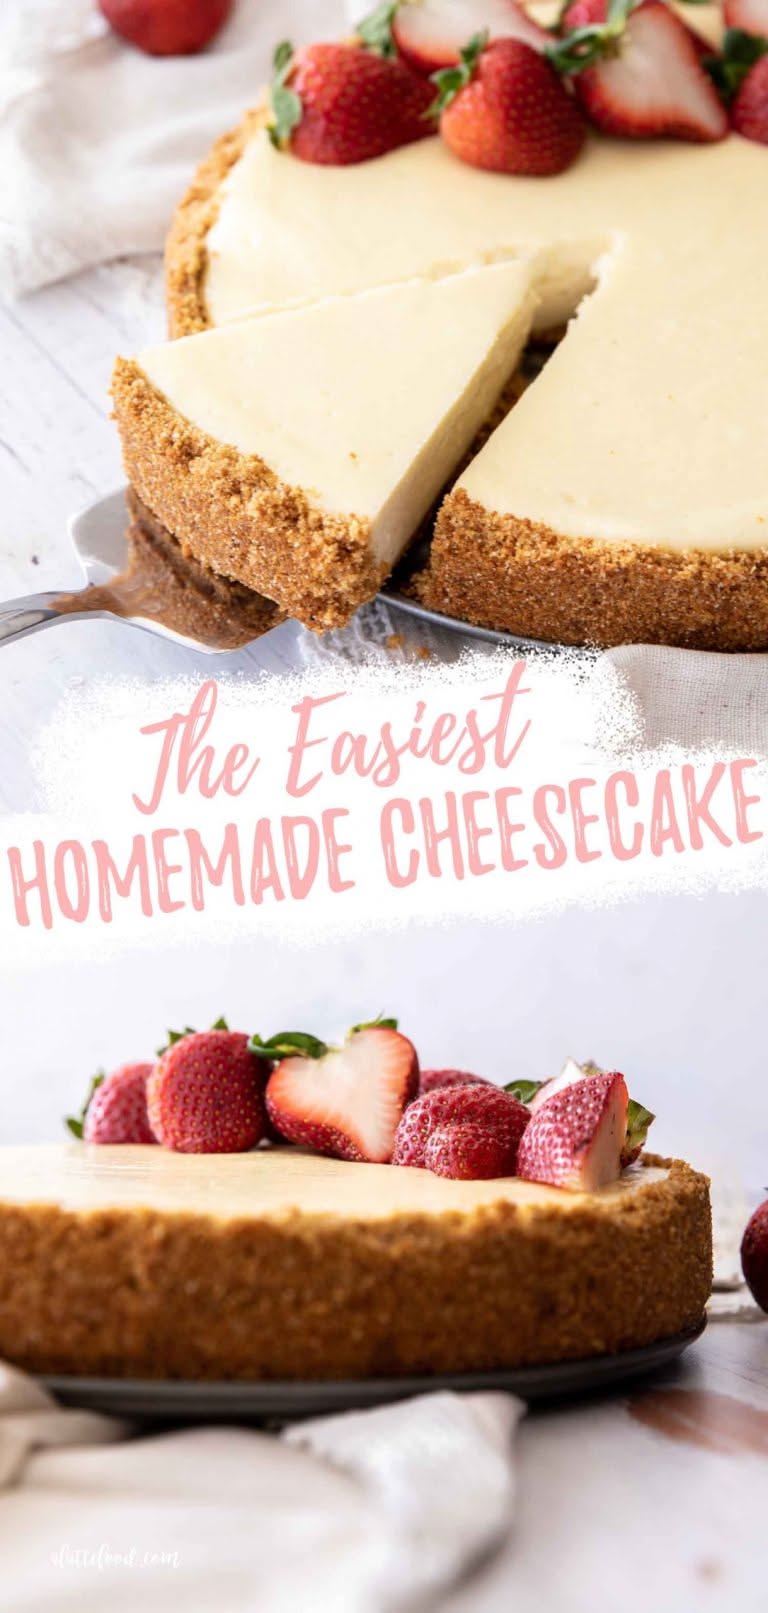
No-Water-Bath Cheesecake
Learn to make a creamy, crack-free cheesecake without a water bath. This foolproof recipe delivers perfect texture every time.
🧂 Ingredients
- 1 1/2 cups (150g) graham cracker crumbs
- 1/4 cup (50g) granulated sugar
- 1/2 cup (115g) unsalted butter, melted
- 4 packages (32 oz / 900g) full-fat cream cheese, softened
- 1 1/4 cups (250g) granulated sugar
- 1 tablespoon (8g) all-purpose flour
- 1 teaspoon vanilla extract
- 3 large eggs, at room temperature
- 1/2 cup (120ml) sour cream
📋 Instructions
- 1Preheat oven and prep pan — Preheat your oven to 325°F (163°C). Grease a 9-inch springform pan with butter and line the bottom with parchment paper. Wrap the outside of the pan with a double layer of heavy-duty foil to prevent any leakage.
- 2Make the crust — In a medium bowl, mix the graham cracker crumbs and 1/4 cup sugar. Pour in the melted butter and stir until the mixture resembles wet sand. Press the mixture firmly into the bottom of the prepared pan. Bake for 10 minutes until lightly golden and fragrant. Set aside to cool completely.
- 3Beat cream cheese and sugar — In a large bowl using a hand mixer or stand mixer, beat the softened cream cheese and 1 1/4 cups sugar on medium speed until smooth and creamy, about 2 minutes. Scrape down the sides and bottom of the bowl.
- 4Add flour and vanilla — Mix in the flour and vanilla extract until just combined. Do not overmix.
- 5Add eggs one at a time — Add the eggs one at a time, beating on low speed after each addition until just incorporated. Beat in the sour cream until the batter is smooth. Be careful not to overmix.
- 6Pour and smooth filling — Pour the filling over the cooled crust. Use a spatula to smooth the top into an even layer. Tap the pan on the counter a few times to release any air bubbles.
- 7Bake low and slow — Place the cheesecake on the middle rack of the oven. Bake at 325°F (163°C) for 50-60 minutes, or until the edges are set and the center is slightly jiggly (about 2 inches in diameter). The internal temperature should read 150°F (65°C) in the center.
- 8Cool gradually — Turn off the oven and crack the door open. Let the cheesecake cool in the oven for 1 hour. Then remove it to a wire rack and cool completely at room temperature. Refrigerate for at least 8 hours or overnight before serving.

Lucas covers personal finance and side hustles, with an emphasis on building income streams without hype. He breaks down money concepts into straightforward, no-nonsense advice.