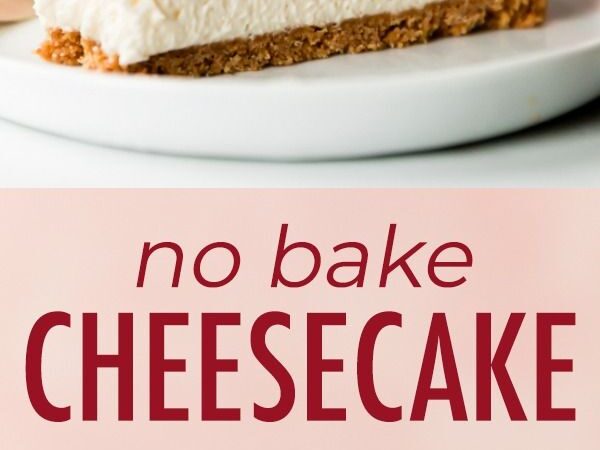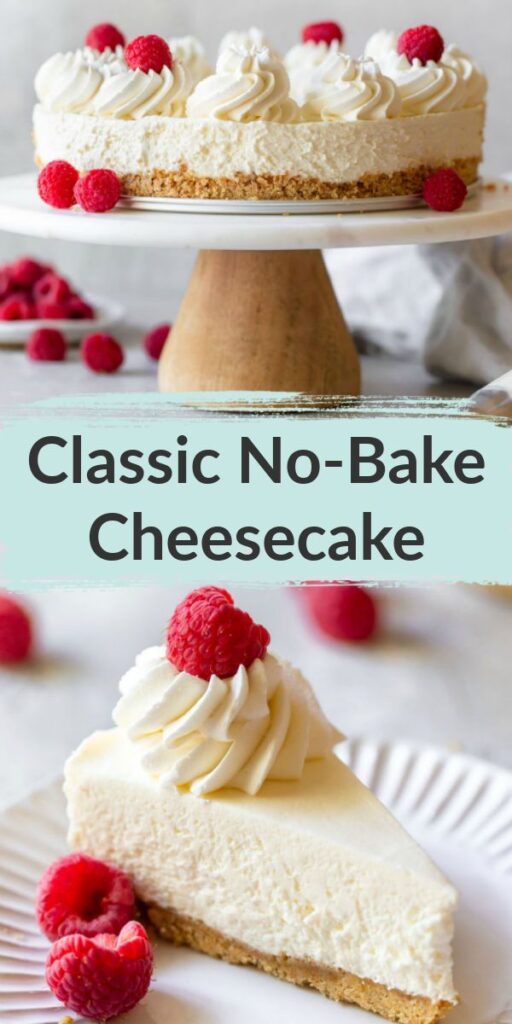
Hey there, fellow food lovers! Diego here, and today we're diving into my absolute favorite summer dessert: a No-Bake Original Cheesecake that's so luscious and easy, you'll wonder why you ever bothered with the oven. This recipe is a game-changer for those sweltering days when the last thing you want is a hot kitchen. Plus, it's so simple that even a kitchen newbie can nail it on the first try.
Advertisements1
I remember the first time I tried a no-bake cheesecake—I was skeptical. Could it really be as creamy and satisfying as the baked version? Spoiler alert: it's even better! The texture is silky, the flavor is bright and tangy, and the crust is buttery and crisp. And the best part? You just mix, pour, and chill. No water baths, no cracking, no fuss.
So grab your mixing bowl and let's get this party started. Trust me, your taste buds will thank you, and you'll be the hero of every summer gathering.
Why You'll Love This Recipe
About the Ingredients
1 1/2 cups (150g) graham cracker crumbs
Use digestive biscuits or vanilla wafers if you prefer. For a gluten-free option, swap with gluten-free graham crackers.
1/4 cup (50g) granulated sugar
For the crust. You can use brown sugar for a deeper flavor.
1/2 cup (115g) unsalted butter, melted
Salted butter works too, just omit the salt in the crust. Vegan butter is a great substitute.
16 oz (450g) cream cheese, softened
Full-fat is best for richness, but reduced-fat works. Make sure it's at room temperature to avoid lumps.
1/2 cup (100g) granulated sugar
For the filling. Adjust to taste if you like it less sweet.
1 teaspoon vanilla extract
Pure vanilla extract gives the best flavor. You can also use vanilla bean paste.
1 tablespoon fresh lemon juice
Freshly squeezed is key—bottled lacks that bright zing. It enhances the tanginess.
1 cup (240ml) heavy whipping cream
Make sure it's cold for the best whipping. Coconut cream works for a dairy-free version.
Optional: fresh berries or fruit compote for topping
Get creative! Strawberries, blueberries, or a drizzle of caramel all work beautifully.
Tips & Tricks
Soften cream cheese properly
Leave it on the counter for 30 minutes or microwave in 10-second bursts until soft. This prevents lumps.
Don't overwhip the cream
Stop when stiff peaks form—overwhipping turns it into butter.
Chill thoroughly
At least 4 hours, but overnight is best. This ensures clean slices.
Use a springform pan
For easy release and perfect presentation.
Pro Tips
Step-by-Step Instructions
1. Make the crust
In a medium bowl, mix graham cracker crumbs, 1/4 cup sugar, and melted butter until well combined. Press the mixture firmly into the bottom of a 9-inch springform pan. Place in the fridge while you prepare the filling.
2. Beat cream cheese
In a large bowl, beat the softened cream cheese with an electric mixer until smooth and creamy, about 2 minutes. Add 1/2 cup sugar, vanilla, and lemon juice, and beat until light and fluffy, scraping down the sides as needed.
3. Whip the cream
In a separate cold bowl, whip the heavy cream until stiff peaks form. This takes about 3-4 minutes with a hand mixer. Be careful not to overwhip.
4. Fold together
Gently fold the whipped cream into the cream cheese mixture using a spatula. Do this in two additions to keep the mixture airy. Fold until no white streaks remain.
5. Pour and smooth
Pour the filling over the chilled crust and smooth the top with an offset spatula. Tap the pan gently on the counter to release any air bubbles.
6. Chill until set
Refrigerate for at least 4 hours, or overnight. The cheesecake should be firm enough to slice cleanly. If you're in a hurry, you can freeze for 2 hours.
7. Serve and enjoy
Run a knife around the edge of the pan, release the springform, and slice. Top with fresh berries or a fruit compote if desired. Serve chilled.
Delicious Variations
Chocolate Swirl
Melt 1/2 cup chocolate chips and swirl into the filling before chilling.
Lemon Berry
Add 2 tablespoons lemon zest and top with a mixed berry compote.
Peanut Butter Cup
Reduce cream cheese to 12 oz and add 1/2 cup peanut butter to the filling.
How to Store No-Bake Original Cheesecake
Refrigerator
Store covered in the fridge for up to 5 days.
Freezer
Freeze for up to 2 months. Wrap tightly in plastic and foil.
Reheating
No reheating needed—serve cold. If frozen, thaw in the fridge overnight.
Frequently Asked Questions
Q: Can I use mascarpone instead of cream cheese?
Yes, mascarpone works but will result in a richer, less tangy cheesecake. You can mix half and half for a balanced flavor.
Q: How long does no-bake cheesecake need to set?
At least 4 hours, but overnight is best for a firm, sliceable texture. If you're short on time, you can freeze for 2 hours.
Q: Can I make this without a springform pan?
Absolutely! Use a regular pie dish or a deep cake pan lined with plastic wrap for easy removal.
Q: Can I use low-fat cream cheese?
Yes, but the filling will be less creamy and may not set as firmly. Use full-fat for the best results.
Q: My cheesecake is too soft, what went wrong?
It likely didn't chill long enough, or the cream was underwhipped. Make sure to whip to stiff peaks and chill for at least 4 hours.
Now that you've got the secret to a perfect no-bake cheesecake, go make it and share your creations with me! Tag me in your photos and tell me how it turned out. And remember, the kitchen is your playground—experiment with flavors and make it your own. Get your hands dirty!
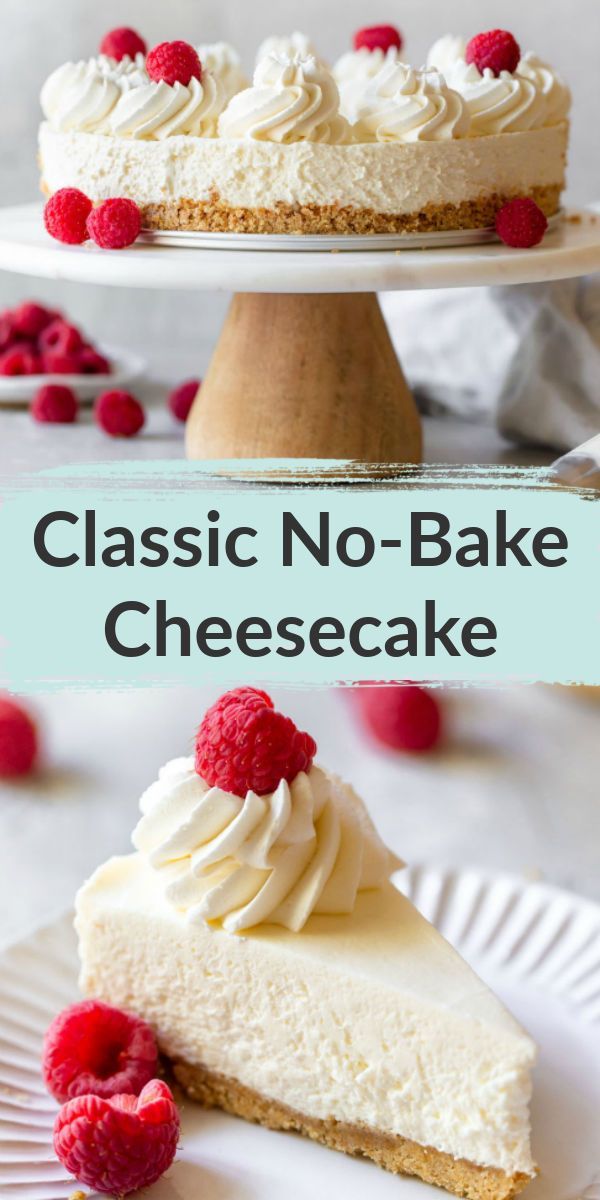
No-Bake Original Cheesecake
Indulge in this creamy, dreamy no-bake cheesecake that sets in the fridge—perfect for hot days when you don't want to turn on the oven.
🧂 Ingredients
- 1 1/2 cups (150g) graham cracker crumbs
- 1/4 cup (50g) granulated sugar
- 1/2 cup (115g) unsalted butter, melted
- 16 oz (450g) cream cheese, softened
- 1/2 cup (100g) granulated sugar
- 1 teaspoon vanilla extract
- 1 tablespoon fresh lemon juice
- 1 cup (240ml) heavy whipping cream
- Optional: fresh berries or fruit compote for topping
📋 Instructions
- 1Make the crust — In a medium bowl, mix graham cracker crumbs, 1/4 cup sugar, and melted butter until well combined. Press the mixture firmly into the bottom of a 9-inch springform pan. Place in the fridge while you prepare the filling.
- 2Beat cream cheese — In a large bowl, beat the softened cream cheese with an electric mixer until smooth and creamy, about 2 minutes. Add 1/2 cup sugar, vanilla, and lemon juice, and beat until light and fluffy, scraping down the sides as needed.
- 3Whip the cream — In a separate cold bowl, whip the heavy cream until stiff peaks form. This takes about 3-4 minutes with a hand mixer. Be careful not to overwhip.
- 4Fold together — Gently fold the whipped cream into the cream cheese mixture using a spatula. Do this in two additions to keep the mixture airy. Fold until no white streaks remain.
- 5Pour and smooth — Pour the filling over the chilled crust and smooth the top with an offset spatula. Tap the pan gently on the counter to release any air bubbles.
- 6Chill until set — Refrigerate for at least 4 hours, or overnight. The cheesecake should be firm enough to slice cleanly. If you're in a hurry, you can freeze for 2 hours.
- 7Serve and enjoy — Run a knife around the edge of the pan, release the springform, and slice. Top with fresh berries or a fruit compote if desired. Serve chilled.

Diego writes about urban gardening and DIY projects for small spaces, turning balconies and windowsills into green retreats. He shares hands-on tips for beginners and seasoned growers alike.