I remember the first time I tried to make a graham cracker crust from scratch. I was camping in the Rockies, and my only tools were a Ziploc bag and a rock. The crust turned out like gravel, but the idea stuck with me: a buttery, sweet crumb base that makes any dessert feel special without a lot of fuss.
Advertisements1
Back home, I refined my method. The secret? Don't overthink it. Use good butter, press firmly, and pre-bake just until the edges start to brown. That's it. This recipe gives you a versatile crust that works for cheesecakes, tarts, or just a quick no-bake pie.
Whether you're a seasoned baker or a newbie, this crust is forgiving. It's sturdy enough for a creamy filling, crispy enough to hold its own, and so simple you'll memorize it after one try.
Why You'll Love This Recipe
About the Ingredients
1 1/2 cups (180g) graham cracker crumbs
About 12 full sheets. For a twist, use chocolate or cinnamon graham crackers, or substitute crushed digestive biscuits.
1/3 cup (75g) unsalted butter, melted
Salted butter works too—just skip the added salt. For a dairy-free version, use coconut oil or vegan butter.
1/4 cup (50g) granulated sugar
Reduce to 2 tablespoons if using sweetened crumbs, or swap for brown sugar for a deeper flavor.
1/8 teaspoon salt
Optional but balances sweetness. Omit if using salted butter.
Tips & Tricks
- Use a food processor to crush crackers into fine crumbs for even texture.
- Press the crumb mixture firmly into the pan using the bottom of a measuring cup.
- Pre-bake the crust at 350°F (175°C) for 8-10 minutes until lightly browned and fragrant.
- If making a no-bake pie, chill the crust for at least 1 hour before filling.
Pro Tips
Step-by-Step Instructions
1. Preheat Oven
Preheat your oven to 350°F (175°C). This ensures even baking and a golden crust.
2. Mix Dry Ingredients
In a medium bowl, combine graham cracker crumbs, sugar, and salt. Stir until evenly distributed.
3. Add Melted Butter
Pour the melted butter over the crumb mixture. Use a fork to mix until all crumbs are moistened and resemble wet sand.
4. Press into Pan
Transfer the mixture to a 9-inch pie plate or tart pan. Press firmly and evenly across the bottom and up the sides. Use a flat-bottomed glass for a smooth surface.
5. Pre-Bake the Crust
Bake for 8-10 minutes until the edges are lightly golden and the crust smells nutty. For a no-bake crust, skip this step and chill instead.
6. Cool Completely
Let the crust cool on a wire rack for at least 15 minutes before adding any filling. If filling requires baking, you can add it directly to the warm crust.
Delicious Variations
- Add 1/2 teaspoon of cinnamon or nutmeg to the crumb mixture for a warm spice note.
- For a chocolate crust, replace 1/4 cup of graham crumbs with cocoa powder.
- Make a nutty crust by substituting 1/2 cup of the crumbs with finely ground almonds or pecans.
How to Store Easy Desserts With Graham Cracker Crust
Refrigerator
Store baked crust in an airtight container for up to 3 days. If filled, refrigerate according to the filling's needs.
Freezer
Freeze unbaked crust wrapped in plastic for up to 3 months. Bake directly from frozen, adding 2-3 minutes to the baking time.
Reheating
To crisp a soggy crust, place it in a 350°F (175°C) oven for 5 minutes.
Frequently Asked Questions
Q: Can I use a store-bought graham cracker crust instead?
Yes, but homemade tastes better and is more economical. Store-bought crusts are often pre-sweetened and may require less sugar.
Q: How do I keep the crust from crumbling when I cut it?
Chill the filled pie for at least 2 hours before slicing, and use a sharp knife dipped in hot water. Wipe the blade between cuts.
Q: Can I make this crust gluten-free?
Absolutely. Use gluten-free graham crackers or crushed gluten-free cookies. The rest of the ingredients are naturally gluten-free.
Q: What can I substitute for butter?
Use coconut oil, margarine, or a vegan butter substitute. Keep the same amount, but note that coconut oil may firm up differently when chilled.
Q: How long should I pre-bake the crust?
Pre-bake at 350°F (175°C) for 8-10 minutes, or until the edges are golden brown. For a no-bake crust, chill for at least 1 hour.
Now that you've mastered this simple crust, try it with your favorite fillings—from classic cheesecake to fresh berry tarts. Don't be afraid to experiment, and remember: a good crust is the foundation of a great dessert. Keep exploring.
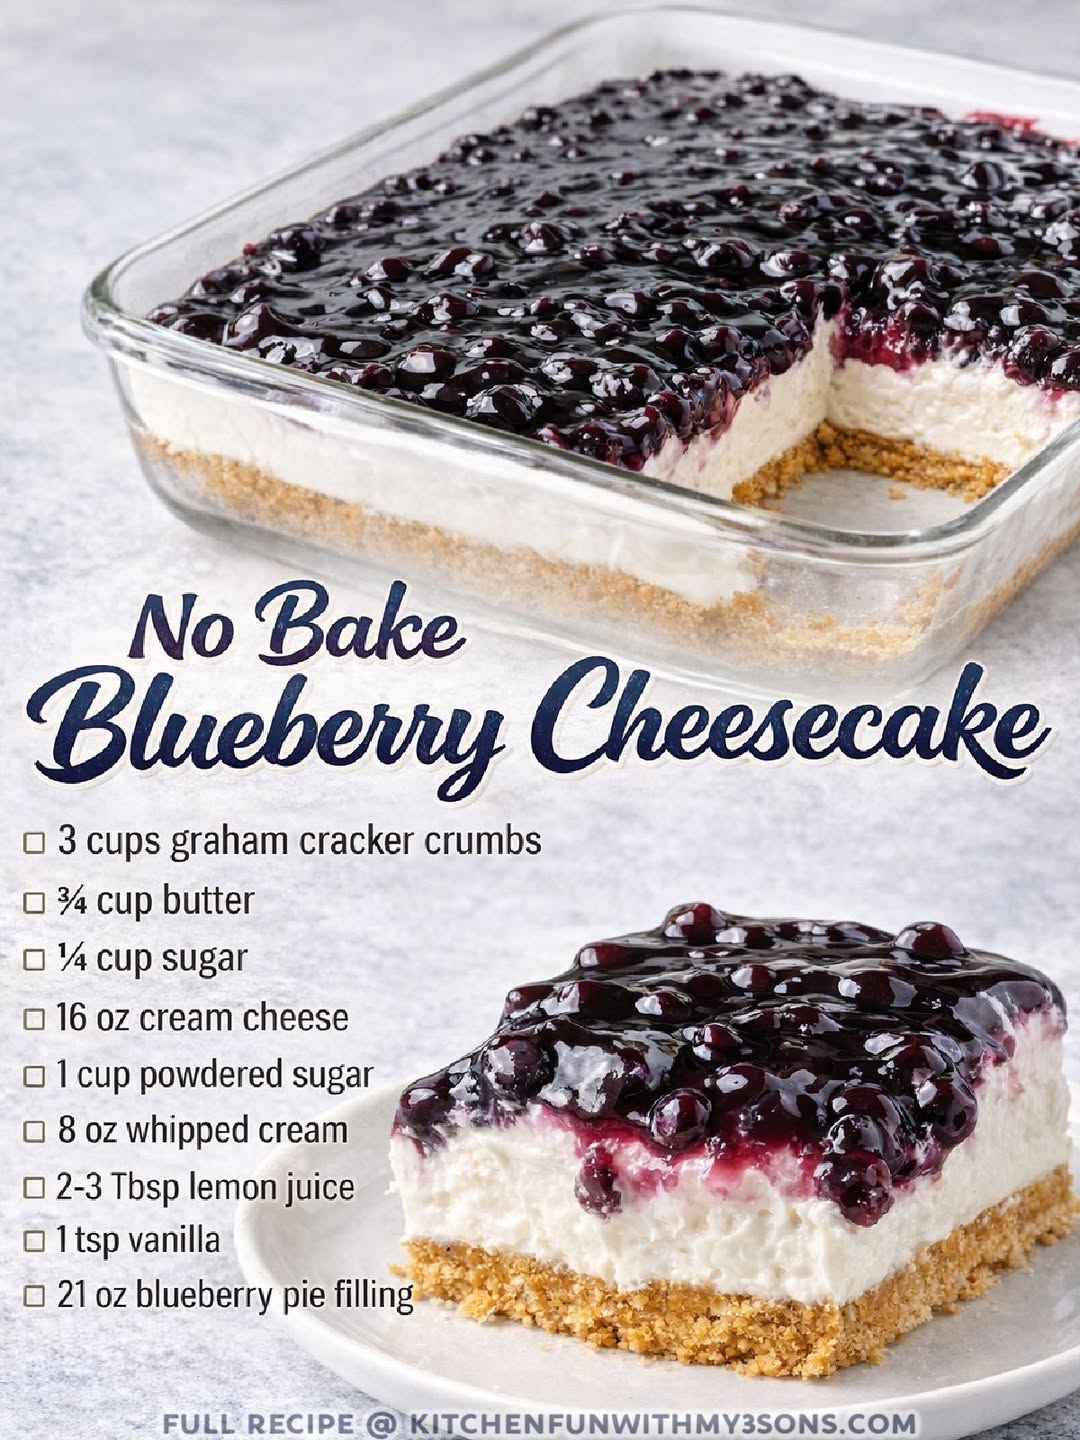
Easy Desserts With Graham Cracker Crust
Easy Desserts With Graham Cracker Crust: a no-fuss, buttery crust that turns any filling into a crowd-pleasing dessert in minutes.
🧂 Ingredients
- 1 1/2 cups (180g) graham cracker crumbs
- 1/3 cup (75g) unsalted butter, melted
- 1/4 cup (50g) granulated sugar
- 1/8 teaspoon salt
📋 Instructions
- 1Preheat Oven — Preheat your oven to 350°F (175°C). This ensures even baking and a golden crust.
- 2Mix Dry Ingredients — In a medium bowl, combine graham cracker crumbs, sugar, and salt. Stir until evenly distributed.
- 3Add Melted Butter — Pour the melted butter over the crumb mixture. Use a fork to mix until all crumbs are moistened and resemble wet sand.
- 4Press into Pan — Transfer the mixture to a 9-inch pie plate or tart pan. Press firmly and evenly across the bottom and up the sides. Use a flat-bottomed glass for a smooth surface.
- 5Pre-Bake the Crust — Bake for 8-10 minutes until the edges are lightly golden and the crust smells nutty. For a no-bake crust, skip this step and chill instead.
- 6Cool Completely — Let the crust cool on a wire rack for at least 15 minutes before adding any filling. If filling requires baking, you can add it directly to the warm crust.

Liam covers outdoor adventure and gear reviews, with a focus on ultralight backpacking and wilderness survival. He writes from personal trial and error, emphasizing safety and practical experience.