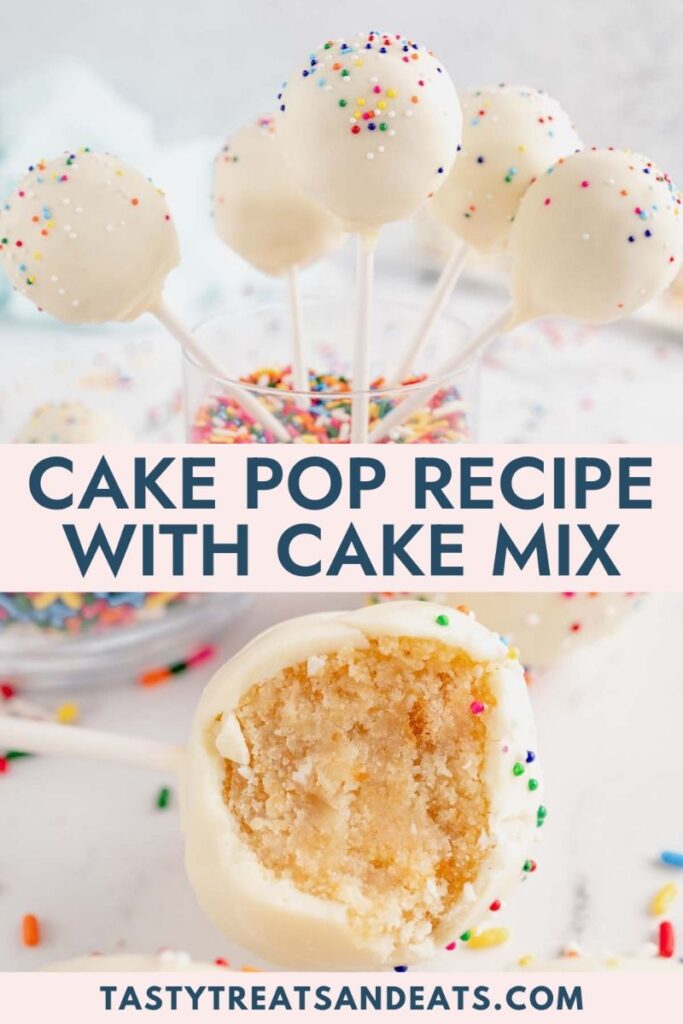
Have you ever stared at a half-eaten cake and wondered what to do with the leftovers? That's exactly how my cake ball obsession began. One rainy Sunday, I had a slightly dry vanilla cake that nobody wanted to finish. Instead of tossing it, I crumbled it up, mixed in some frosting, and rolled it into little balls. The result? Pure magic!
Advertisements1
These cake balls are the ultimate way to repurpose cake into something even more decadent. They're incredibly easy to make, require no special equipment, and are endlessly customizable. Whether you're prepping for a birthday party, a holiday cookie exchange, or just a fun weekend project with the kids, these little bites are guaranteed to impress.
In this recipe, I'll walk you through every step, share my favorite flavor combinations, and give you all the tips to avoid common pitfalls. By the end, you'll be rolling cake balls like a pro!
Why You'll Love This Recipe
About the Ingredients
1 box (15.25 oz) vanilla cake mix, plus ingredients called for on the box (usually eggs, oil, water)
You can use any flavor of cake mix, but vanilla is a great base. For a homemade option, use your favorite from-scratch recipe.
1/2 cup (120g) vanilla frosting (store-bought or homemade)
The frosting binds the crumbs together. Cream cheese frosting works wonderfully too—just ensure it's at room temperature for easy mixing.
12 oz (340g) white chocolate melting wafers or almond bark
Melting wafers are ideal because they melt smoothly and set firmly. If using chocolate chips, add 1 teaspoon of coconut oil to help them melt smoothly.
1 tablespoon (15ml) vegetable shortening or coconut oil (optional, for thinning the coating)
This helps the chocolate achieve the perfect dipping consistency. You can omit it if your melting wafers are already thin enough.
Sprinkles, crushed nuts, or cocoa powder for decorating (optional)
Get creative! These add texture and visual appeal.
Tips & Tricks
Use slightly stale cake
It absorbs the frosting better and is easier to handle.
Chill the cake balls thoroughly
At least 2 hours in the fridge or 30 minutes in the freezer before dipping—this prevents them from falling apart.
Work in small batches
Keep the cake balls chilled while dipping, and only melt a small amount of chocolate at a time.
If the coating cracks
Your cake balls are too cold. Let them sit at room temperature for 5 minutes before dipping.
Pro Tips
Step-by-Step Instructions
1. Bake the Cake
Preheat your oven to 350°F (175°C). Prepare the cake mix according to the package instructions and bake in a 9×13-inch pan. Let it cool completely—this is crucial, as warm cake will make the frosting melt and the balls too soft.
2. Crumble the Cake
Once the cake is completely cool, crumble it into a large bowl. Use your hands or a potato masher to get fine, even crumbs. There should be no large chunks left.
3. Mix in Frosting
Add the frosting to the crumbled cake. Use a spatula or your hands to mix until the mixture holds together when pressed. It should be like moist dough, not sticky. Add more frosting a tablespoon at a time if needed.
4. Roll the Balls
Using a cookie scoop or your hands, roll the mixture into 1-inch (2.5 cm) balls. Place them on a baking sheet lined with parchment paper. You should get about 24 balls.
5. Chill the Balls
Refrigerate the cake balls for at least 2 hours, or freeze for 30 minutes. Chilling them makes them firm and easier to dip without falling apart.
6. Melt the Coating
In a microwave-safe bowl, melt the white chocolate wafers in 30-second intervals, stirring between each, until smooth. Stir in the shortening or coconut oil if using, to thin it out. The coating should be fluid enough to dip.
7. Dip and Decorate
Using a fork or dipping tool, dip each chilled cake ball into the melted chocolate, coating completely. Let the excess drip off, then place on the parchment sheet. Add sprinkles or nuts immediately before the coating sets.
8. Let Set
Allow the coated cake balls to set at room temperature until the chocolate is firm, about 15-20 minutes. If you're in a hurry, you can pop them in the fridge for 5 minutes.
Delicious Variations
Red Velvet Cake Balls
Use red velvet cake mix and cream cheese frosting, then dip in white or dark chocolate.
Chocolate Peanut Butter
Use chocolate cake mix and peanut butter frosting, then dip in milk chocolate and top with a peanut butter drizzle.
Lemon Coconut
Use lemon cake mix and vanilla frosting, add 1/2 cup shredded coconut to the mixture, then dip in white chocolate and sprinkle with more coconut.
How to Store Cake Ball
Refrigerator
Store in an airtight container in the fridge for up to 1 week.
Freezer
Freeze in a single layer, then transfer to a freezer bag for up to 3 months.
Reheating
No reheating needed—serve chilled or at room temperature.
Frequently Asked Questions
Q: Can I use leftover homemade cake instead of a box mix?
Absolutely! Any cake works. Just ensure it's completely cooled and crumbled finely. Adjust frosting amount as needed.
Q: Why are my cake balls falling apart when I dip them?
The cake balls are probably too warm or the mixture is too dry. Make sure they're well-chilled, and if they crumble, add a bit more frosting to the mixture.
Q: Can I make cake balls without frosting?
Yes, you can use a simple syrup or a mixture of melted butter and milk to bind the cake, but frosting gives the best flavor and texture.
Q: How long do cake balls last?
Stored properly in the fridge, they last up to a week. In the freezer, they can last up to 3 months.
Q: Can I use chocolate chips instead of melting wafers?
Yes, but chocolate chips are thicker and may need a bit of shortening or coconut oil to thin them out for dipping.
Now that you've mastered the classic cake ball, why not try a fun twist? This weekend, grab a leftover cake and experiment with your favorite frosting and coating. I'd love to hear what you create! Here's to small steps, together.
Cake Ball
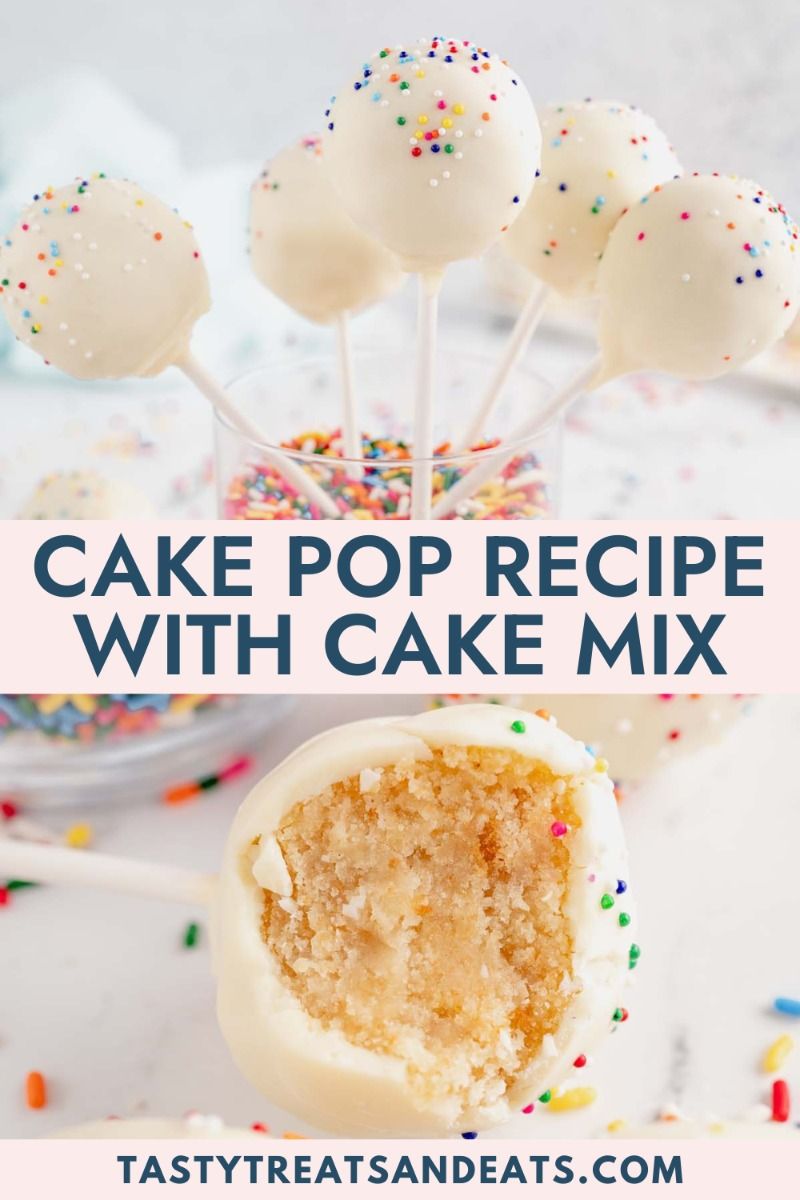
Cake balls are moist, rich truffle-like bites made from crumbled cake and frosting, dipped in chocolate—perfect for parties.
🧂 Ingredients
- 1 box (15.25 oz) vanilla cake mix, plus ingredients called for on the box (usually eggs, oil, water)
- 1/2 cup (120g) vanilla frosting (store-bought or homemade)
- 12 oz (340g) white chocolate melting wafers or almond bark
- 1 tablespoon (15ml) vegetable shortening or coconut oil (optional, for thinning the coating)
- Sprinkles, crushed nuts, or cocoa powder for decorating (optional)
📋 Instructions
- 1Bake the Cake — Preheat your oven to 350°F (175°C). Prepare the cake mix according to the package instructions and bake in a 9×13-inch pan. Let it cool completely—this is crucial, as warm cake will make the frosting melt and the balls too soft.
- 2Crumble the Cake — Once the cake is completely cool, crumble it into a large bowl. Use your hands or a potato masher to get fine, even crumbs. There should be no large chunks left.
- 3Mix in Frosting — Add the frosting to the crumbled cake. Use a spatula or your hands to mix until the mixture holds together when pressed. It should be like moist dough, not sticky. Add more frosting a tablespoon at a time if needed.
- 4Roll the Balls — Using a cookie scoop or your hands, roll the mixture into 1-inch (2.5 cm) balls. Place them on a baking sheet lined with parchment paper. You should get about 24 balls.
- 5Chill the Balls — Refrigerate the cake balls for at least 2 hours, or freeze for 30 minutes. Chilling them makes them firm and easier to dip without falling apart.
- 6Melt the Coating — In a microwave-safe bowl, melt the white chocolate wafers in 30-second intervals, stirring between each, until smooth. Stir in the shortening or coconut oil if using, to thin it out. The coating should be fluid enough to dip.
- 7Dip and Decorate — Using a fork or dipping tool, dip each chilled cake ball into the melted chocolate, coating completely. Let the excess drip off, then place on the parchment sheet. Add sprinkles or nuts immediately before the coating sets.
- 8Let Set — Allow the coated cake balls to set at room temperature until the chocolate is firm, about 15-20 minutes. If you're in a hurry, you can pop them in the fridge for 5 minutes.

Maya writes about sustainable living and zero-waste practices, focusing on small, actionable swaps for everyday routines. She tests products and shares what actually works for busy households.