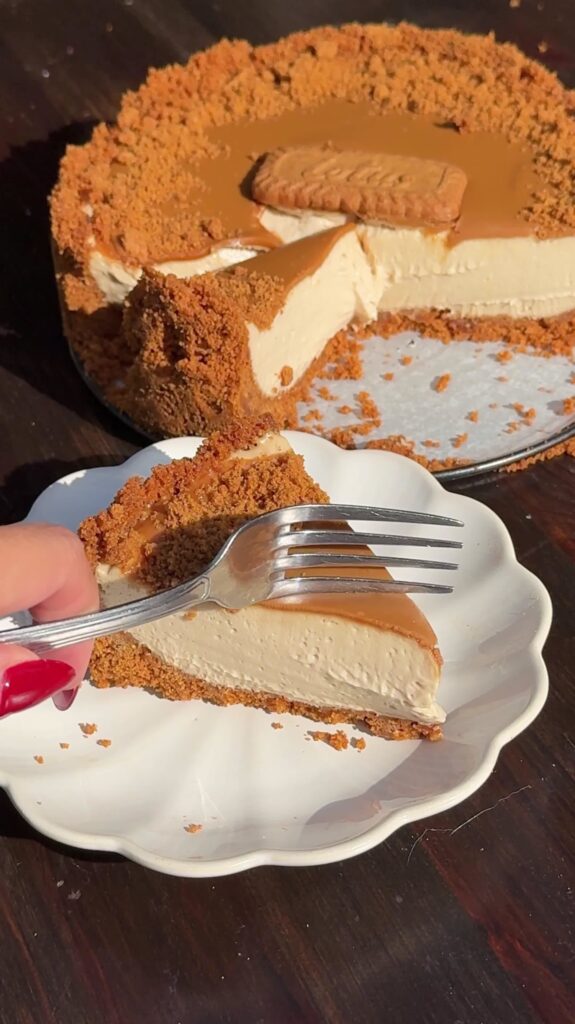
I remember the first time I bit into a Biscoff tartlet on my balcony, watching the sunset. The spiced crunch of the cookie crust, the silky smoothness of the filling – it was love at first bite. Since then, I've perfected this recipe so you can enjoy that same magic at home.
Advertisements1
These tartlets are ridiculously simple to make, requiring just 30 minutes of active time and no oven. They're perfect for when you need a showstopper dessert without the fuss. The Lotus Biscoff spread (cookie butter) is the star, giving a caramelized, spiced flavor that's irresistible.
Whether you're hosting a dinner party or just treating yourself, these tartlets are a crowd-pleaser. Plus, they're endlessly customizable – try them with a dollop of whipped cream or a sprinkle of sea salt. Let's get baking (or rather, no-baking)!
Why You'll Love This Recipe
About the Ingredients
1 ½ cups (190g) Biscoff cookie crumbs (about 24 cookies)
Use regular Biscoff cookies (not the spread) for the crust. If you can't find crumbs, crush whole cookies in a ziplock bag with a rolling pin.
5 tablespoons (70g) unsalted butter, melted
Salted butter works too, but omit the added salt in the crust. For a dairy-free version, use vegan butter or coconut oil.
1 cup (240ml) heavy cream, cold
Heavy cream or whipping cream (30-36% fat) works best. For a lighter option, use full-fat coconut cream, chilled overnight.
8 oz (225g) cream cheese, softened
Full-fat cream cheese gives the best texture. Low-fat will work but may result in a slightly less creamy filling.
½ cup (100g) granulated sugar
You can reduce to ¼ cup if you prefer less sweetness, or substitute with powdered sugar for a smoother texture.
1 teaspoon vanilla extract
Pure vanilla extract adds depth. You can use almond extract for a nutty twist, but use ½ teaspoon.
½ cup (130g) Biscoff spread (cookie butter), plus extra for drizzling
Use smooth Biscoff spread for the filling. Crunchy works too if you like texture. You can also use speculoos spread from other brands.
Pinch of salt
Just a pinch to balance the sweetness. If using salted butter, skip this.
Optional: 6 whole Biscoff cookies for garnish
These are for topping each tartlet. You can also crush them for a sprinkle.
Tips & Tricks
- Make sure the cream cheese is fully softened to avoid lumps. Let it sit at room temperature for 30 minutes before mixing.
- When pressing the crust into the tartlet pans, use the bottom of a flat glass to get an even, compact layer.
- Chill the tartlets for at least 4 hours (or overnight) to let the filling set properly. Don't rush this step!
Pro Tips
Step-by-Step Instructions
1. Prepare the Crust
In a medium bowl, mix the Biscoff cookie crumbs with the melted butter and a pinch of salt until all crumbs are moistened. Press the mixture firmly into the bottom and up the sides of 6 (4-inch) tartlet pans (or a muffin tin). Use the back of a spoon or a flat-bottomed glass to compact it. Place the pans in the fridge while you make the filling.
2. Whip the Cream
In a chilled bowl, whip the cold heavy cream with an electric mixer on medium-high speed until stiff peaks form. This should take about 2-3 minutes. Set aside in the fridge.
3. Beat the Cream Cheese Mixture
In another bowl, beat the softened cream cheese with the sugar and vanilla extract until smooth and creamy, about 2 minutes. Scrape down the sides as needed.
4. Add the Biscoff Spread
Add the Biscoff spread to the cream cheese mixture and beat until fully combined and smooth. The mixture will be thick and caramel-colored.
5. Fold in Whipped Cream
Gently fold the whipped cream into the Biscoff mixture using a spatula. Do this in two additions, folding until just combined. Be careful not to deflate the mixture – you want it light and airy.
6. Fill the Tartlets
Remove the tartlet pans from the fridge. Spoon or pipe the filling into the crusts, smoothing the tops with a spatula. Tap the pans lightly on the counter to settle the filling.
7. Chill Until Set
Refrigerate the tartlets for at least 4 hours, or overnight, until the filling is firm. Do not skip this – it's essential for clean slicing.
8. Garnish and Serve
Before serving, drizzle with extra Biscoff spread (warm it slightly for a runny consistency) and top with a whole Biscoff cookie if desired. Serve chilled.
Delicious Variations
Chocolate Biscoff Tartlets
Add 2 tablespoons of cocoa powder to the crust mixture and stir ¼ cup of chocolate chips into the filling before folding in the cream.
Salted Caramel Swirl
Swirl ¼ cup of salted caramel sauce into the filling after piping, then use a knife to create marbled patterns.
Vegan Option
Use vegan butter, dairy-free cream cheese, and coconut cream instead of heavy cream. The texture will be slightly different but delicious.
How to Store Biscoff Tartlets
Refrigerator
Store in an airtight container in the fridge for up to 3 days. The crust may soften slightly but they'll still be tasty.
Freezer
Freeze the tartlets (without garnish) in a single layer in a freezer-safe container for up to 2 months. Thaw in the fridge overnight before serving.
Reheating
These are served chilled, so no reheating needed. If you prefer a softer texture, let them sit at room temperature for 5 minutes before eating.
Frequently Asked Questions
Q: Can I use regular graham crackers instead of Biscoff cookies?
Yes, but the flavor will be different. Use 1 ½ cups of graham cracker crumbs and add 1 teaspoon of cinnamon and ½ teaspoon of nutmeg to mimic the spice. The crust will still be delicious.
Q: Can I make these tartlets in advance?
Absolutely! In fact, they taste even better the next day. You can make them up to 2 days ahead and keep them covered in the fridge. Just add the garnish right before serving.
Q: What can I use instead of cream cheese?
For a dairy-free option, use vegan cream cheese or mascarpone. You can also use Greek yogurt for a tangier filling, but it will be less creamy and may set softer.
Q: How do I get the tartlets out of the pan cleanly?
Use tartlet pans with removable bottoms for easy release. If using a muffin tin, line with paper liners and lift out. You can also place the pan in a warm water bath for a few seconds to loosen the edges.
I hope you love these Biscoff Tartlets as much as I do! If you try them, let me know in the comments below – I'd love to hear how they turned out. And don't forget to share your creations on social media with #BiscoffTartlets. Happy growing!
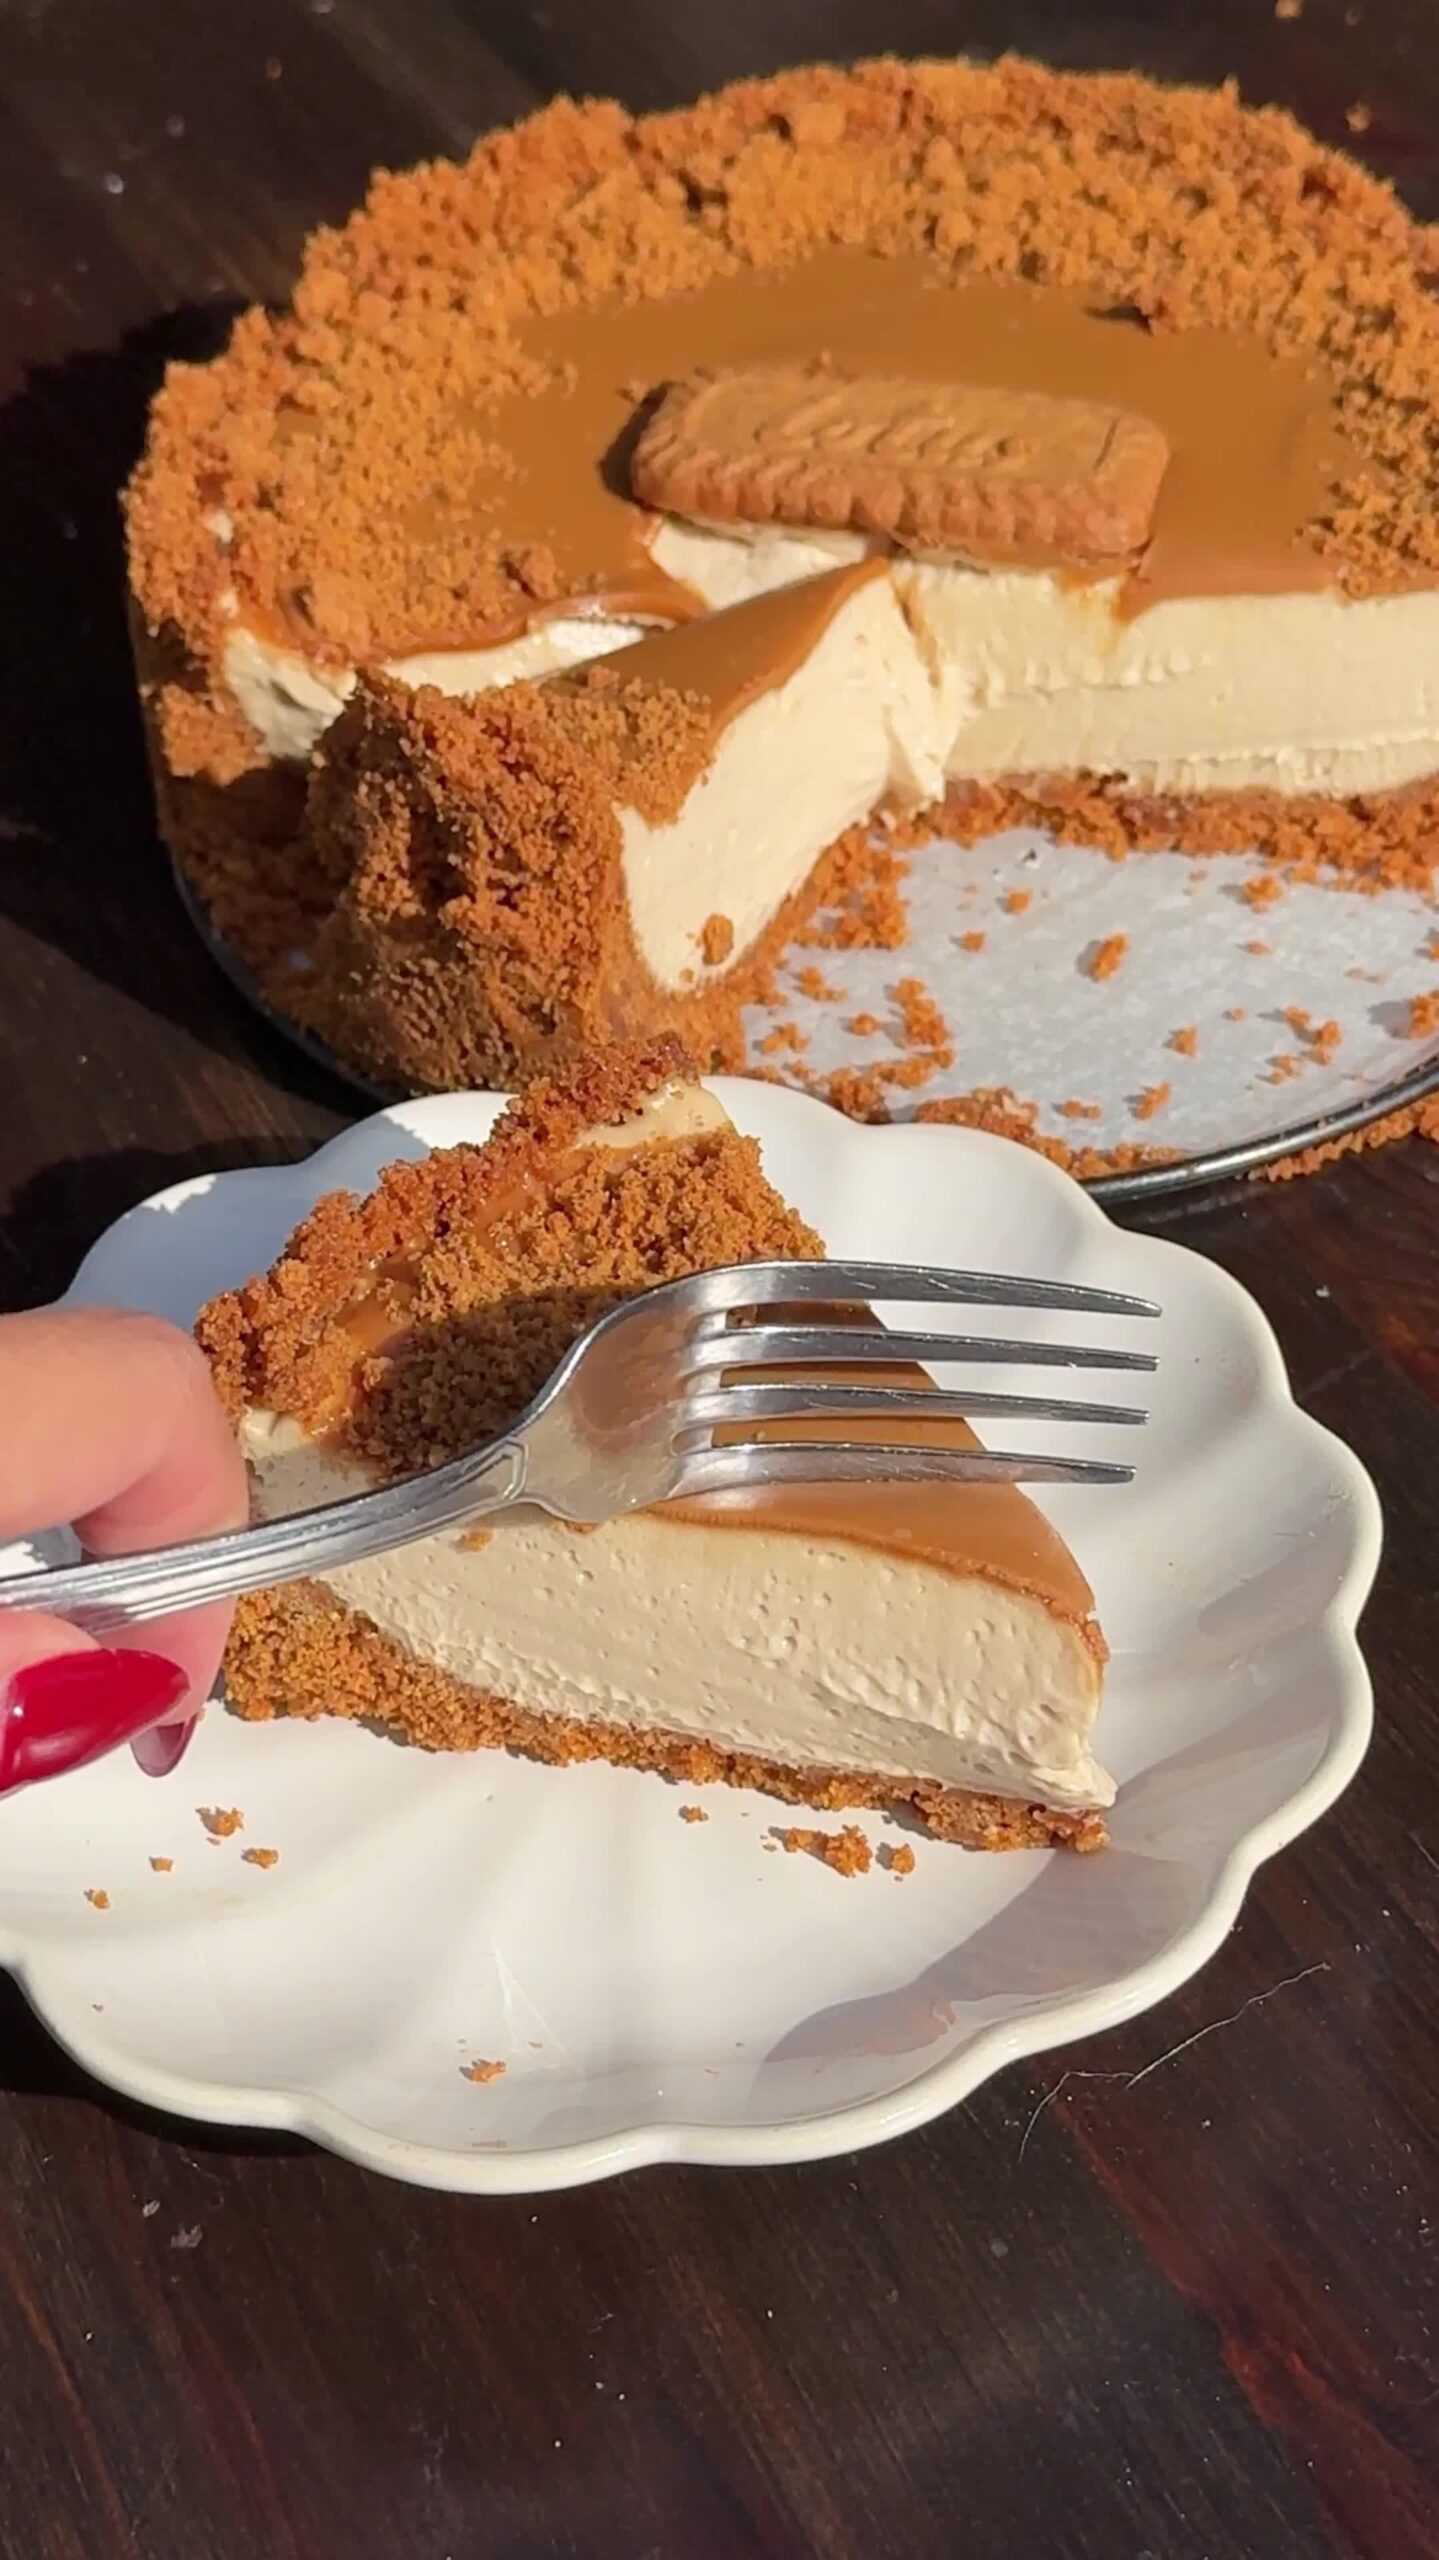
Biscoff Tartlets
Easy Biscoff Tartlets with a crunchy cookie crust and silky Biscoff cream filling – a 30-minute no-bake dessert that wows.
🧂 Ingredients
- 1 ½ cups (190g) Biscoff cookie crumbs (about 24 cookies)
- 5 tablespoons (70g) unsalted butter, melted
- 1 cup (240ml) heavy cream, cold
- 8 oz (225g) cream cheese, softened
- ½ cup (100g) granulated sugar
- 1 teaspoon vanilla extract
- ½ cup (130g) Biscoff spread (cookie butter), plus extra for drizzling
- Pinch of salt
- Optional: 6 whole Biscoff cookies for garnish
📋 Instructions
- 1Prepare the Crust — In a medium bowl, mix the Biscoff cookie crumbs with the melted butter and a pinch of salt until all crumbs are moistened. Press the mixture firmly into the bottom and up the sides of 6 (4-inch) tartlet pans (or a muffin tin). Use the back of a spoon or a flat-bottomed glass to compact it. Place the pans in the fridge while you make the filling.
- 2Whip the Cream — In a chilled bowl, whip the cold heavy cream with an electric mixer on medium-high speed until stiff peaks form. This should take about 2-3 minutes. Set aside in the fridge.
- 3Beat the Cream Cheese Mixture — In another bowl, beat the softened cream cheese with the sugar and vanilla extract until smooth and creamy, about 2 minutes. Scrape down the sides as needed.
- 4Add the Biscoff Spread — Add the Biscoff spread to the cream cheese mixture and beat until fully combined and smooth. The mixture will be thick and caramel-colored.
- 5Fold in Whipped Cream — Gently fold the whipped cream into the Biscoff mixture using a spatula. Do this in two additions, folding until just combined. Be careful not to deflate the mixture – you want it light and airy.
- 6Fill the Tartlets — Remove the tartlet pans from the fridge. Spoon or pipe the filling into the crusts, smoothing the tops with a spatula. Tap the pans lightly on the counter to settle the filling.
- 7Chill Until Set — Refrigerate the tartlets for at least 4 hours, or overnight, until the filling is firm. Do not skip this – it's essential for clean slicing.
- 8Garnish and Serve — Before serving, drizzle with extra Biscoff spread (warm it slightly for a runny consistency) and top with a whole Biscoff cookie if desired. Serve chilled.

Maya writes about urban gardening and sustainable living, focusing on small-space solutions and budget-friendly projects. She shares practical tips for growing food in apartments and balconies.