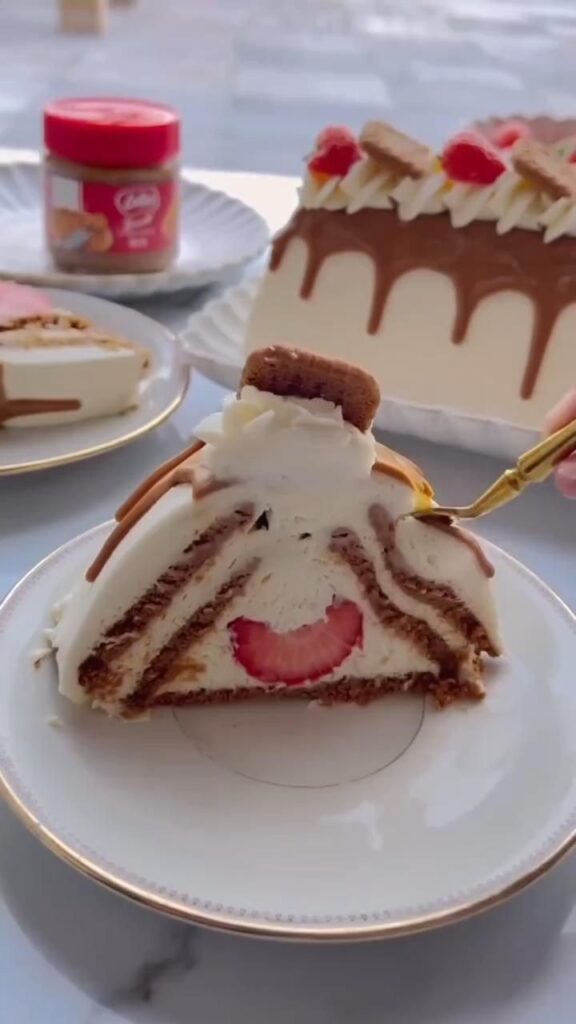
Hey there! I'm Maya, and if you're like me, you have a jar of Biscoff spread sitting in your pantry just begging to be used. Today, I'm sharing my absolute favorite way to turn it into a show-stopping dessert that's surprisingly simple.
Advertisements1
This Biscoff dessert is a no-bake layered dream: a buttery cookie crust, a silky smooth cheesecake filling, and a glossy Biscoff drizzle on top. It's the perfect make-ahead treat for parties, potlucks, or just because you deserve something special.
I first made this for a family gathering, and it disappeared in minutes. The best part? You don't even need to turn on your oven. Let's get started!
Why You'll Love This Recipe
About the Ingredients
1 1/2 cups (180g) Biscoff cookie crumbs (about 18 cookies)
Use the classic caramelized Biscoff cookies. You can crush them in a food processor or by placing them in a zip-top bag and rolling with a rolling pin. If you can't find Biscoff, any speculoos cookie works.
1/4 cup (60g) unsalted butter, melted
Salted butter works too, just skip the added salt. For a dairy-free option, use coconut oil or vegan butter.
8 oz (226g) cream cheese, softened
Full-fat cream cheese gives the best texture. For a lighter version, use reduced-fat, but it won't be as rich. Make sure it's at room temperature to avoid lumps.
1/2 cup (100g) granulated sugar
Regular white sugar is fine. You can reduce to 1/3 cup if you prefer less sweet, or use a sugar substitute like monk fruit.
1 cup (240ml) heavy whipping cream
Heavy cream is essential for a fluffy, mousse-like filling. You can substitute with full-fat coconut cream for a dairy-free version, but chill it well before whipping.
1/2 cup (120g) Biscoff spread, plus extra for drizzling
The creamy Biscoff spread is the star of the show. If you only have crunchy, that works too—it adds little cookie bits. You can also use any cookie butter brand.
1 teaspoon vanilla extract
Pure vanilla extract adds depth. You can use imitation vanilla if that's what you have, but pure is better.
Pinch of salt
Just a pinch to balance the sweetness. If using salted butter, you can omit.
Optional: crushed Biscoff cookies for topping
Extra cookies add a nice crunch on top. You can also use chopped nuts or chocolate shavings.
Tips & Tricks
Use a hot knife to get clean slices
run it under hot water, wipe dry, then cut.
- Make sure your cream cheese is truly at room temperature to avoid lumps in the filling.
- When whipping the cream, chill the bowl and beaters in the freezer for 5 minutes for faster, fluffier peaks.
- If you're in a hurry, you can skip the chilling step for the crust, but it helps the crust set and makes slicing cleaner.
Pro Tips
Step-by-Step Instructions
1. Make the crust
In a medium bowl, combine the Biscoff cookie crumbs and melted butter. Mix until the crumbs are evenly moistened. Press the mixture firmly into the bottom of a 9-inch (23cm) springform pan or pie dish. Place in the freezer to set while you make the filling.
2. Beat the cream cheese
In a large bowl, beat the softened cream cheese and sugar together until smooth and creamy, about 2 minutes. Add the vanilla extract and a pinch of salt, and beat until combined.
3. Whip the cream
In a separate chilled bowl, whip the heavy cream until stiff peaks form. Be careful not to over-whip, or it will become butter. You should be able to lift the whisk and see peaks that stand straight up.
4. Fold the cream
Gently fold the whipped cream into the cream cheese mixture in three additions. Use a rubber spatula and a gentle cutting motion to keep the mixture light and airy.
5. Add the Biscoff spread
Melt the Biscoff spread in the microwave for 15-20 seconds until pourable. Add it to the mixture and fold gently until just combined, leaving a few swirls if you like.
6. Assemble the dessert
Pour the filling over the chilled crust and smooth the top with a spatula. Drizzle extra melted Biscoff spread over the top and use a knife to create swirls. Sprinkle with crushed cookies if desired.
7. Chill to set
Refrigerate for at least 4 hours, or overnight, until the filling is firm. This step is crucial for clean slices.
8. Serve and enjoy
Carefully remove the springform pan sides. Slice with a hot knife, wiping between cuts. Serve chilled and enjoy!
Delicious Variations
Biscoff Cheesecake Bars
Press the crust into a square pan, add the filling, and chill. Cut into bars for easy serving.
Biscoff Parfaits
Layer crushed cookies, filling, and drizzle in glasses for a quick no-chill version.
Biscoff Chocolate Swirl
Add 2 tablespoons of melted dark chocolate to the filling for a marbled effect.
How to Store Biscoff Dessert Ideas
Refrigerator
Store covered in the refrigerator for up to 5 days. Keep it chilled until serving.
Freezer
Wrap the unmolded dessert tightly in plastic wrap and foil, and freeze for up to 2 months. Thaw overnight in the refrigerator.
Reheating
This dessert is best served cold. No reheating needed.
Frequently Asked Questions
Q: Can I make this Biscoff dessert without cream cheese?
Yes, you can substitute the cream cheese with an equal amount of mascarpone or a dairy-free cream cheese alternative, but the texture will be slightly different. For a no-cream-cheese version, you can make a simple mousse with just whipped cream and Biscoff spread.
Q: How long does this dessert need to set?
It needs at least 4 hours in the refrigerator to set properly, but overnight is best for the firmest texture. If you're in a rush, you can freeze it for 1-2 hours, but it won't be as creamy.
Q: Can I use regular cookies instead of Biscoff?
Yes, you can use speculoos, ginger snaps, or even graham crackers, but the flavor will be different. Biscoff has a unique caramelized spice flavor that really makes this dessert special.
Q: Can I make this dessert vegan?
Yes, use dairy-free cream cheese, coconut whipped cream, and vegan butter or coconut oil for the crust. Also, check that your Biscoff spread is vegan—the original is, but some varieties may not be.
I hope you love this Biscoff dessert as much as I do! If you try it, let me know in the comments below. And if you're feeling adventurous, try swapping the crust for chocolate cookies next time—you might just discover your new favorite. Here's to small steps, together.
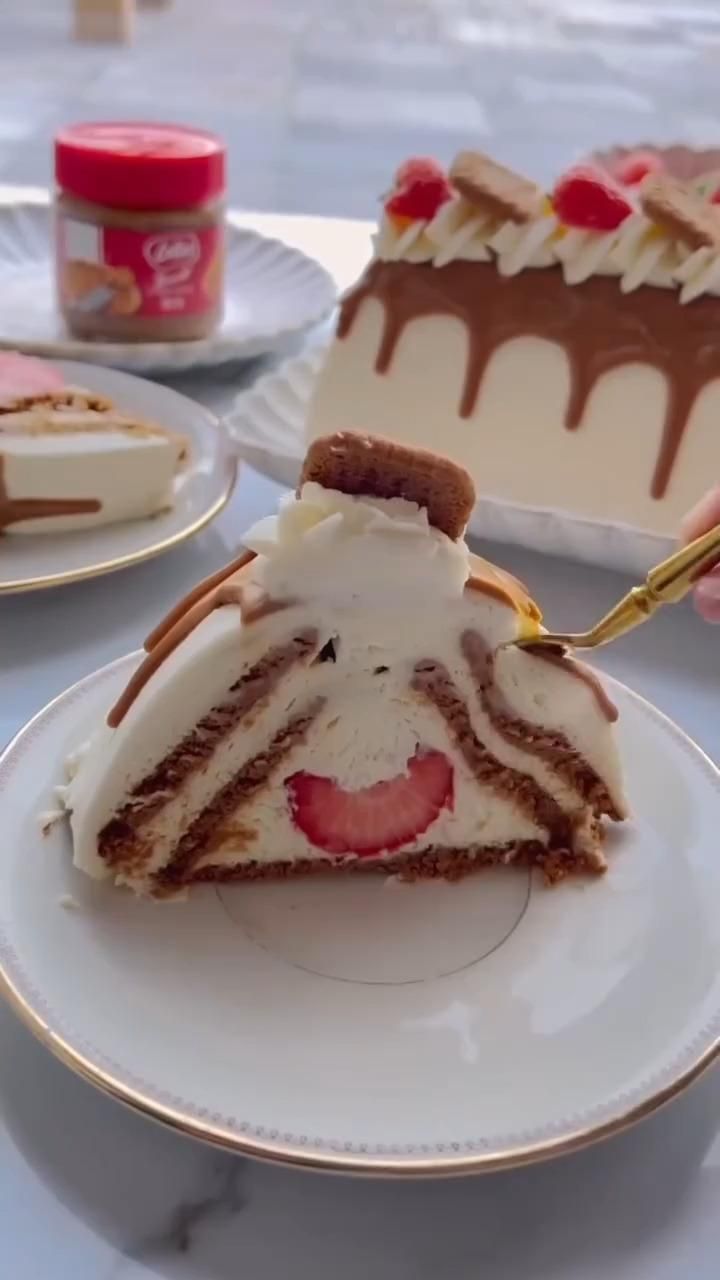
Biscoff Dessert Ideas
Indulge in these easy Biscoff dessert ideas: creamy, crunchy, and ready in 30 minutes. Perfect for any occasion.
🧂 Ingredients
- 1 1/2 cups (180g) Biscoff cookie crumbs (about 18 cookies)
- 1/4 cup (60g) unsalted butter, melted
- 8 oz (226g) cream cheese, softened
- 1/2 cup (100g) granulated sugar
- 1 cup (240ml) heavy whipping cream
- 1/2 cup (120g) Biscoff spread, plus extra for drizzling
- 1 teaspoon vanilla extract
- Pinch of salt
- Optional: crushed Biscoff cookies for topping
📋 Instructions
- 1Make the crust — In a medium bowl, combine the Biscoff cookie crumbs and melted butter. Mix until the crumbs are evenly moistened. Press the mixture firmly into the bottom of a 9-inch (23cm) springform pan or pie dish. Place in the freezer to set while you make the filling.
- 2Beat the cream cheese — In a large bowl, beat the softened cream cheese and sugar together until smooth and creamy, about 2 minutes. Add the vanilla extract and a pinch of salt, and beat until combined.
- 3Whip the cream — In a separate chilled bowl, whip the heavy cream until stiff peaks form. Be careful not to over-whip, or it will become butter. You should be able to lift the whisk and see peaks that stand straight up.
- 4Fold the cream — Gently fold the whipped cream into the cream cheese mixture in three additions. Use a rubber spatula and a gentle cutting motion to keep the mixture light and airy.
- 5Add the Biscoff spread — Melt the Biscoff spread in the microwave for 15-20 seconds until pourable. Add it to the mixture and fold gently until just combined, leaving a few swirls if you like.
- 6Assemble the dessert — Pour the filling over the chilled crust and smooth the top with a spatula. Drizzle extra melted Biscoff spread over the top and use a knife to create swirls. Sprinkle with crushed cookies if desired.
- 7Chill to set — Refrigerate for at least 4 hours, or overnight, until the filling is firm. This step is crucial for clean slices.
- 8Serve and enjoy — Carefully remove the springform pan sides. Slice with a hot knife, wiping between cuts. Serve chilled and enjoy!

Maya writes about sustainable living and zero-waste practices, focusing on small, actionable swaps for everyday routines. She tests products and shares what actually works for busy households.