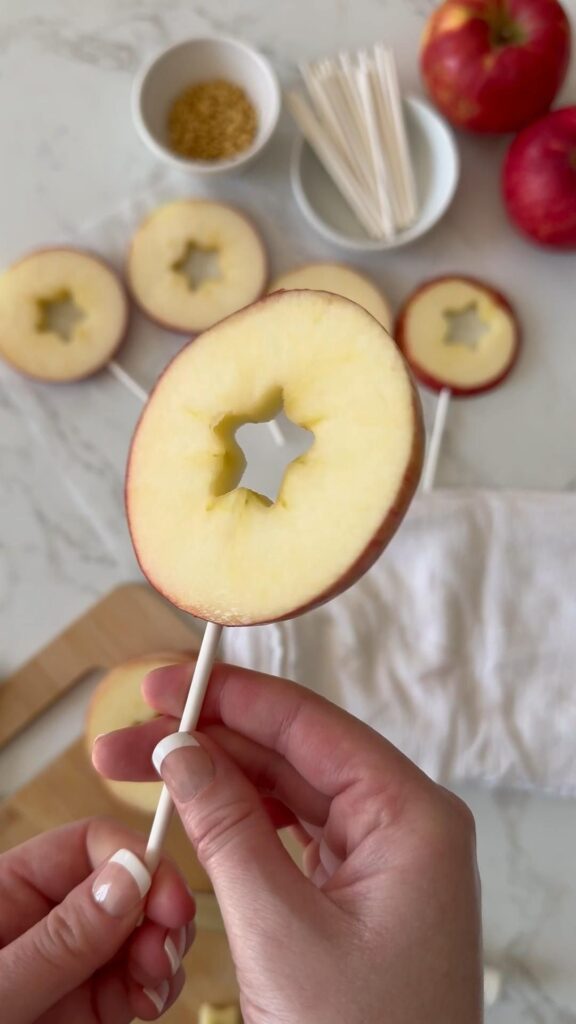
Welcome to my kitchen! Today, I'm sharing my favorite ways to turn humble apples into stunning edible decorations. Whether you're packing a school lunch or setting a festive table, these simple techniques will make everyone smile.
Advertisements1
I remember the first time I made apple 'roses' for a dinner party – my kids couldn't believe they were actually apples. With just a few tools and a little patience, you can create beautiful, healthy snacks that look like they came from a fancy bakery.
No special skill required – just a steady hand and a willingness to play with your food. Let's get started!
Why You'll Love This Recipe
About the Ingredients
4 large crisp apples (e.g., Honeycrisp, Fuji, or Gala)
Choose firm, unbruised apples for best results. Any variety works, but tart apples hold their shape well.
1 lemon, juiced
Prevents browning and adds a fresh tang. Use bottled lemon juice if needed.
2 cups (240g) cold water
For the lemon water bath. Filtered water works fine.
1 tablespoon (15ml) honey or maple syrup (optional)
Adds a touch of sweetness. Skip for savory decorations.
1 teaspoon (2g) ground cinnamon (optional)
For a warm spice flavor. Substitute pumpkin pie spice for variety.
Tips & Tricks
- Use a sharp paring knife or mandoline for thin, even slices – they bend better.
- Soak apple slices in lemon water for 5 minutes to prevent browning.
- Pat slices dry before shaping to help them hold their form.
- Work quickly but calmly – if slices crack, they're too thick; aim for 1/8-inch thickness.
Pro Tips
Step-by-Step Instructions
1. Prepare the Apple Slices
Core the apples and slice them into 1/8-inch (3mm) thin rounds using a mandoline or sharp knife. You'll need about 20-24 slices for a rose. Place slices in a bowl with lemon juice and cold water; let soak for 5 minutes. Pat dry with paper towels.
2. Create Apple Roses
Overlap 6-8 slices horizontally, slightly overlapping each other. Roll the entire stack from one end to the other, keeping it tight. Place the roll upright in a muffin tin cup – the slices will fan out like petals. Repeat for each rose.
3. Bake the Roses
Preheat oven to 375°F (190°C). Bake the roses for 20-25 minutes until the edges are slightly golden and the apples are tender. The centers should feel soft when pierced with a fork. Remove and let cool completely – they will firm up as they cool.
4. Make Apple Swans
For a decorative swan, cut an apple in half and remove the core. Place the cut side down and cut a thin wedge for the head/neck. Then, make parallel cuts on the body to create wings, leaving the top intact. Fan the slices gently to separate. Soak in lemon water to prevent browning.
5. Craft Apple Leaves
Using a small cookie cutter or paring knife, cut leaf shapes from apple slices. Use the peel for a contrasting green or red. These are perfect for garnishing cakes or salads.
6. Assemble the Display
Arrange the roses, swans, and leaves on a platter or cake. Brush lightly with honey or maple syrup and sprinkle with cinnamon if desired. Serve immediately or refrigerate until ready.
Delicious Variations
- Add red food coloring to the lemon water for pink roses.
- Fill the center of each rose with a raspberry or a drizzle of caramel.
- Use pear or peach slices for a different fruit twist.
How to Store Creative Apple Decoration Tips
Refrigerator
Store decorations in an airtight container in the fridge for up to 2 days. They may brown slightly.
Freezer
Freeze fully decorated items on a baking sheet, then transfer to a freezer bag for up to 1 month. Thaw in the fridge.
Reheating
Briefly warm in a 300°F (150°C) oven for 5 minutes to refresh crispness.
Frequently Asked Questions
Q: How do I keep apple decorations from turning brown?
Soak the slices in lemon water for 5 minutes before shaping. The citric acid slows oxidation, keeping them bright for hours.
Q: Can I make apple roses ahead of time?
Yes, bake them up to 2 days in advance. Store in an airtight container in the fridge, and reheat briefly to crisp them.
Q: What apples are best for decoration?
Firm, crisp varieties like Honeycrisp, Fuji, or Gala hold their shape best. Avoid mealy apples like Red Delicious.
Q: Do I need a mandoline to slice apples thin?
No, a sharp knife works, but a mandoline ensures even 1/8-inch slices for better bending. If using a knife, slice as thinly and uniformly as possible.
Q: Can I use these decorations in a pie?
Absolutely! Place apple roses on top of a pie before baking, or use leaves as garnish. Just adjust baking time accordingly.
Try these fun decorations this weekend – start with one apple rose and see how easy it is. Share your creations with me! Here's to small steps, together.
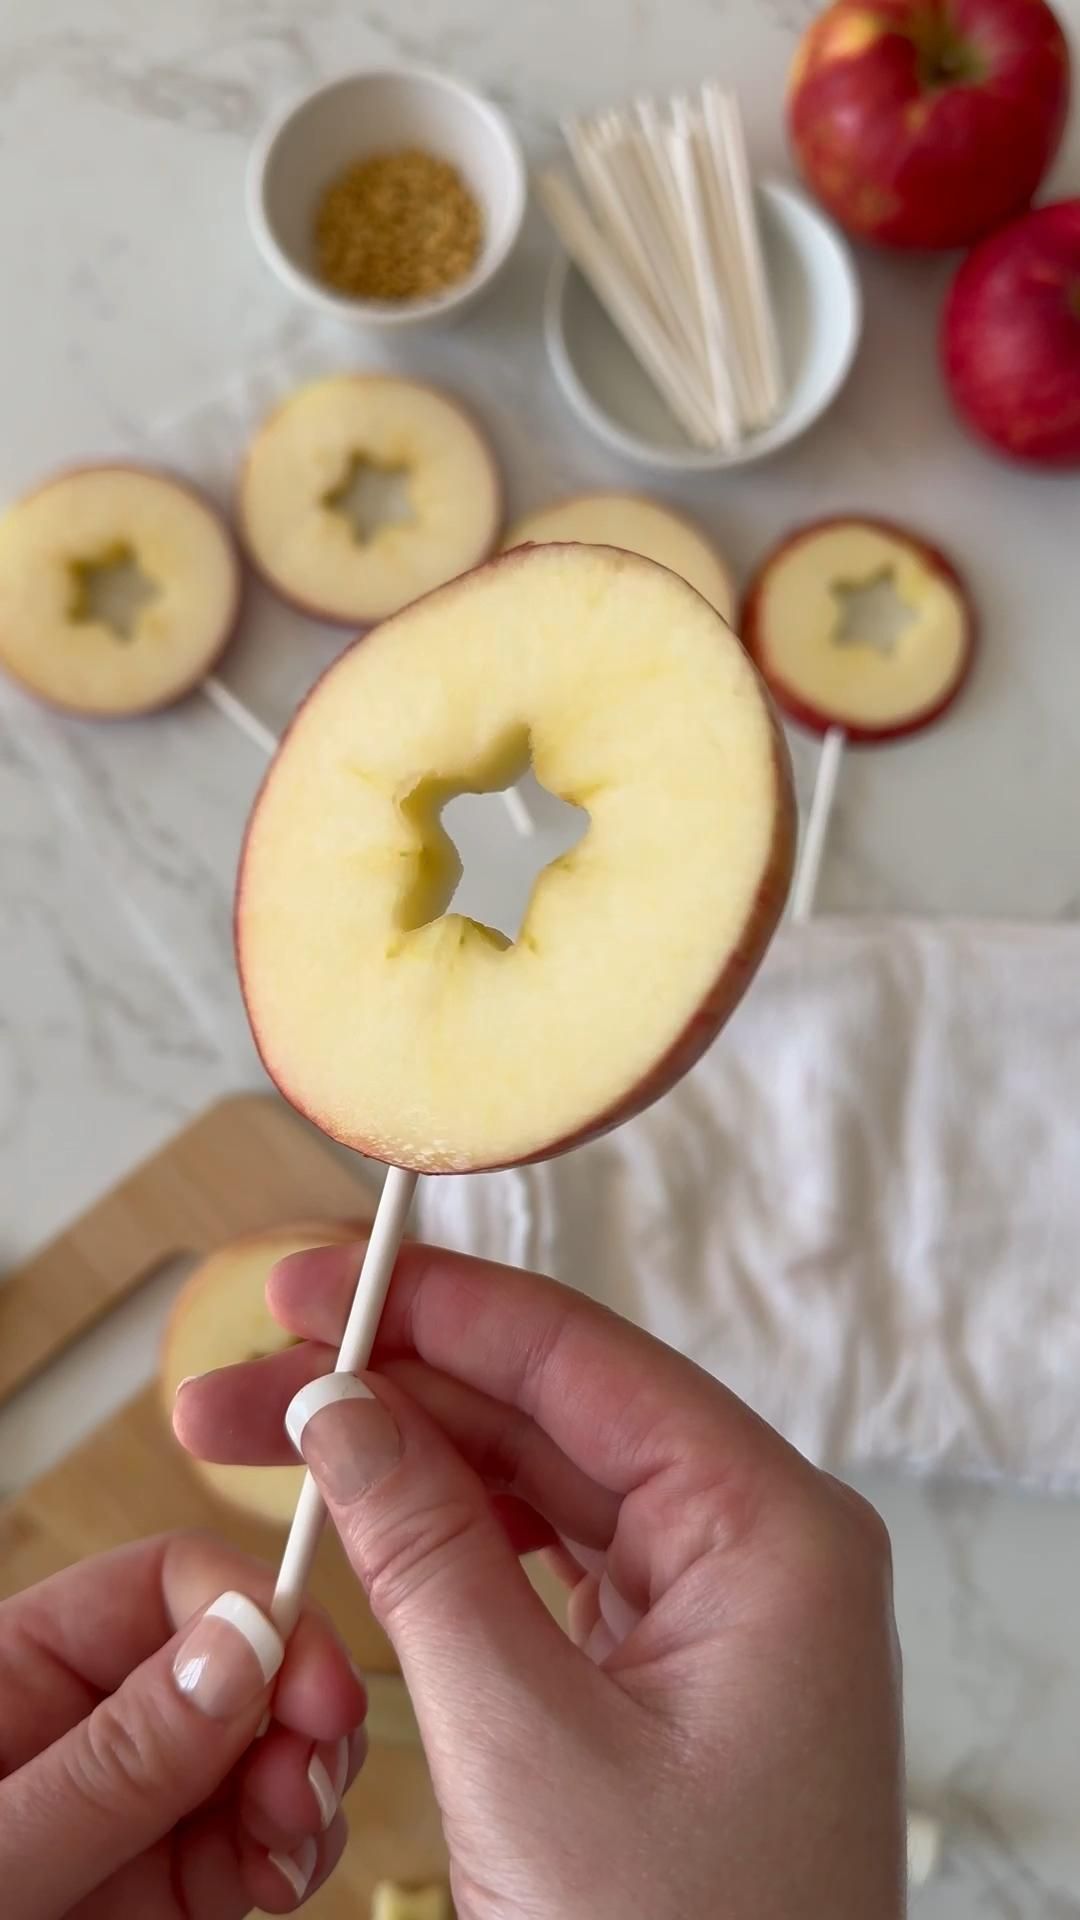
Creative Apple Decoration Tips
Creative Apple Decoration Tips transform simple apples into edible art with easy techniques for parties, lunchboxes, and holiday treats.
🧂 Ingredients
- 4 large crisp apples (e.g., Honeycrisp, Fuji, or Gala)
- 1 lemon, juiced
- 2 cups (240g) cold water
- 1 tablespoon (15ml) honey or maple syrup (optional)
- 1 teaspoon (2g) ground cinnamon (optional)
📋 Instructions
- 1Prepare the Apple Slices — Core the apples and slice them into 1/8-inch (3mm) thin rounds using a mandoline or sharp knife. You'll need about 20-24 slices for a rose. Place slices in a bowl with lemon juice and cold water; let soak for 5 minutes. Pat dry with paper towels.
- 2Create Apple Roses — Overlap 6-8 slices horizontally, slightly overlapping each other. Roll the entire stack from one end to the other, keeping it tight. Place the roll upright in a muffin tin cup – the slices will fan out like petals. Repeat for each rose.
- 3Bake the Roses — Preheat oven to 375°F (190°C). Bake the roses for 20-25 minutes until the edges are slightly golden and the apples are tender. The centers should feel soft when pierced with a fork. Remove and let cool completely – they will firm up as they cool.
- 4Make Apple Swans — For a decorative swan, cut an apple in half and remove the core. Place the cut side down and cut a thin wedge for the head/neck. Then, make parallel cuts on the body to create wings, leaving the top intact. Fan the slices gently to separate. Soak in lemon water to prevent browning.
- 5Craft Apple Leaves — Using a small cookie cutter or paring knife, cut leaf shapes from apple slices. Use the peel for a contrasting green or red. These are perfect for garnishing cakes or salads.
- 6Assemble the Display — Arrange the roses, swans, and leaves on a platter or cake. Brush lightly with honey or maple syrup and sprinkle with cinnamon if desired. Serve immediately or refrigerate until ready.

Maya writes about sustainable living and zero-waste practices, focusing on small, actionable swaps for everyday routines. She tests products and shares what actually works for busy households.