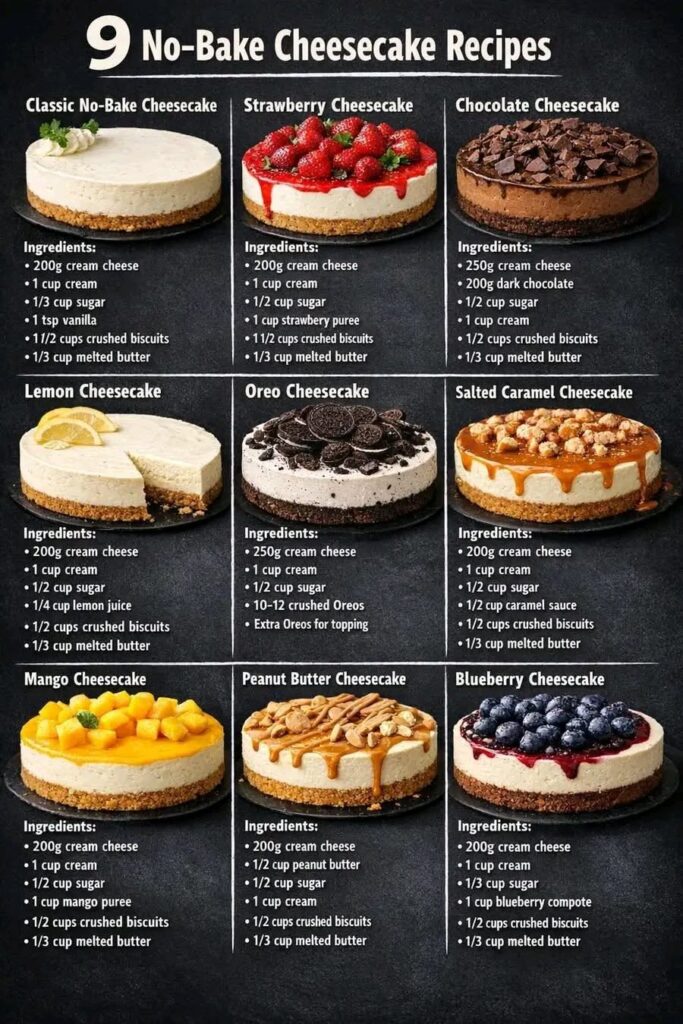
I remember the first time I tried to make a cheesecake. It cracked, it sank, and honestly, it tasted more like a sweet omelet. But this Chocolate Cheesecake Design? It's the one that made me fall in love with baking. It's the dessert I bring to every potluck, and it never fails to get 'oohs' and 'aahs'.
Advertisements1
What I love about this recipe is that it doesn't require a water bath or any fancy equipment. You just mix, pour, and bake. The result is a dense, creamy, chocolatey slice that looks like it came from a bakery. And the best part? You can decorate it however you like – drizzle with ganache, add fresh berries, or keep it simple with a dusting of cocoa.
Whether you're a beginner or a seasoned baker, this recipe is forgiving and foolproof. Plus, it's a great way to use up that cream cheese sitting in your fridge. Let's get started!
Why You'll Love This Recipe
About the Ingredients
1 1/2 cups (180g) graham cracker crumbs
Use store-bought crumbs or crush your own. For a gluten-free option, use gluten-free graham crackers.
1/4 cup (50g) granulated sugar
Regular white sugar works best for the crust. You can use coconut sugar for a deeper flavor.
6 tablespoons (85g) unsalted butter, melted
Salted butter works too, just reduce the added salt in the filling. For a dairy-free version, use vegan butter.
3 (8 oz) packages (680g) cream cheese, softened
Full-fat cream cheese gives the best texture. Neufchâtel (low-fat) works but yields a slightly less creamy result.
1 cup (200g) granulated sugar
You can reduce sugar to 3/4 cup if you prefer a less sweet cheesecake.
3 large eggs
Bring to room temperature for a smoother batter. Room-temp eggs incorporate better and prevent lumps.
1 teaspoon vanilla extract
Pure vanilla extract is best. You can use vanilla bean paste for specks.
8 oz (227g) semisweet chocolate, melted
Use good quality chocolate bars or chips. For a milk chocolate version, use milk chocolate chips.
1/2 cup (120ml) sour cream
Sour cream adds tang and moisture. Greek yogurt is a great substitute.
Tips & Tricks
Room temperature ingredients
Make sure cream cheese, eggs, and sour cream are at room temperature to avoid lumps and ensure a smooth batter.
Don't overmix
Overmixing incorporates air, which can cause cracks. Mix just until combined.
Cool gradually
After baking, turn off the oven and let the cheesecake cool inside with the door ajar for 1 hour to prevent cracking.
Pro Tips
Step-by-Step Instructions
1. Preheat and prep
Preheat your oven to 350°F (175°C). Grease a 9-inch springform pan and wrap the outside with aluminum foil if using a water bath.
2. Make the crust
In a medium bowl, combine graham cracker crumbs, 1/4 cup sugar, and melted butter. Press firmly into the bottom of the prepared pan. Bake for 10 minutes, until lightly golden. Set aside to cool.
3. Beat the cream cheese
In a large bowl, beat softened cream cheese and 1 cup sugar on medium speed until smooth and creamy, about 2 minutes. Scrape down the sides.
4. Add eggs and vanilla
Add eggs one at a time, beating well after each addition. Mix in vanilla extract. Be careful not to overmix.
5. Add chocolate and sour cream
With mixer on low, add melted chocolate and sour cream. Mix just until combined. The batter should be smooth and glossy.
6. Pour and bake
Pour the filling over the cooled crust. Smooth the top. Place the pan in a larger baking dish and add hot water to come halfway up the sides. Bake at 350°F (175°C) for 35 minutes, or until the edges are set and the center is slightly jiggly. The internal temperature should reach 150°F (65°C).
7. Cool and chill
Turn off the oven and leave the cheesecake inside with the door ajar for 1 hour. Then remove and cool completely on a wire rack. Refrigerate for at least 6 hours, preferably overnight.
8. Design and serve
Before serving, run a knife around the edges and release the springform. Decorate with chocolate shavings, fresh berries, or a drizzle of ganache. Slice with a hot knife for clean pieces.
Delicious Variations
Peanut Butter Swirl
Swirl 1/2 cup of peanut butter into the batter before baking.
Raspberry Chocolate
Add a layer of raspberry jam or fresh raspberries on top of the crust before pouring the filling.
Mint Chocolate
Add 1/2 teaspoon of peppermint extract and top with crushed peppermint candies.
How to Store Chocolate Cheesecake Design
Refrigerator
Store in an airtight container in the fridge for up to 5 days.
Freezer
Wrap tightly in plastic wrap and foil, then freeze for up to 2 months. Thaw in the fridge overnight.
Reheating
Serve chilled. If you prefer it slightly warm, microwave individual slices for 10-15 seconds.
Frequently Asked Questions
Q: Why did my cheesecake crack?
Cracks usually happen from overbaking or a sudden temperature change. Bake until the center is slightly jiggly and cool gradually in the oven.
Q: Can I make this without a water bath?
Yes, you can skip the water bath, but the cheesecake may crack more easily. If skipping, reduce oven temperature to 325°F (165°C) and bake for 40-45 minutes.
Q: How do I know when the cheesecake is done?
The edges should be set and the center should wobble slightly when shaken. An instant-read thermometer should read 150°F (65°C).
Q: Can I use milk chocolate instead of semisweet?
Yes, but the cheesecake will be sweeter and less intense. Use 8 oz of milk chocolate and reduce the sugar to 3/4 cup.
I hope you enjoy this Chocolate Cheesecake Design as much as my family does! If you try it, leave a comment below and let me know how it turned out. Happy baking!
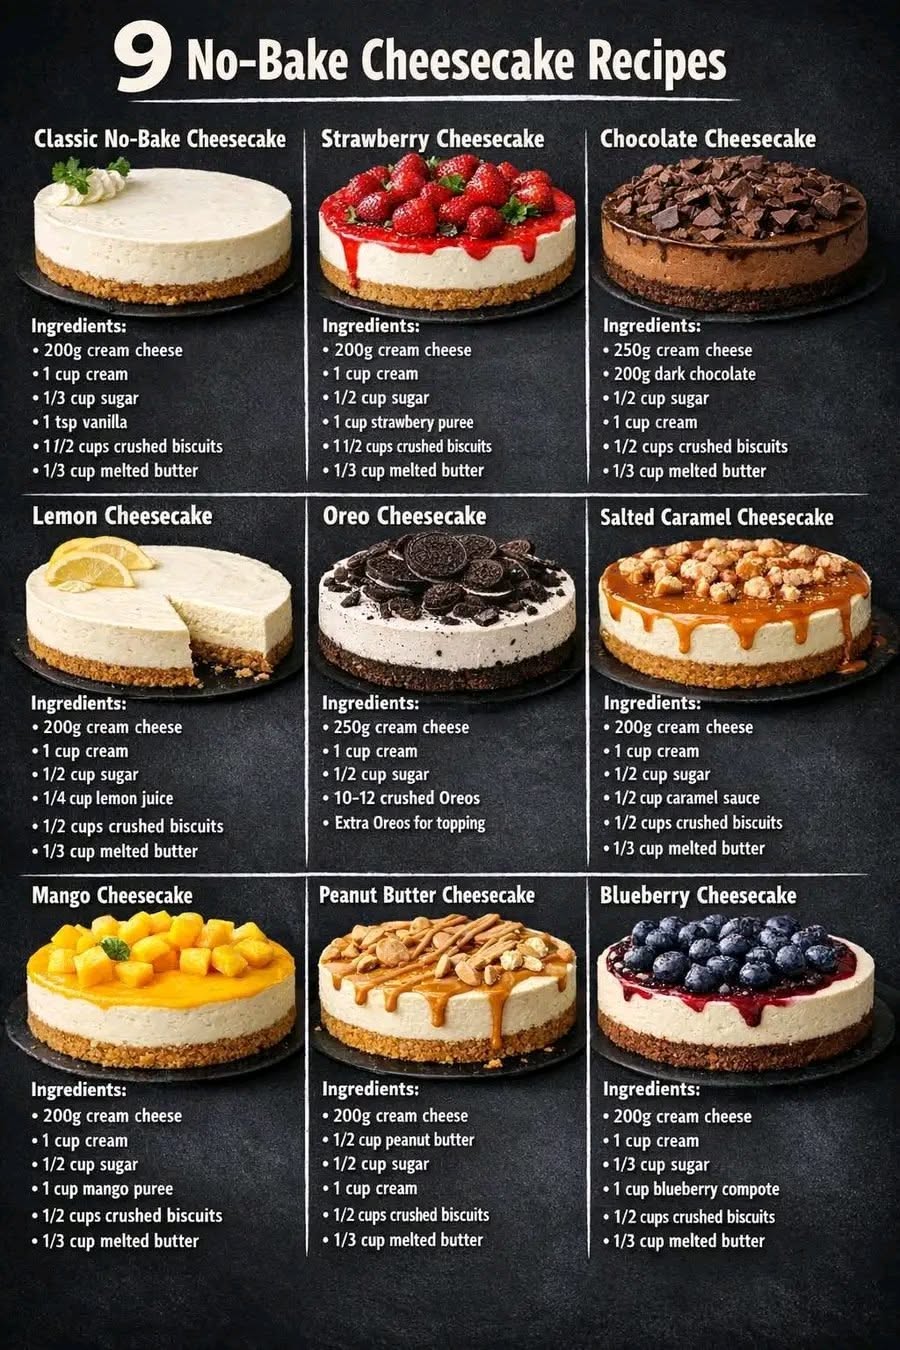
Chocolate Cheesecake Design
Chocolate Cheesecake Design is a stunning yet easy dessert with a silky chocolate filling and a buttery crust, perfect for impressing guests.
🧂 Ingredients
- 1 1/2 cups (180g) graham cracker crumbs
- 1/4 cup (50g) granulated sugar
- 6 tablespoons (85g) unsalted butter, melted
- 3 (8 oz) packages (680g) cream cheese, softened
- 1 cup (200g) granulated sugar
- 3 large eggs
- 1 teaspoon vanilla extract
- 8 oz (227g) semisweet chocolate, melted
- 1/2 cup (120ml) sour cream
📋 Instructions
- 1Preheat and prep — Preheat your oven to 350°F (175°C). Grease a 9-inch springform pan and wrap the outside with aluminum foil if using a water bath.
- 2Make the crust — In a medium bowl, combine graham cracker crumbs, 1/4 cup sugar, and melted butter. Press firmly into the bottom of the prepared pan. Bake for 10 minutes, until lightly golden. Set aside to cool.
- 3Beat the cream cheese — In a large bowl, beat softened cream cheese and 1 cup sugar on medium speed until smooth and creamy, about 2 minutes. Scrape down the sides.
- 4Add eggs and vanilla — Add eggs one at a time, beating well after each addition. Mix in vanilla extract. Be careful not to overmix.
- 5Add chocolate and sour cream — With mixer on low, add melted chocolate and sour cream. Mix just until combined. The batter should be smooth and glossy.
- 6Pour and bake — Pour the filling over the cooled crust. Smooth the top. Place the pan in a larger baking dish and add hot water to come halfway up the sides. Bake at 350°F (175°C) for 35 minutes, or until the edges are set and the center is slightly jiggly. The internal temperature should reach 150°F (65°C).
- 7Cool and chill — Turn off the oven and leave the cheesecake inside with the door ajar for 1 hour. Then remove and cool completely on a wire rack. Refrigerate for at least 6 hours, preferably overnight.
- 8Design and serve — Before serving, run a knife around the edges and release the springform. Decorate with chocolate shavings, fresh berries, or a drizzle of ganache. Slice with a hot knife for clean pieces.

Maya writes about urban gardening and sustainable living, focusing on small-space solutions and budget-friendly projects. She shares practical tips for growing food in apartments and balconies.