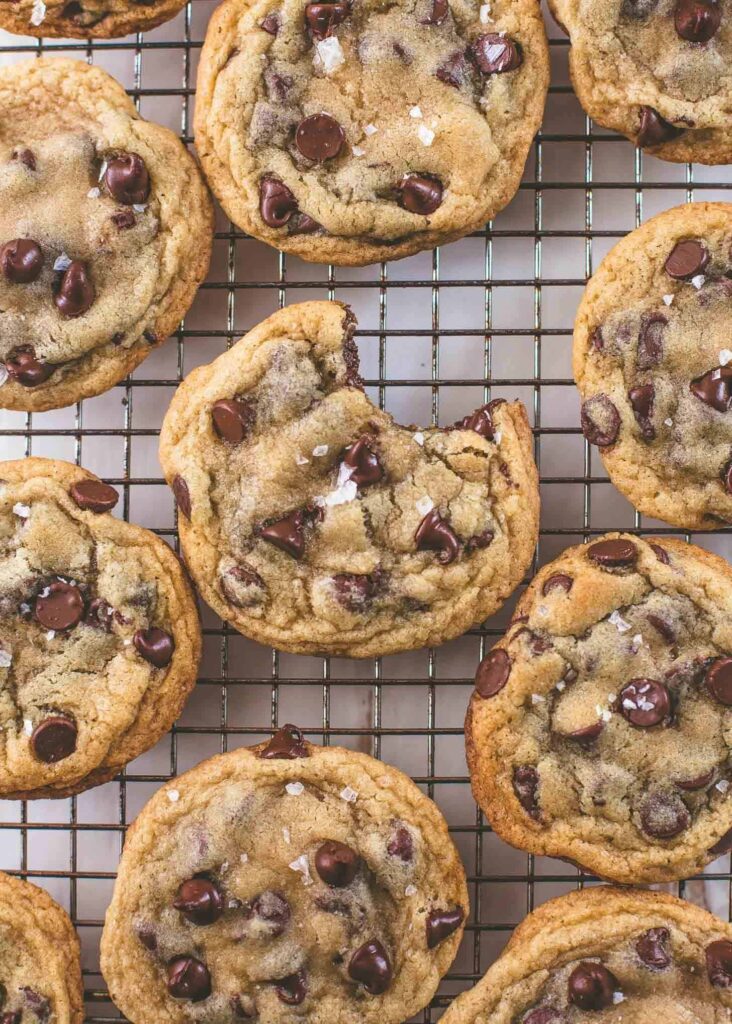
This Wedding Chocolate Chip Cookie recipe is engineered for a crowd. I developed it for a client's wedding favors, and the mechanics are simple: high-quality chocolate, a controlled bake, and a dough that freezes beautifully. You get a sturdy cookie that holds its shape under a favor bag or on a dessert table, yet stays tender inside.
Advertisements1
The key ratio is 2 parts flour to 1 part butter by weight—that gives structure without toughness. I use a mix of semisweet and dark chocolate bars chopped by hand; chips are uniform, but shards create those dramatic pools of chocolate that make these cookies feel special.
If you're making these for an event, the dough can be portioned and frozen up to 3 months. Bake straight from the freezer, adding 2 minutes to the total time. That's the secret to fresh cookies on demand without the morning-of scramble.
Why You'll Love This Recipe
About the Ingredients
2 cups (250g) all-purpose flour
Use unbleached for better structure. Substitute with 1:1 gluten-free flour blend if needed.
1 teaspoon baking soda
Ensure it's fresh—stale baking soda leads to flat cookies. Test by adding a pinch to vinegar; it should fizz.
1 teaspoon salt
Fine sea salt dissolves evenly. If using kosher, increase to 1 1/4 teaspoons.
1 cup (2 sticks, 227g) unsalted butter, melted and cooled
Melt then let cool for 5 minutes—this prevents spreading. Substitute with plant-based butter for dairy-free.
3/4 cup (150g) granulated sugar
Regular white sugar helps with crisp edges. For a deeper flavor, replace 1/4 cup with brown sugar.
3/4 cup (150g) packed light brown sugar
Brown sugar adds moisture and chew. Dark brown sugar gives a stronger molasses note—use if you prefer.
2 large eggs + 1 egg yolk
The extra yolk increases tenderness. Use room-temperature eggs for even mixing.
2 teaspoons vanilla extract
Pure vanilla is best; imitation works but use 1 1/2 teaspoons. For a twist, use vanilla bean paste.
1 1/2 cups (255g) semisweet chocolate chunks
Chop a bar for irregular shards. Substitute with milk chocolate or white chocolate for a sweeter cookie.
1/2 cup (85g) dark chocolate chunks (60-70% cacao)
Adds depth. If you prefer all semisweet, use 2 cups total.
Tips & Tricks
- Melt the butter and let it cool to room temperature—hot butter will over-spread the cookies.
- Chill the dough for at least 1 hour; this prevents spreading and deepens flavor. Overnight is better.
- Use a cookie scoop (#40, about 1.5 tablespoons) for even sizes and consistent baking.
- Pull cookies from the oven when edges are golden but centers look slightly underdone—they'll set on the hot sheet.
Pro Tips
Step-by-Step Instructions
1. Whisk Dry Ingredients
In a medium bowl, whisk together flour, baking soda, and salt. Set aside. This ensures even distribution of leavening and salt.
2. Mix Wet Ingredients
In a large bowl, combine melted butter, granulated sugar, and brown sugar. Whisk until smooth and no lumps remain. Add eggs, egg yolk, and vanilla; whisk until fully incorporated. The mixture should be glossy and slightly thickened.
3. Combine Dry and Wet
Pour the dry ingredients into the wet mixture. Using a spatula, fold until just a few streaks of flour remain. Do not overmix—this develops gluten and makes cookies tough.
4. Fold in Chocolate
Add both chocolate chunks. Fold gently until evenly distributed. The dough will be soft but should hold together.
5. Chill the Dough
Cover the bowl with plastic wrap and refrigerate for at least 1 hour, or up to 72 hours. Chilling solidifies the butter, reducing spread and intensifying flavor.
6. Preheat and Scoop
Preheat oven to 350°F (175°C). Line two baking sheets with parchment paper. Scoop dough into 1.5-tablespoon balls (about 20g each) and place 2 inches apart. For even baking, keep dough chilled between batches.
7. Bake Until Golden
Bake one sheet at a time for 11-13 minutes, until edges are golden brown and centers are just set but still soft. The tops should look slightly puffed and cracked. For a chewier cookie, bake on the lower end; for crisper, add a minute.
8. Cool and Set
Remove from oven and let cool on the baking sheet for 5 minutes. The cookies will continue to set as they cool. Transfer to a wire rack to cool completely.
Delicious Variations
- Add 1 cup (150g) toasted chopped pecans or walnuts for crunch.
- Swap 1/2 cup of flour with 1/2 cup cocoa powder for a double-chocolate version.
- Add 1 teaspoon espresso powder to the dry ingredients to enhance chocolate flavor.
How to Store Wedding Chocolate Chip Cookies
Refrigerator
Baked cookies keep in an airtight container at room temperature for up to 5 days. For longer storage, refrigerate in a sealed container for up to 2 weeks.
Freezer
Freeze unbaked dough balls on a baking sheet until solid, then transfer to a zip-top bag. Freeze for up to 3 months. Bake from frozen, adding 2 minutes to the baking time. Baked cookies can also be frozen for up to 3 months.
Reheating
To refresh, warm cookies in a 300°F (150°C) oven for 3-5 minutes. For a quick fix, microwave for 10 seconds.
Frequently Asked Questions
Q: Can I use chocolate chips instead of chunks?
Yes, you can use 2 cups (340g) of chocolate chips. Chips hold their shape better, while chunks create puddles. For a wedding look, chunks are more elegant.
Q: Why do my cookies spread too much?
Your dough was too warm or you didn't chill it long enough. Make sure to chill the dough for at least 1 hour, and use melted butter that has cooled, not hot.
Q: Can I make the dough ahead of time?
Absolutely. The dough can be refrigerated for up to 72 hours or frozen for up to 3 months. Portion into balls before freezing for easy baking.
Q: How do I get chewy cookies instead of crispy?
Use more brown sugar than white, add an extra egg yolk, and bake for a shorter time. Pull them out when centers look underdone—they'll set as they cool.
Q: What is the best way to store baked cookies?
Store in an airtight container with a slice of bread to keep them soft. They'll last up to 5 days at room temperature, or freeze for longer.
If you're planning a wedding, shower, or just want a batch of cookies that outshines the rest, make these Wedding Chocolate Chip Cookies. I've tested them for a crowd, and they deliver every time. Keep your money moving.
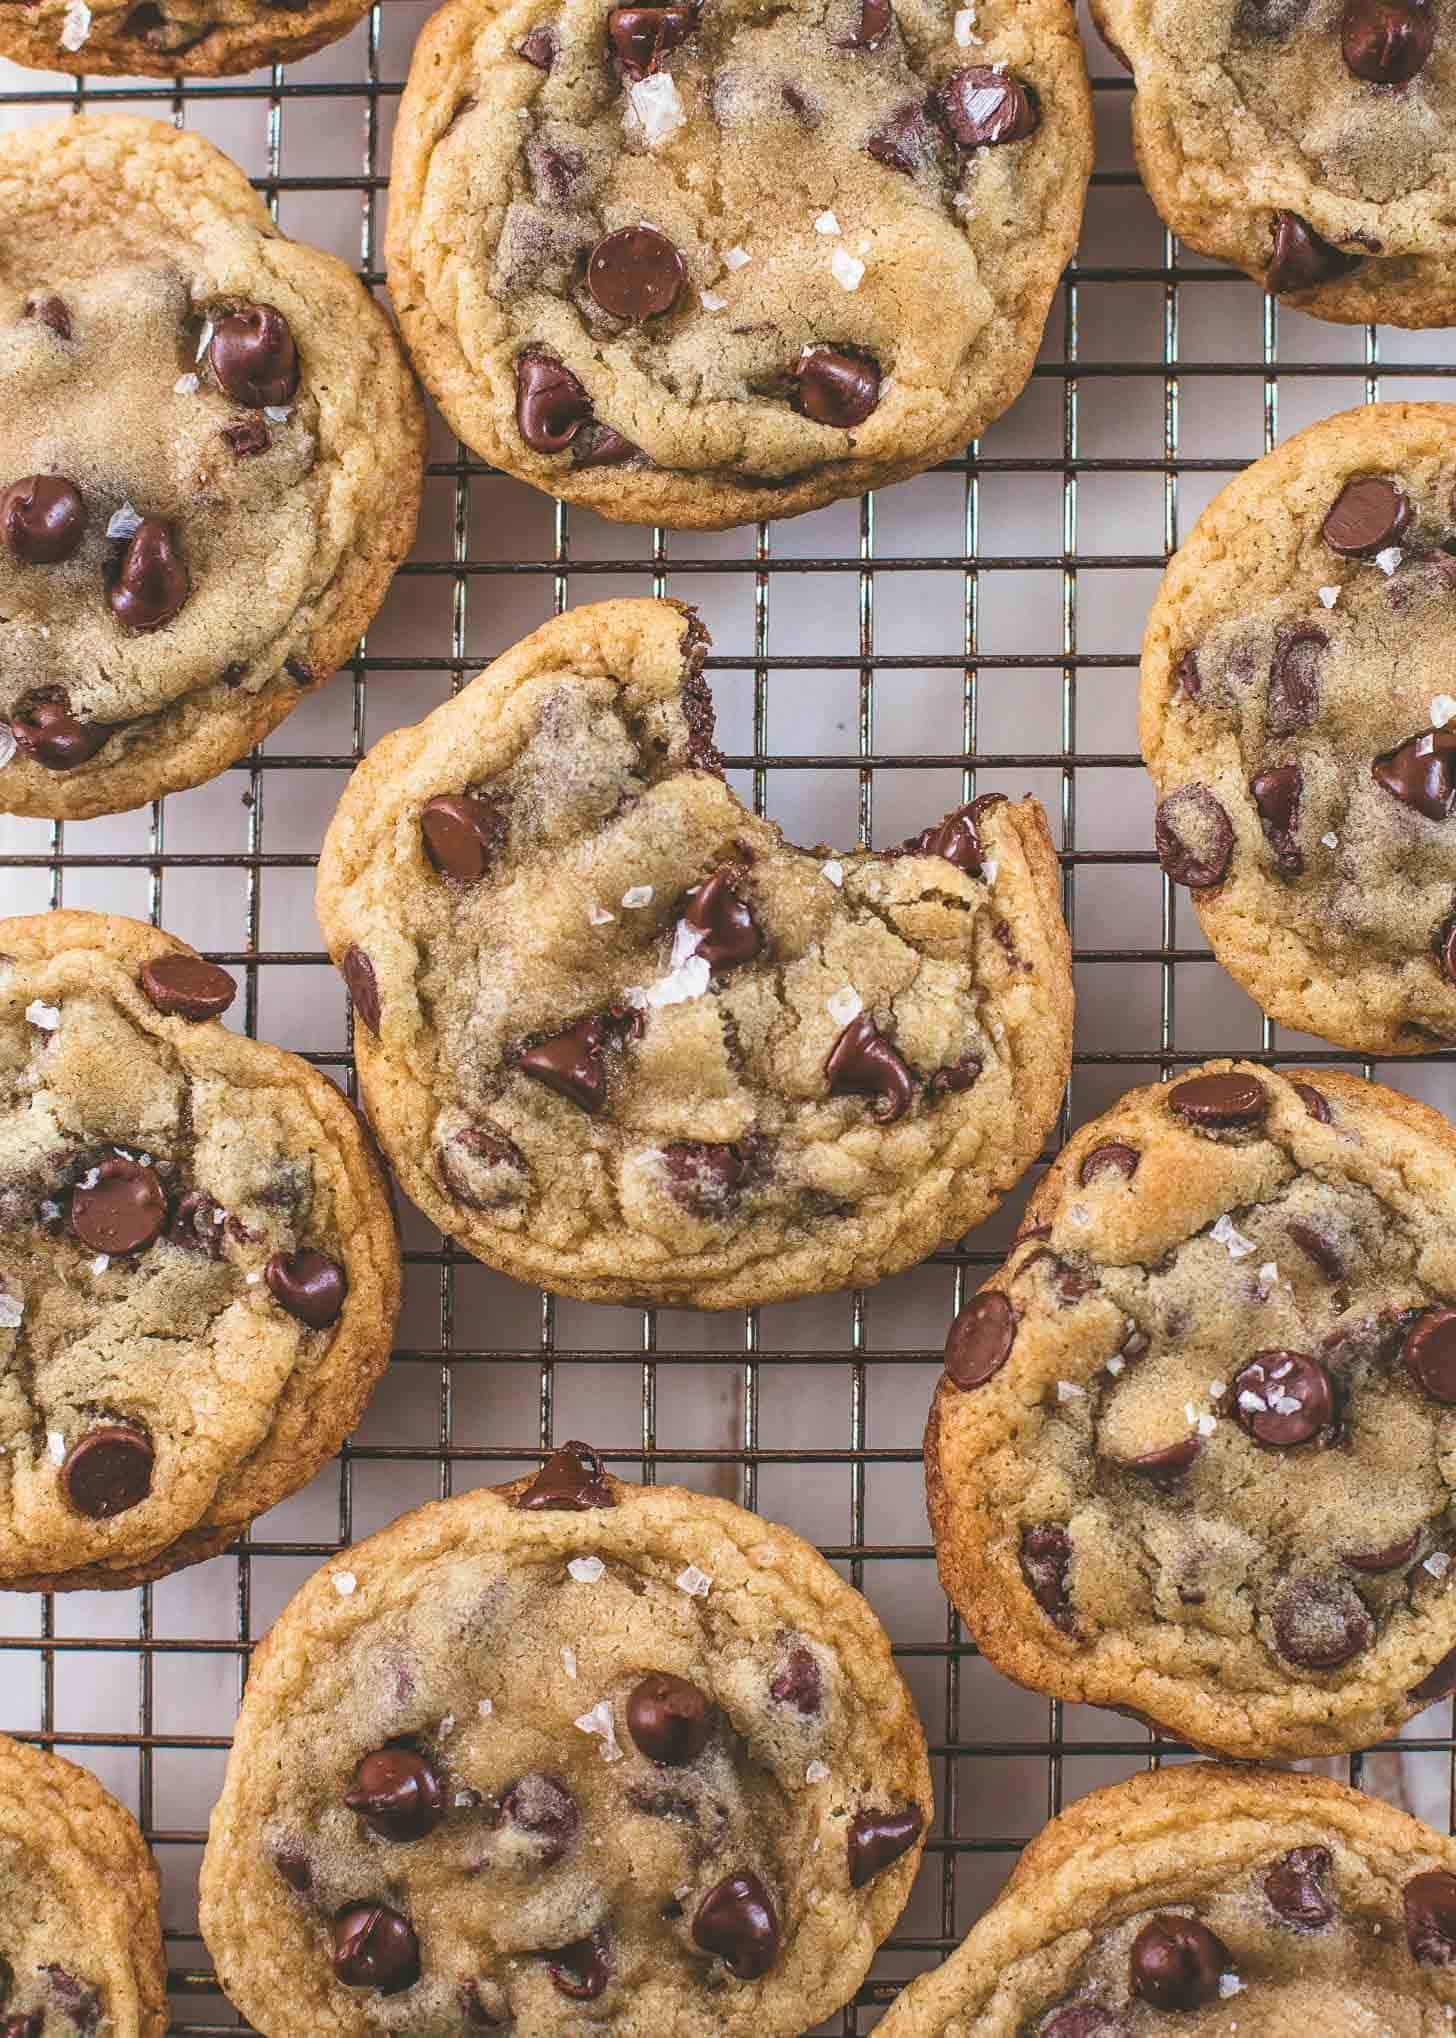
Wedding Chocolate Chip Cookies
Wedding Chocolate Chip Cookies: crisp edges, chewy centers, and rich chocolate in every bite—perfect for freezing and sharing.
🧂 Ingredients
- 2 cups (250g) all-purpose flour
- 1 teaspoon baking soda
- 1 teaspoon salt
- 1 cup (2 sticks, 227g) unsalted butter, melted and cooled
- 3/4 cup (150g) granulated sugar
- 3/4 cup (150g) packed light brown sugar
- 2 large eggs + 1 egg yolk
- 2 teaspoons vanilla extract
- 1 1/2 cups (255g) semisweet chocolate chunks
- 1/2 cup (85g) dark chocolate chunks (60-70% cacao)
📋 Instructions
- 1Whisk Dry Ingredients — In a medium bowl, whisk together flour, baking soda, and salt. Set aside. This ensures even distribution of leavening and salt.
- 2Mix Wet Ingredients — In a large bowl, combine melted butter, granulated sugar, and brown sugar. Whisk until smooth and no lumps remain. Add eggs, egg yolk, and vanilla; whisk until fully incorporated. The mixture should be glossy and slightly thickened.
- 3Combine Dry and Wet — Pour the dry ingredients into the wet mixture. Using a spatula, fold until just a few streaks of flour remain. Do not overmix—this develops gluten and makes cookies tough.
- 4Fold in Chocolate — Add both chocolate chunks. Fold gently until evenly distributed. The dough will be soft but should hold together.
- 5Chill the Dough — Cover the bowl with plastic wrap and refrigerate for at least 1 hour, or up to 72 hours. Chilling solidifies the butter, reducing spread and intensifying flavor.
- 6Preheat and Scoop — Preheat oven to 350°F (175°C). Line two baking sheets with parchment paper. Scoop dough into 1.5-tablespoon balls (about 20g each) and place 2 inches apart. For even baking, keep dough chilled between batches.
- 7Bake Until Golden — Bake one sheet at a time for 11-13 minutes, until edges are golden brown and centers are just set but still soft. The tops should look slightly puffed and cracked. For a chewier cookie, bake on the lower end; for crisper, add a minute.
- 8Cool and Set — Remove from oven and let cool on the baking sheet for 5 minutes. The cookies will continue to set as they cool. Transfer to a wire rack to cool completely.

Lucas covers personal finance and side hustles, with an emphasis on building income streams without hype. He breaks down money concepts into straightforward, no-nonsense advice.