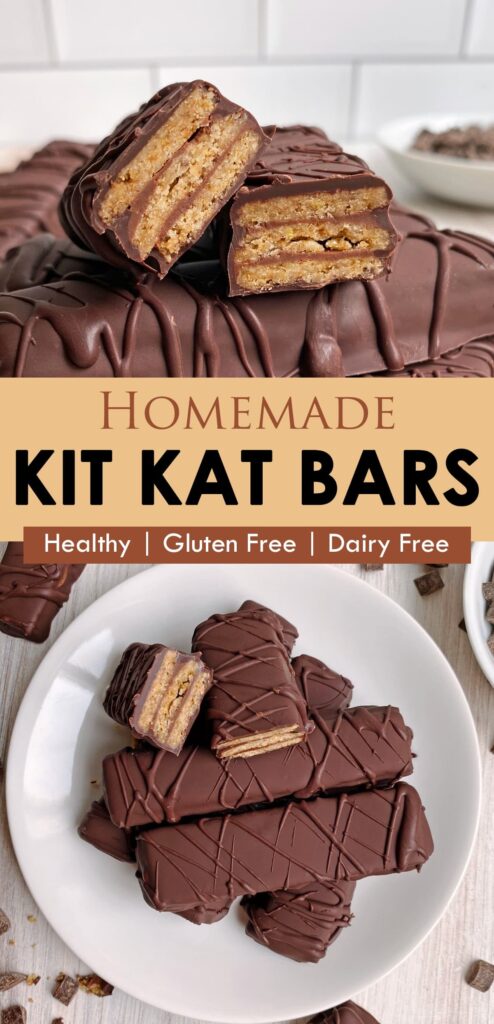
Dairy Free Kit Kat is a homemade version of the classic candy bar, but without any dairy. It is crisp, chocolatey, and surprisingly easy to make.
Advertisements1
I remember the first time I tried a Kit Kat. The snap of the chocolate, the layers of wafer. But when I had to give up dairy, I thought I'd lost it forever. Then I discovered you can make it at home with just a few simple ingredients.
This recipe uses simple wafer cookies and a homemade chocolate coating. It takes about 20 minutes to prepare, plus a little chilling time. The result is a treat that is just as satisfying as the original, but made with plant-based ingredients.
Why You'll Love This Recipe
About the Ingredients
24 rectangular wafer cookies (e.g., Pirouline or similar)
Look for wafer cookies that are rectangular and about 3 inches long. If you can't find them, use any crisp wafer cookie and break to size.
1 cup (170g) dairy-free chocolate chips
Use semi-sweet or dark chocolate chips. Check the label to ensure they are dairy-free. You can also use a chopped dairy-free chocolate bar.
2 tablespoons (28g) dairy-free butter or coconut oil
This helps thin the chocolate for a smooth coating. You can use refined coconut oil for a neutral flavor or vegan butter.
1/2 teaspoon vanilla extract
Pure vanilla adds depth. You can omit or use a drop of almond extract for a different flavor.
Pinch of salt (optional)
A small pinch enhances the chocolate flavor. Use fine sea salt.
Tips & Tricks
- Make sure the chocolate is completely melted and smooth before dipping.
- Use a fork to dip the wafers, letting excess chocolate drip off.
- Chill the bars on a parchment-lined baking sheet until the chocolate is set.
Pro Tips
Step-by-Step Instructions
1. Line Baking Sheet
Line a small baking sheet with parchment paper. This will hold the dipped Kit Kats while they set.
2. Melt Chocolate Mixture
In a microwave-safe bowl, combine the dairy-free chocolate chips and dairy-free butter. Microwave in 30-second bursts, stirring each time, until melted and smooth. Alternatively, melt in a double boiler over simmering water. Stir in vanilla and salt if using.
3. Stack Wafers
Take 3 wafer cookies and place them side by side to form a square. Spread a thin layer of melted chocolate over the top, then add another layer of 3 wafers, and repeat until you have 4 layers of wafers, ending with a wafer top. You'll have 4 stacks (each stack uses 12 wafers, so you'll get 4 Kit Kat bars). If you want smaller bars, use 2 wafers per layer and make 6 bars.
4. Cut Bars
Using a sharp knife, carefully cut each stack into 2 or 3 bars, depending on your desired size. Typically, a Kit Kat bar has 4 fingers, so you might cut each stack into 4 fingers. But you can make them as large or small as you like.
5. Dip in Chocolate
Place the cut bars on a wire rack. Pour the melted chocolate over each bar, or use a fork to dip them, ensuring they are fully coated. Tap gently to remove excess.
6. Set in Fridge
Transfer the coated bars to the prepared baking sheet. Refrigerate for 15-20 minutes, or until the chocolate is firm. You can also let them set at room temperature if it's cool.
7. Serve
Once set, enjoy your Dairy Free Kit Kats. They are best eaten within a few days, stored in an airtight container in the fridge.
Delicious Variations
Mint
Add a drop of peppermint extract to the melted chocolate.
Crunchy
Sprinkle crushed nuts or rice cereal on top before the chocolate sets.
White
Use dairy-free white chocolate for a different flavor.
How to Store Dairy Free Kit Kat
Refrigerator
Store in an airtight container in the refrigerator for up to 1 week.
Freezer
Freeze for up to 2 months. Let thaw in the fridge before eating.
Reheating
No reheating needed. Enjoy cold or at room temperature.
Frequently Asked Questions
Q: Can I make this recipe nut-free?
Yes, simply use a nut-free dairy-free butter (like soy or oat-based) and ensure your chocolate is nut-free. Most chocolate chips are nut-free, but check the label.
Q: How long does it take for the chocolate to set?
In the refrigerator, it takes about 15-20 minutes. At room temperature, it may take 30-60 minutes depending on the temperature.
Q: Can I use regular chocolate if I'm not dairy-free?
Absolutely. If you don't need a dairy-free version, use regular chocolate chips and butter. The recipe works the same.
Q: Where can I find wafer cookies?
Wafer cookies are often in the cookie aisle or international section. Look for brands like Pirouline (in a can) or similar. You can also use graham crackers but the texture will be different.
I hope you enjoy making these Dairy Free Kit Kats. They are a lovely treat to share with someone you love. Remember, you don't need to miss out on your favorite candies just because you're dairy-free. Breathe, then unplug.
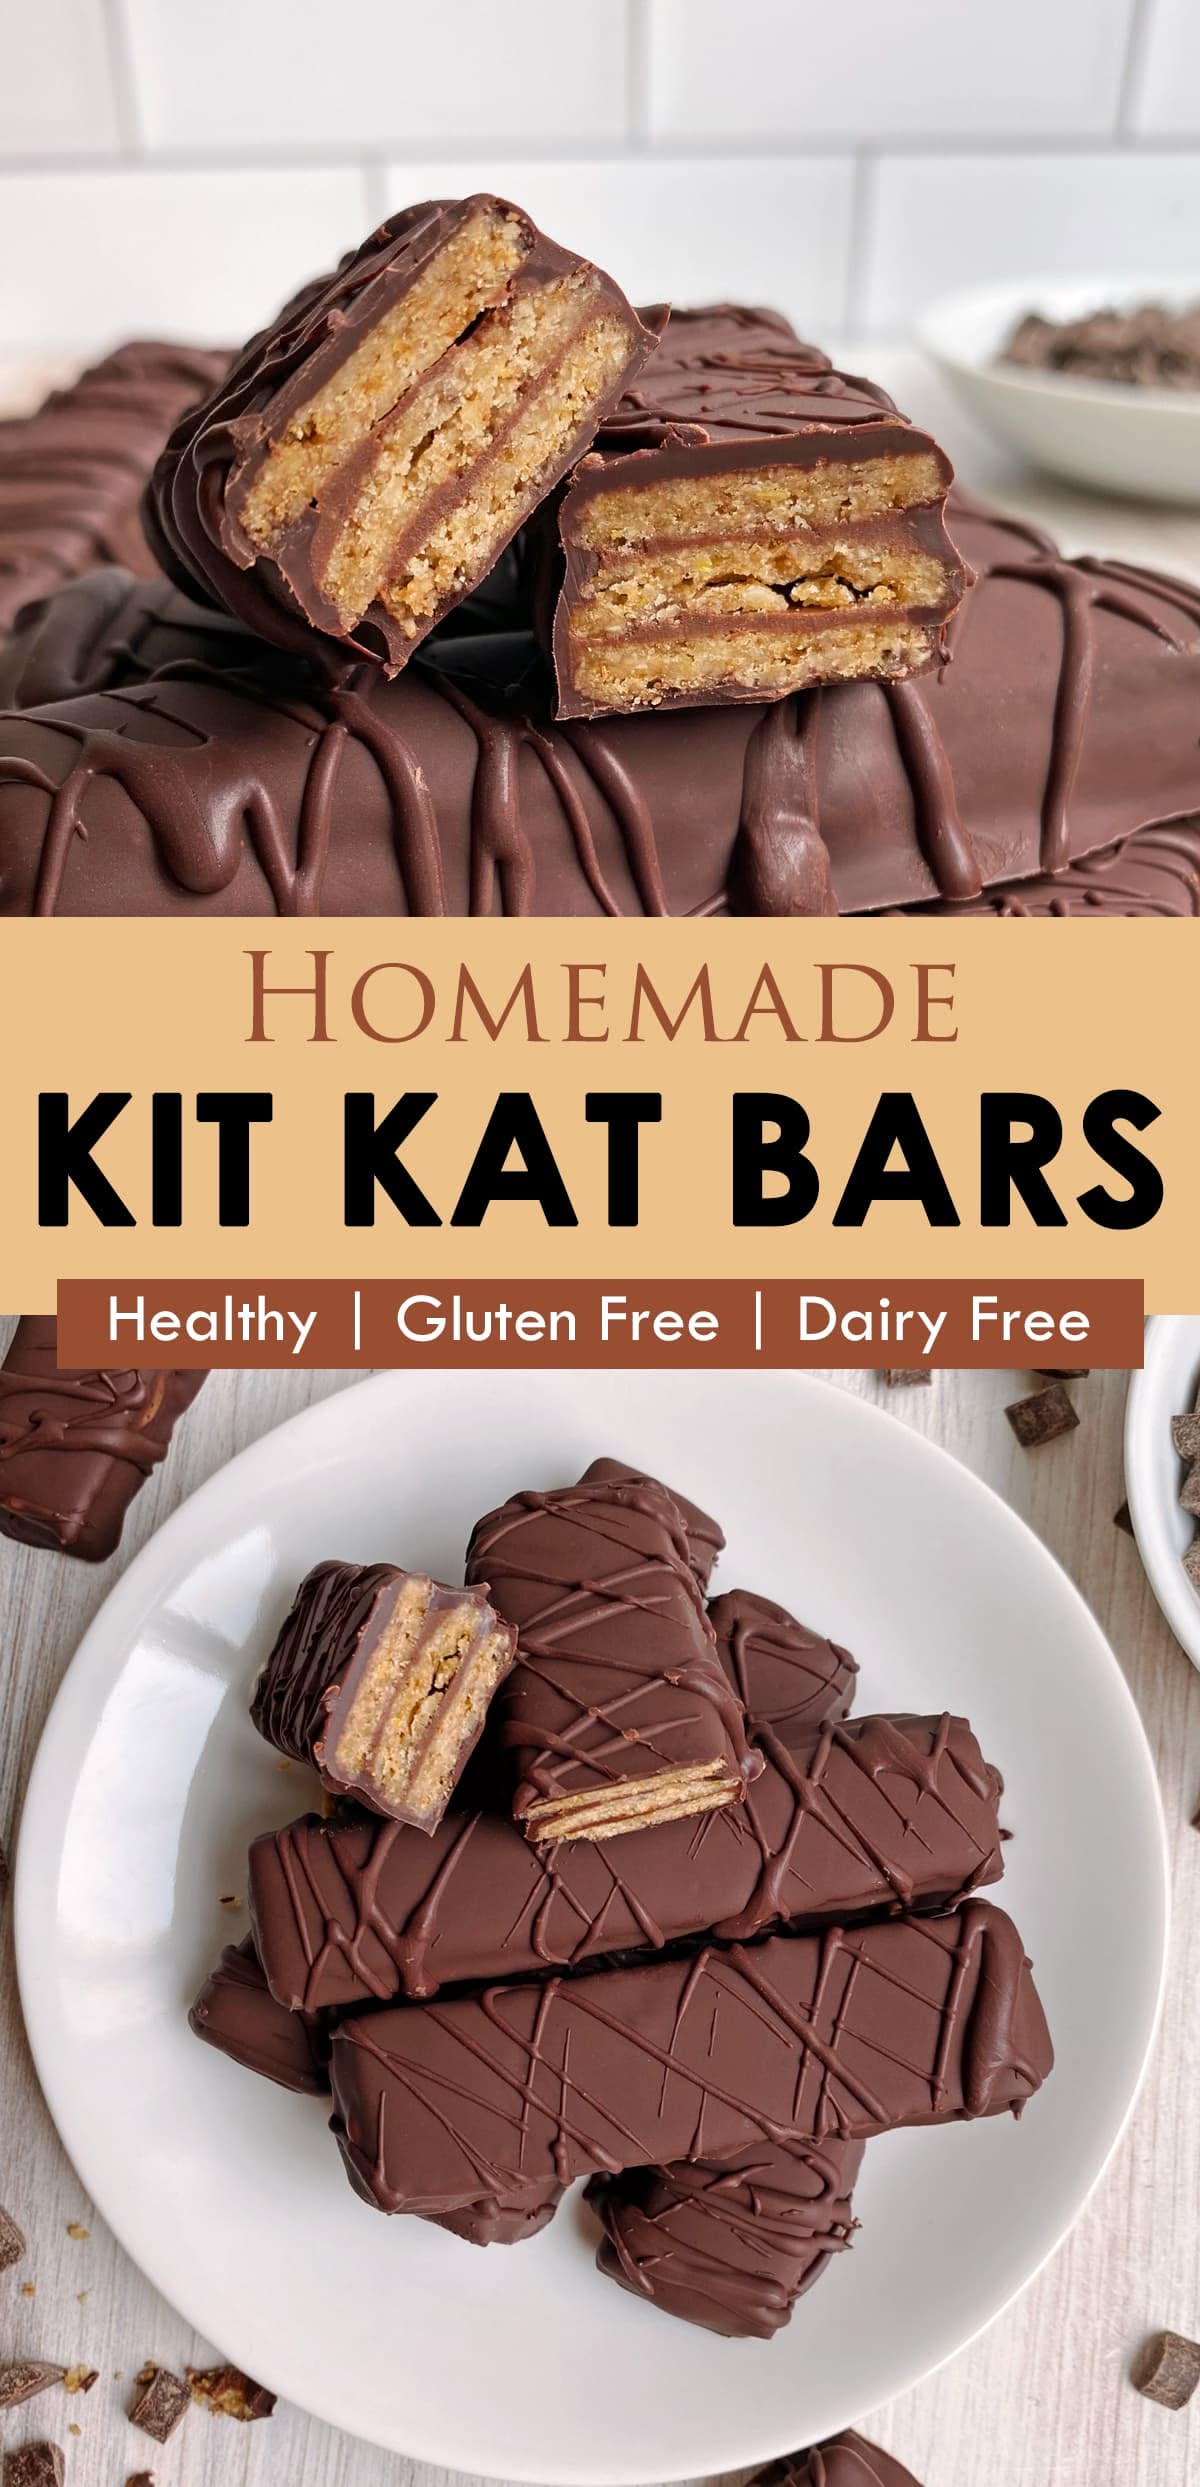
Dairy Free Kit Kat
Dairy Free Kit Kat: crisp chocolate layers with a creamy center, made without dairy. A simple, vegan-friendly treat.
🧂 Ingredients
- 24 rectangular wafer cookies (e.g., Pirouline or similar)
- 1 cup (170g) dairy-free chocolate chips
- 2 tablespoons (28g) dairy-free butter or coconut oil
- 1/2 teaspoon vanilla extract
- Pinch of salt (optional)
📋 Instructions
- 1Line Baking Sheet — Line a small baking sheet with parchment paper. This will hold the dipped Kit Kats while they set.
- 2Melt Chocolate Mixture — In a microwave-safe bowl, combine the dairy-free chocolate chips and dairy-free butter. Microwave in 30-second bursts, stirring each time, until melted and smooth. Alternatively, melt in a double boiler over simmering water. Stir in vanilla and salt if using.
- 3Stack Wafers — Take 3 wafer cookies and place them side by side to form a square. Spread a thin layer of melted chocolate over the top, then add another layer of 3 wafers, and repeat until you have 4 layers of wafers, ending with a wafer top. You'll have 4 stacks (each stack uses 12 wafers, so you'll get 4 Kit Kat bars). If you want smaller bars, use 2 wafers per layer and make 6 bars.
- 4Cut Bars — Using a sharp knife, carefully cut each stack into 2 or 3 bars, depending on your desired size. Typically, a Kit Kat bar has 4 fingers, so you might cut each stack into 4 fingers. But you can make them as large or small as you like.
- 5Dip in Chocolate — Place the cut bars on a wire rack. Pour the melted chocolate over each bar, or use a fork to dip them, ensuring they are fully coated. Tap gently to remove excess.
- 6Set in Fridge — Transfer the coated bars to the prepared baking sheet. Refrigerate for 15-20 minutes, or until the chocolate is firm. You can also let them set at room temperature if it's cool.
- 7Serve — Once set, enjoy your Dairy Free Kit Kats. They are best eaten within a few days, stored in an airtight container in the fridge.

Ingrid explores mindful technology use and digital minimalism, helping readers reclaim focus. She writes about practical habits to reduce screen time and improve digital well-being.