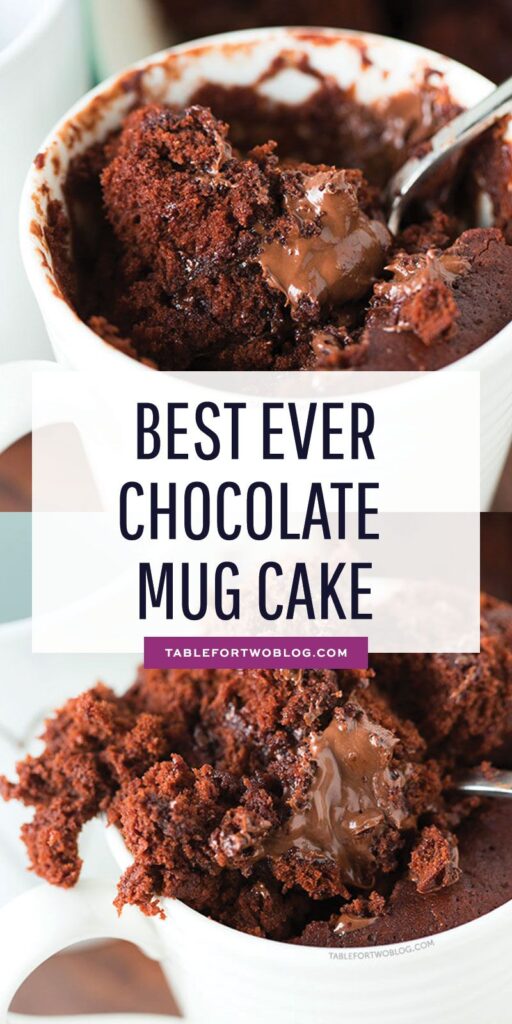
Hey there, fellow dessert lovers! Ever had a sudden chocolate attack at 10 PM, only to realize you're out of milk? Fear not, because this Chocolate Mug Cake No Milk is here to save your sanity. It's the ultimate emergency dessert that comes together in a flash, using ingredients you probably already have.
Advertisements1
This isn't just any mug cake – it's a moist, chocolatey miracle that puffs up in the microwave and tastes like a warm, gooey brownie. No eggs, no milk, no fuss. Just pure chocolate satisfaction. And the best part? You can have it on the table (or in your hands) in under five minutes.
So grab your favorite mug, a spoon, and let's get mixing. Trust me, once you try this, you'll never look at a boxed mix the same way again.
Why You'll Love This Recipe
About the Ingredients
4 tablespoons (30g) all-purpose flour
Regular all-purpose flour gives the cake structure. You can substitute with gluten-free 1:1 baking flour for a GF version.
2 tablespoons (15g) unsweetened cocoa powder
Use Dutch-processed for a richer flavor, or regular cocoa works fine. If you're out, try carob powder for a caffeine-free twist.
2 tablespoons (25g) granulated sugar
White sugar sweetens and helps with texture. Swap for coconut sugar or a sugar substitute like erythritol if preferred.
1/4 teaspoon baking powder
This gives the cake its rise. Make sure it's fresh for best results; you can use 1/8 teaspoon baking soda plus 1/4 teaspoon vinegar in a pinch.
2 tablespoons (30ml) vegetable oil
Oil keeps the cake moist. Any neutral oil like canola, sunflower, or melted coconut oil works. Avoid olive oil for a cleaner taste.
3 tablespoons (45ml) water
Water replaces milk for the liquid. You can also use brewed coffee for a mocha flavor, or orange juice for a chocolate-orange vibe.
1/4 teaspoon vanilla extract
Vanilla enhances the chocolate flavor. Skip it or use a drop of almond extract if you're feeling adventurous.
1 tablespoon (10g) chocolate chips (optional)
Chocolate chips add melty pockets of goodness. Use dairy-free chips to keep it vegan, or skip them entirely.
Tips & Tricks
Don't overmix
Stir just until combined – a few lumps are fine. Overmixing can make the cake rubbery.
Watch the microwave time
Microwaves vary, so start with 60 seconds and add 10-second bursts if needed. The cake should look set on top but slightly moist.
Use a large mug
The cake rises, so pick a mug with at least 12 ounces capacity to avoid overflow.
Let it rest
After microwaving, let the cake sit for a minute to finish cooking and set up – it's worth the wait.
Pro Tips
Step-by-Step Instructions
1. Mix Dry Ingredients
In a large microwave-safe mug, whisk together the flour, cocoa powder, sugar, and baking powder. Make sure there are no lumps – this ensures an even rise.
2. Add Wet Ingredients
Stir in the vegetable oil, water, and vanilla extract. Mix until just combined, scraping the bottom of the mug. The batter should be smooth but slightly thick.
3. Fold in Chocolate Chips
If using, gently fold in the chocolate chips. This adds little bursts of melted chocolate in every bite.
4. Microwave in Bursts
Place the mug in the microwave and cook on high for 60 seconds. Check the cake – it should be puffed and set on top. If it's still wet on top, cook in 10-second increments until done, usually 70-90 seconds total.
5. Let It Rest
Carefully remove the mug (it's hot!) and let it rest for 1 minute. The cake will finish setting and cool slightly, making it easier to eat without burning your tongue.
6. Enjoy Your Creation
Dig in with a spoon directly from the mug, or top with a scoop of ice cream, a drizzle of peanut butter, or a sprinkle of sea salt. Savor every bite!
Delicious Variations
Peanut Butter Swirl
Add a teaspoon of peanut butter to the center before microwaving for a gooey swirl.
Mint Chocolate
Add a drop of peppermint extract and crush a candy cane on top for a festive twist.
Salted Caramel
Drizzle caramel sauce over the finished cake and sprinkle with flaky sea salt.
How to Store Chocolate Mug Cake No Milk
Refrigerator
This mug cake is best enjoyed fresh, but you can store it in an airtight container in the fridge for up to 2 days. It will firm up, but you can reheat it in the microwave for 15 seconds.
Freezer
You can freeze the baked mug cake in a freezer-safe bag for up to a month. Thaw overnight in the fridge, then reheat in the microwave for 20 seconds.
Reheating
Microwave on high for 15-20 seconds until warm and soft again.
Frequently Asked Questions
Q: Can I make this mug cake without eggs?
Yes, this recipe is egg-free and uses baking powder for leavening, so it's perfect for vegans or those with egg allergies.
Q: What can I use instead of milk in a mug cake?
Water is the simplest substitute, but you can also use any non-dairy milk like almond, soy, or oat milk for a richer flavor.
Q: Why is my mug cake rubbery?
Overmixing the batter or overcooking in the microwave are the main culprits. Mix just until combined and check doneness early.
Q: Can I make this in a regular oven?
Yes, pour the batter into a small oven-safe ramekin and bake at 350°F (175°C) for 10-12 minutes, or until a toothpick comes out clean.
Q: Can I use self-rising flour?
Yes, substitute the all-purpose flour and baking powder with 4 tablespoons of self-rising flour and skip the baking powder.
Ready to rescue your next chocolate craving? Whip up this Chocolate Mug Cake No Milk in minutes and let me know how it turns out in the comments below. And remember, the best recipes come from experimenting – so don't be afraid to make it your own. Get your hands dirty!
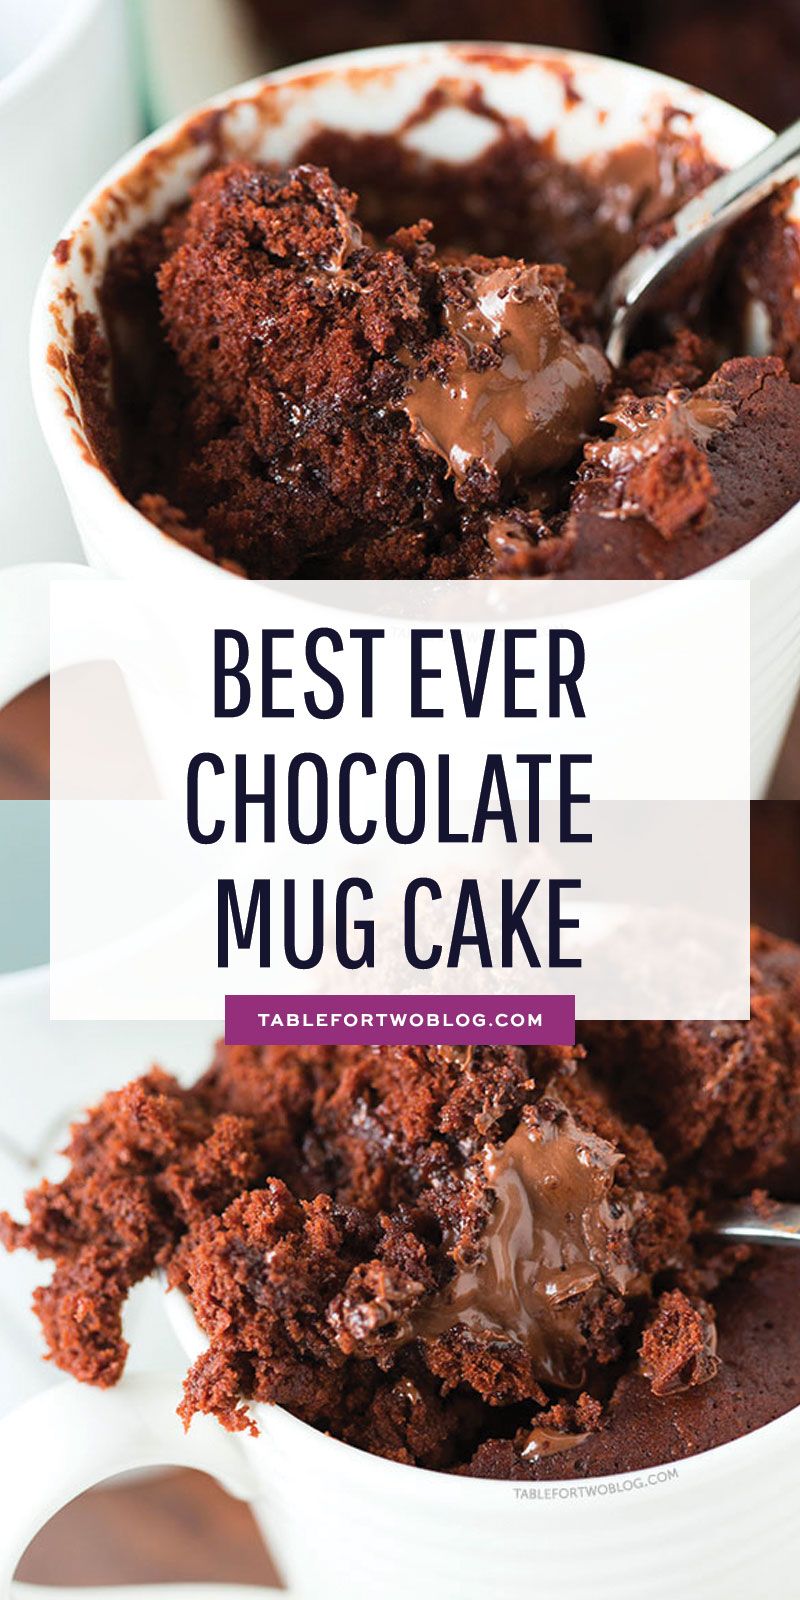
Chocolate Mug Cake No Milk
Chocolate Mug Cake No Milk: a rich, fudgy single-serve dessert ready in 5 minutes with pantry staples, perfect for late-night cravings.
🧂 Ingredients
- 4 tablespoons (30g) all-purpose flour
- 2 tablespoons (15g) unsweetened cocoa powder
- 2 tablespoons (25g) granulated sugar
- 1/4 teaspoon baking powder
- 2 tablespoons (30ml) vegetable oil
- 3 tablespoons (45ml) water
- 1/4 teaspoon vanilla extract
- 1 tablespoon (10g) chocolate chips (optional)
📋 Instructions
- 1Mix Dry Ingredients — In a large microwave-safe mug, whisk together the flour, cocoa powder, sugar, and baking powder. Make sure there are no lumps – this ensures an even rise.
- 2Add Wet Ingredients — Stir in the vegetable oil, water, and vanilla extract. Mix until just combined, scraping the bottom of the mug. The batter should be smooth but slightly thick.
- 3Fold in Chocolate Chips — If using, gently fold in the chocolate chips. This adds little bursts of melted chocolate in every bite.
- 4Microwave in Bursts — Place the mug in the microwave and cook on high for 60 seconds. Check the cake – it should be puffed and set on top. If it's still wet on top, cook in 10-second increments until done, usually 70-90 seconds total.
- 5Let It Rest — Carefully remove the mug (it's hot!) and let it rest for 1 minute. The cake will finish setting and cool slightly, making it easier to eat without burning your tongue.
- 6Enjoy Your Creation — Dig in with a spoon directly from the mug, or top with a scoop of ice cream, a drizzle of peanut butter, or a sprinkle of sea salt. Savor every bite!

Diego writes about urban gardening and DIY projects for small spaces, turning balconies and windowsills into green retreats. He shares hands-on tips for beginners and seasoned growers alike.