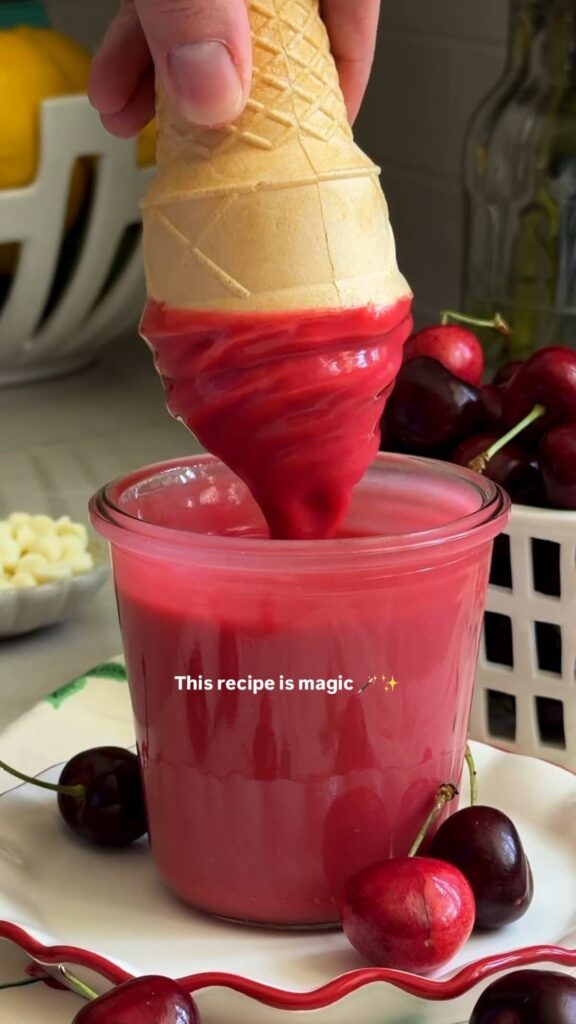
Welcome to my kitchen! Today we're crafting a delightful dessert that's as fun to make as it is to eat: the Cherry Dip Shell. This isn't your average pie or tart; it's a crispy, buttery shell that you can literally dip into a luscious cherry filling. It's perfect for parties, family gatherings, or a special weeknight treat.
Advertisements1
I've designed this recipe to be approachable for bakers of all levels. With a foolproof dough and a simple stovetop filling, you'll have a show-stopping dessert without the fuss. The shell is baked to a perfect golden brown, providing a satisfying crunch that pairs beautifully with the sweet-tart cherry goodness.
Whether you're a seasoned baker or just starting out, this Cherry Dip Shell is guaranteed to impress. Let's get started and create something delicious together!
Why You'll Love This Recipe
About the Ingredients
1 1/2 cups (190g) all-purpose flour
Use unbleached all-purpose for best structure. You can substitute gluten-free 1:1 flour if needed.
1/4 cup (50g) granulated sugar
Adds a touch of sweetness to the dough. You can use coconut sugar for a deeper flavor.
1/2 cup (1 stick / 113g) unsalted butter, cold and cubed
Cold butter creates flakiness. If using salted butter, reduce added salt to 1/4 teaspoon.
1 large egg yolk
Adds richness and helps bind the dough. Save the white for an egg wash if desired.
2-3 tablespoons ice water
Ice water keeps the butter cold. Start with 2 tablespoons and add more if needed.
1/4 teaspoon salt
Enhances flavor. Use fine sea salt for even distribution.
2 cups (300g) fresh or frozen cherries, pitted
Fresh bing cherries are ideal, but frozen work great. If using canned, drain well.
1/4 cup (50g) granulated sugar (for filling)
Adjust to taste depending on cherry sweetness. You can use honey or maple syrup.
1 tablespoon cornstarch
Thickens the filling. You can use arrowroot powder as a substitute.
1 tablespoon lemon juice
Brightens flavor and balances sweetness. Use fresh lemon juice for best results.
1/2 teaspoon vanilla extract
Adds warmth. Use pure vanilla extract for best flavor.
1 tablespoon unsalted butter (for greasing)
Or use non-stick spray. Helps the shell release easily.
Tips & Tricks
Keep the butter and water ice-cold
This ensures a flaky, tender shell. If the dough warms up, chill it before rolling.
Don't overwork the dough
Mix until just combined to avoid toughness. Overworking develops gluten, making the shell chewy.
Blind bake the shell
Prick the bottom with a fork and line with parchment and pie weights to prevent puffing. This ensures a crisp base.
Pro Tips
Step-by-Step Instructions
1. Make the Dough
In a medium bowl, whisk together flour, sugar, and salt. Cut in the cold butter using a pastry blender or your fingertips until the mixture resembles coarse crumbs. Mix in the egg yolk with a fork, then add ice water one tablespoon at a time, stirring until the dough just comes together. Form into a disk, wrap in plastic, and chill for 20 minutes (or up to 2 days).
2. Prepare the Filling
In a medium saucepan, combine cherries, sugar, cornstarch, lemon juice, and vanilla. Stir over medium heat until the mixture comes to a simmer. Reduce heat to low and cook for 5-7 minutes, until the cherries release their juices and the mixture thickens slightly. Remove from heat and set aside to cool while you prepare the shell.
3. Roll Out the Dough
On a lightly floured surface, roll the chilled dough into a circle about 12 inches (30 cm) in diameter and 1/8-inch (3 mm) thick. Carefully transfer it to a 9-inch (23 cm) tart pan or pie dish. Gently press the dough into the pan, trimming any excess. Prick the bottom with a fork.
4. Blind Bake the Shell
Preheat your oven to 400°F (200°C). Line the dough with parchment paper and fill with pie weights or dried beans. Bake for 12 minutes, then remove the weights and parchment. Continue baking for 5-7 minutes more, until the bottom is golden brown and the edges are lightly browned. Remove from oven and let cool slightly.
5. Fill the Shell
Spread the cherry filling evenly over the bottom of the baked shell. Use a spatula to level it out. The filling should be thick enough to not run over the edges.
6. Bake the Filled Shell
Return the filled shell to the oven and bake at 375°F (190°C) for 10-12 minutes, until the filling is bubbly and the edges of the shell are deeply golden brown. The filling should be set but still slightly jiggly in the center.
7. Cool and Serve
Let the Cherry Dip Shell cool on a wire rack for at least 10 minutes before serving. Serve warm or at room temperature. To eat, break off a piece of the shell and dip it into the cherry filling.
Delicious Variations
Add a crumble topping
Mix 1/2 cup flour, 1/4 cup brown sugar, and 3 tablespoons butter; sprinkle over filling before baking.
Make it citrusy
Add 1 teaspoon orange zest to the filling and use orange juice instead of lemon.
- Swap cherries for blueberries or mixed berries: Adjust sugar to taste and add a pinch of cinnamon.
How to Store Cherry Dip Shell
Refrigerator
Store leftovers in an airtight container in the fridge for up to 3 days.
Freezer
Freeze the baked, unfilled shell for up to 2 months. Wrap tightly. Thaw before filling and baking.
Reheating
Reheat in a 350°F (175°C) oven for 5-7 minutes to restore crispness.
Frequently Asked Questions
Q: Can I use pre-made pie crust instead of making dough from scratch?
Yes, you can use a store-bought pie crust or puff pastry. If using puff pastry, blind bake it separately and fill after baking.
Q: Can I use frozen cherries without thawing them first?
Yes, you can use frozen cherries directly in the filling. Just increase the cooking time by a few minutes to ensure they soften and release their juices.
Q: Why is my shell soggy?
A soggy shell usually results from under-baking or not blind baking properly. Make sure to blind bake until golden and avoid overfilling with liquid.
Q: Can I make this ahead of time?
Yes, you can prepare the dough and filling up to 2 days ahead. Store the dough in the fridge and the filling in an airtight container. Assemble and bake when ready.
I hope you enjoy making and devouring this Cherry Dip Shell as much as I do. Don't forget to share your creation with friends and family—it's a dessert that begs to be shared. Happy baking!
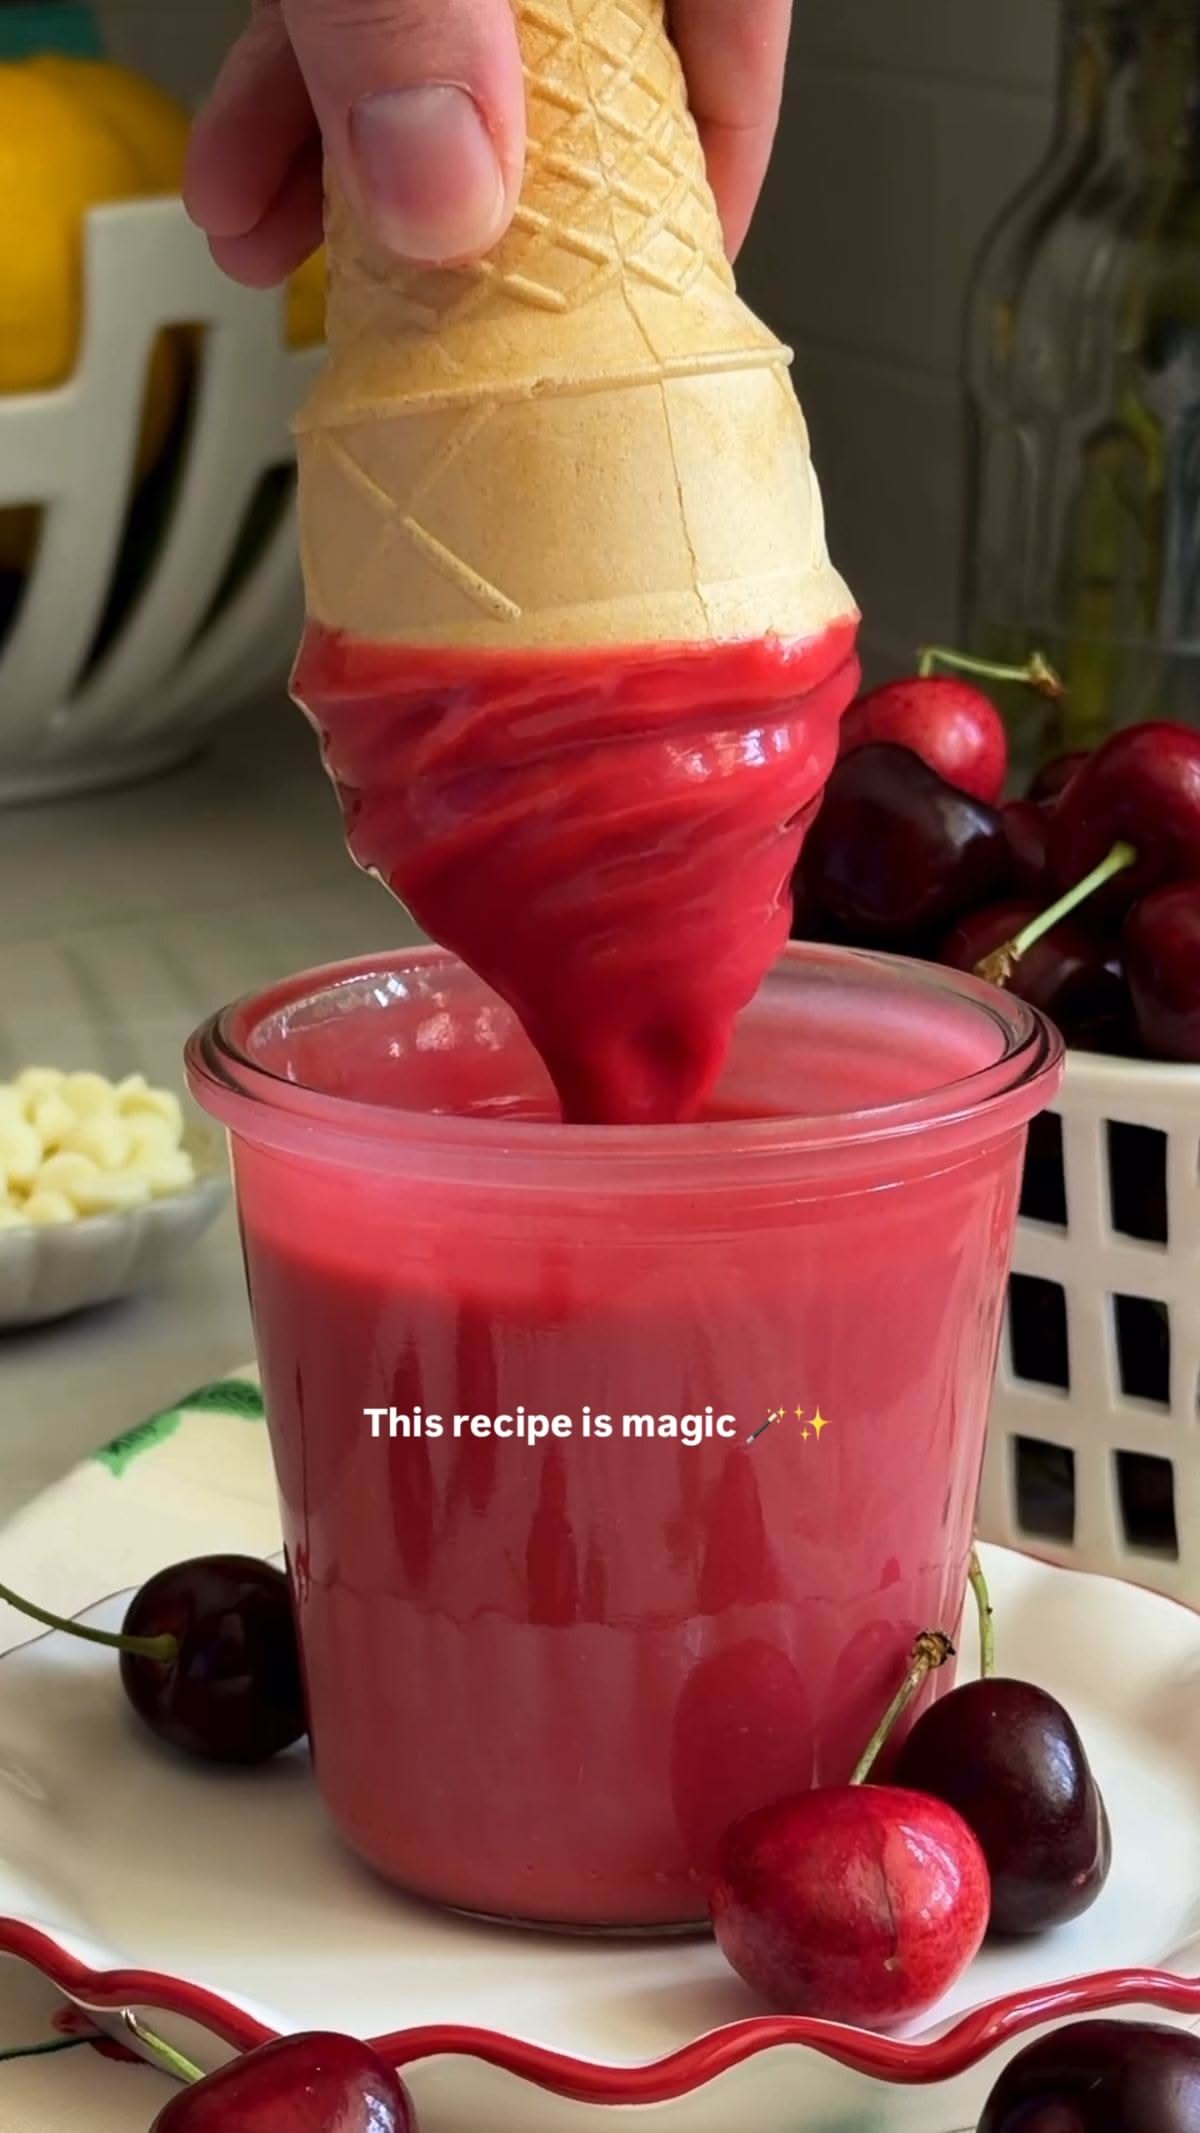
Cherry Dip Shell
Cherry Dip Shell is a crispy, golden dessert shell filled with sweet cherry compote. A quick, impressive treat ready in 30 minutes.
🧂 Ingredients
- 1 1/2 cups (190g) all-purpose flour
- 1/4 cup (50g) granulated sugar
- 1/2 cup (1 stick / 113g) unsalted butter, cold and cubed
- 1 large egg yolk
- 2-3 tablespoons ice water
- 1/4 teaspoon salt
- 2 cups (300g) fresh or frozen cherries, pitted
- 1/4 cup (50g) granulated sugar (for filling)
- 1 tablespoon cornstarch
- 1 tablespoon lemon juice
- 1/2 teaspoon vanilla extract
- 1 tablespoon unsalted butter (for greasing)
📋 Instructions
- 1Make the Dough — In a medium bowl, whisk together flour, sugar, and salt. Cut in the cold butter using a pastry blender or your fingertips until the mixture resembles coarse crumbs. Mix in the egg yolk with a fork, then add ice water one tablespoon at a time, stirring until the dough just comes together. Form into a disk, wrap in plastic, and chill for 20 minutes (or up to 2 days).
- 2Prepare the Filling — In a medium saucepan, combine cherries, sugar, cornstarch, lemon juice, and vanilla. Stir over medium heat until the mixture comes to a simmer. Reduce heat to low and cook for 5-7 minutes, until the cherries release their juices and the mixture thickens slightly. Remove from heat and set aside to cool while you prepare the shell.
- 3Roll Out the Dough — On a lightly floured surface, roll the chilled dough into a circle about 12 inches (30 cm) in diameter and 1/8-inch (3 mm) thick. Carefully transfer it to a 9-inch (23 cm) tart pan or pie dish. Gently press the dough into the pan, trimming any excess. Prick the bottom with a fork.
- 4Blind Bake the Shell — Preheat your oven to 400°F (200°C). Line the dough with parchment paper and fill with pie weights or dried beans. Bake for 12 minutes, then remove the weights and parchment. Continue baking for 5-7 minutes more, until the bottom is golden brown and the edges are lightly browned. Remove from oven and let cool slightly.
- 5Fill the Shell — Spread the cherry filling evenly over the bottom of the baked shell. Use a spatula to level it out. The filling should be thick enough to not run over the edges.
- 6Bake the Filled Shell — Return the filled shell to the oven and bake at 375°F (190°C) for 10-12 minutes, until the filling is bubbly and the edges of the shell are deeply golden brown. The filling should be set but still slightly jiggly in the center.
- 7Cool and Serve — Let the Cherry Dip Shell cool on a wire rack for at least 10 minutes before serving. Serve warm or at room temperature. To eat, break off a piece of the shell and dip it into the cherry filling.

Jonas writes about home renovation and woodworking, focusing on DIY projects that are achievable for beginners. He emphasizes careful planning and using simple tools to create lasting results.