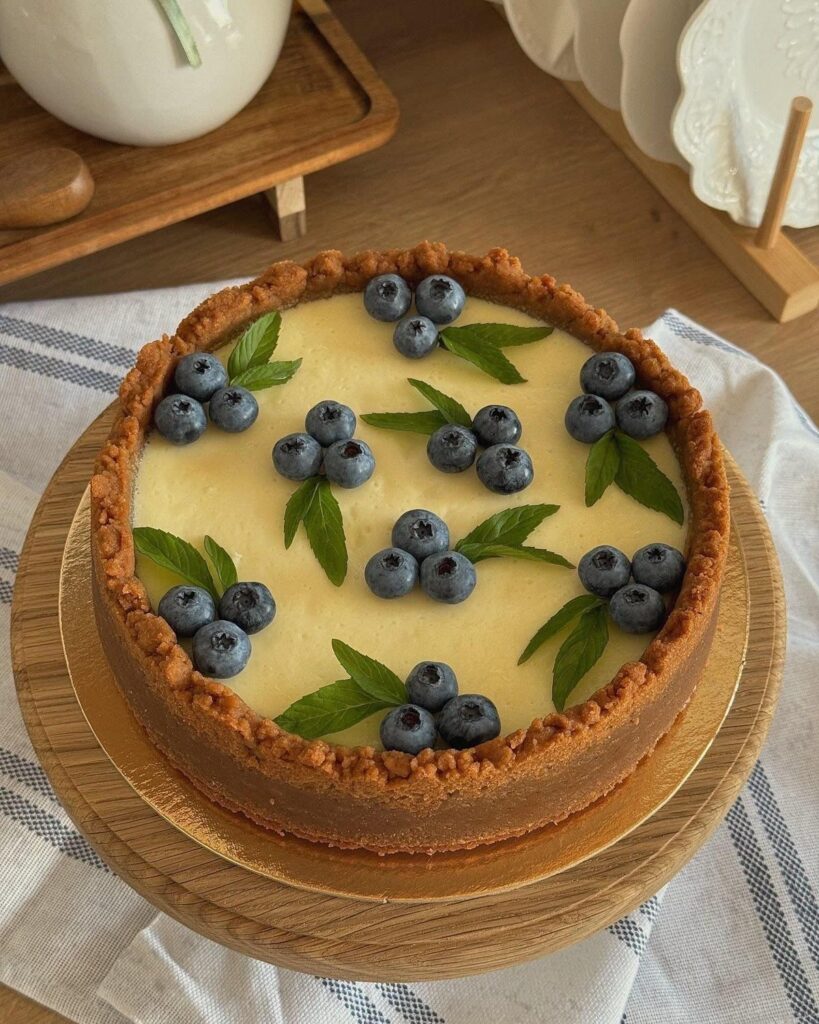
I remember the first time I tried to decorate a cheesecake. I had spent hours baking a perfect, creamy cheesecake, and then I ruined it with a messy, lumpy glaze. My balcony herbs were thriving, but my cake was a disaster. That's when I learned that simple, thoughtful decorations are the key to a stunning dessert.
Advertisements1
This decorating idea is all about using fresh, vibrant ingredients to create a beautiful, professional-looking cheesecake without any fancy tools. You'll learn how to arrange berries, create a perfect chocolate drizzle, and add a touch of elegance with mint leaves.
Whether you're a beginner or a seasoned baker, this technique will elevate your cheesecake game. It's perfect for birthdays, holidays, or just because you want to treat yourself. Let's make your cheesecake the star of the show!
Why You'll Love This Recipe
About the Ingredients
1 (9-inch) fully baked and cooled cheesecake
You can use your favorite recipe or store-bought. Make sure it's completely chilled for clean slices.
1 cup (240 ml) heavy whipping cream
For the whipped cream rosettes. Use cold cream for best results; substitute with coconut cream for a dairy-free option.
2 tablespoons (30 g) powdered sugar
To sweeten the whipped cream. You can also use granulated sugar, but powdered dissolves faster.
1 teaspoon vanilla extract
Pure vanilla adds depth. Use imitation vanilla if that's what you have.
1/2 cup (120 g) semisweet chocolate chips
For the drizzle. Dark or milk chocolate also works; use dairy-free chips for a vegan version.
1 tablespoon (15 ml) coconut oil or vegetable oil
Helps the chocolate drizzle stay smooth. Use refined coconut oil to avoid coconut flavor.
1 pint (about 300 g) fresh strawberries, hulled and halved
Use ripe, fragrant strawberries. If they're out of season, use raspberries or blackberries.
1/2 cup (75 g) fresh blueberries
Tiny wild blueberries are extra sweet. Frozen berries can be used but thaw and pat dry first.
Fresh mint leaves, for garnish
Adds a pop of green. If you don't have mint, use edible flowers or lemon zest.
Tips & Tricks
- Make sure your cheesecake is completely chilled before decorating. A warm cake will melt the whipped cream and chocolate.
- When whipping cream, chill the bowl and beaters in the freezer for 5 minutes before starting. This helps it whip faster and hold its shape.
- If your chocolate drizzle is too thick, add a little more oil. If it's too thin, let it cool for a few minutes to thicken.
Pro Tips
Step-by-Step Instructions
1. Whip the Cream
In a chilled bowl, beat the heavy cream, powdered sugar, and vanilla until stiff peaks form. This takes about 3-4 minutes. The cream should hold its shape when you lift the whisk.
2. Prepare the Chocolate
Melt the chocolate chips and oil in a microwave-safe bowl in 30-second bursts, stirring between each, until smooth. Set aside to cool slightly for 5 minutes.
3. Pipe the Rosettes
Transfer the whipped cream to a piping bag fitted with a star tip. Pipe rosettes around the top edge of the cheesecake, spacing them about 1 inch apart. Start from the center and swirl outward.
4. Add the Berries
Place a strawberry half between each rosette, and scatter blueberries in the center of the cake. Press them gently into the cream so they stay put.
5. Drizzle the Chocolate
Using a spoon or a piping bag, drizzle the melted chocolate in a zigzag pattern over the berries and cream. Work quickly before it sets.
6. Garnish with Mint
Tuck fresh mint leaves between the berries and rosettes for a fresh, green accent. Chill the cake for 30 minutes to set the chocolate before serving.
Delicious Variations
- Use a mix of raspberries and blackberries for a berry medley.
- Swap the chocolate drizzle for caramel sauce and top with sea salt.
- Add a sprinkle of crushed pistachios or toasted almonds for crunch.
How to Store Cheese Cake Decorating Idea
Refrigerator
Store in the fridge for up to 3 days, covered loosely with plastic wrap. The berries may weep slightly, but it will still taste great.
Freezer
Freeze the undecorated cheesecake for up to 2 months. Wrap tightly in plastic wrap and foil. Thaw in the fridge overnight before decorating.
Reheating
No reheating needed—serve chilled. If the chocolate drizzle hardens, let the cheesecake sit at room temperature for 10 minutes.
Frequently Asked Questions
Q: Can I use frozen berries for decorating?
Yes, but thaw them and pat them dry with paper towels to remove excess moisture, which can make the cream runny.
Q: How do I get clean chocolate drips?
Let the melted chocolate cool for 5-10 minutes until it's slightly thickened but still pourable. Test on a plate first—if it runs too fast, wait a bit longer.
Q: Can I make this ahead of time?
Yes, you can decorate the cheesecake up to 24 hours in advance. Store it in the fridge, but add the mint leaves just before serving to keep them fresh.
Q: What if I don't have a piping bag?
Use a zip-top bag with a corner snipped off, or simply spoon dollops of whipped cream with a spoon for a rustic look.
I hope you love this decorating idea! Try it on your next cheesecake and let me know how it turns out. Share your creation with me on Instagram @MayaChenBakes. Happy growing!
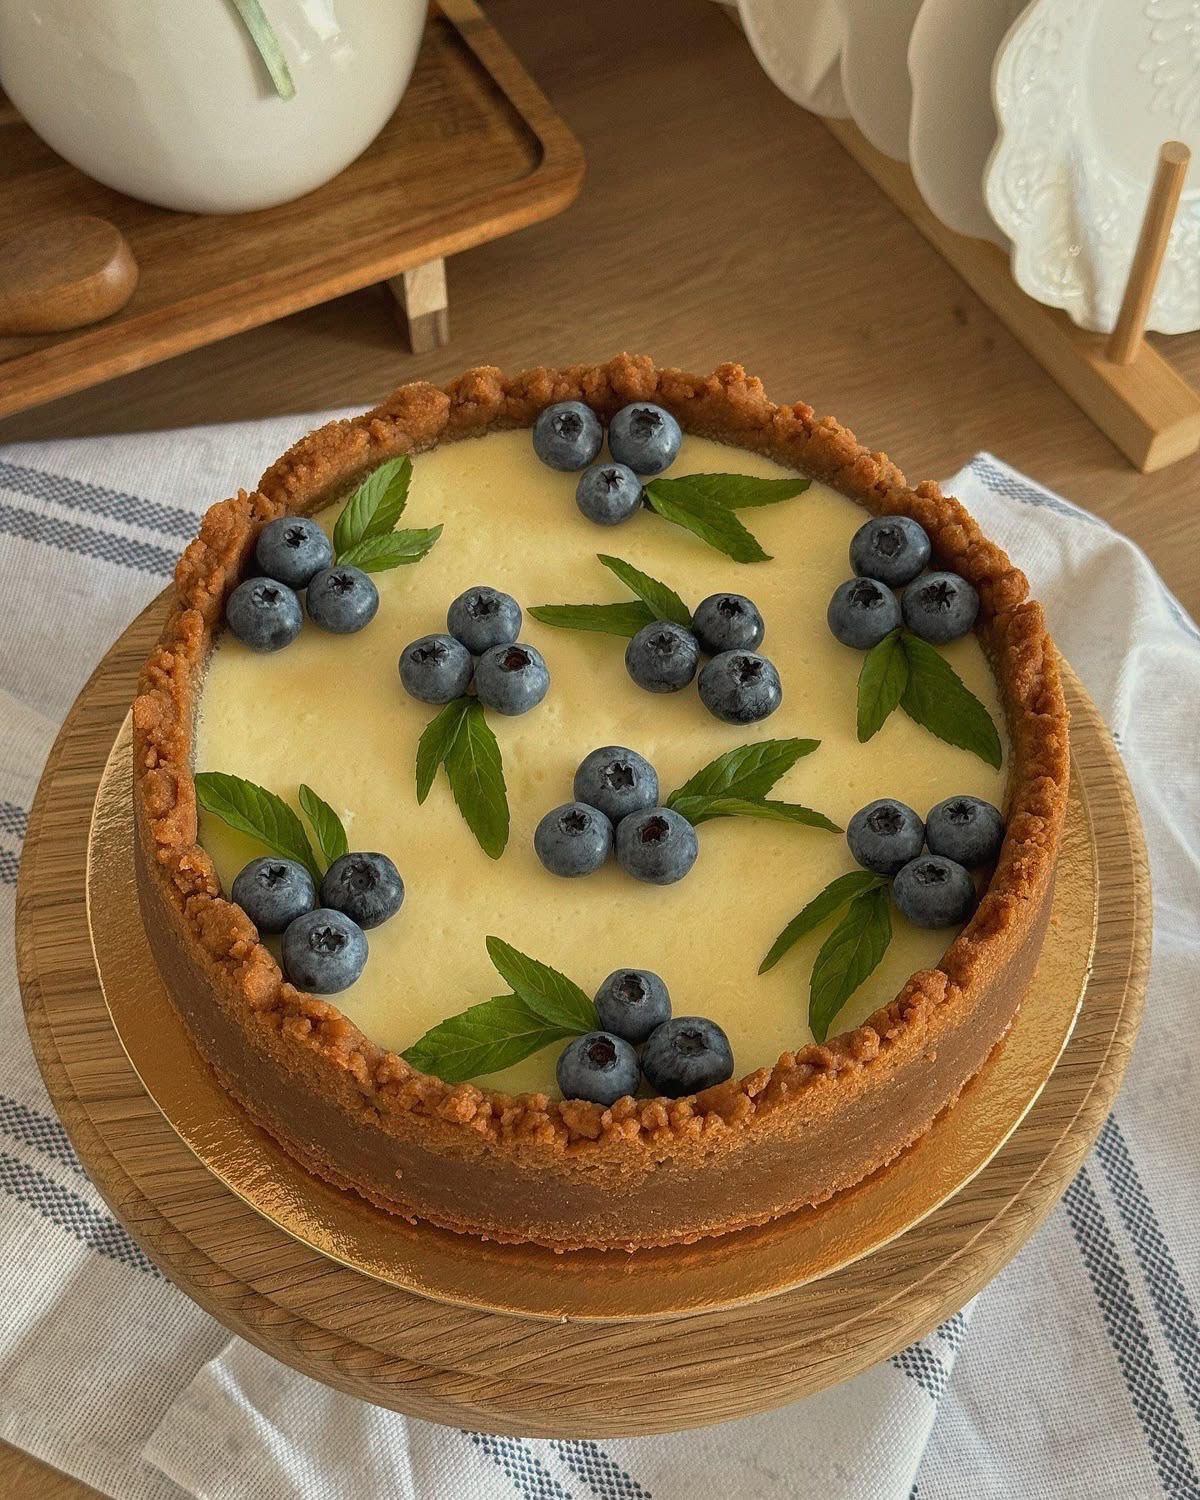
Cheese Cake Decorating Idea
Learn a gorgeous cheesecake decorating idea with fresh berries and chocolate drizzle. Impress guests in minutes!
🧂 Ingredients
- 1 (9-inch) fully baked and cooled cheesecake
- 1 cup (240 ml) heavy whipping cream
- 2 tablespoons (30 g) powdered sugar
- 1 teaspoon vanilla extract
- 1/2 cup (120 g) semisweet chocolate chips
- 1 tablespoon (15 ml) coconut oil or vegetable oil
- 1 pint (about 300 g) fresh strawberries, hulled and halved
- 1/2 cup (75 g) fresh blueberries
- Fresh mint leaves, for garnish
📋 Instructions
- 1Whip the Cream — In a chilled bowl, beat the heavy cream, powdered sugar, and vanilla until stiff peaks form. This takes about 3-4 minutes. The cream should hold its shape when you lift the whisk.
- 2Prepare the Chocolate — Melt the chocolate chips and oil in a microwave-safe bowl in 30-second bursts, stirring between each, until smooth. Set aside to cool slightly for 5 minutes.
- 3Pipe the Rosettes — Transfer the whipped cream to a piping bag fitted with a star tip. Pipe rosettes around the top edge of the cheesecake, spacing them about 1 inch apart. Start from the center and swirl outward.
- 4Add the Berries — Place a strawberry half between each rosette, and scatter blueberries in the center of the cake. Press them gently into the cream so they stay put.
- 5Drizzle the Chocolate — Using a spoon or a piping bag, drizzle the melted chocolate in a zigzag pattern over the berries and cream. Work quickly before it sets.
- 6Garnish with Mint — Tuck fresh mint leaves between the berries and rosettes for a fresh, green accent. Chill the cake for 30 minutes to set the chocolate before serving.

Maya writes about urban gardening and sustainable living, focusing on small-space solutions and budget-friendly projects. She shares practical tips for growing food in apartments and balconies.