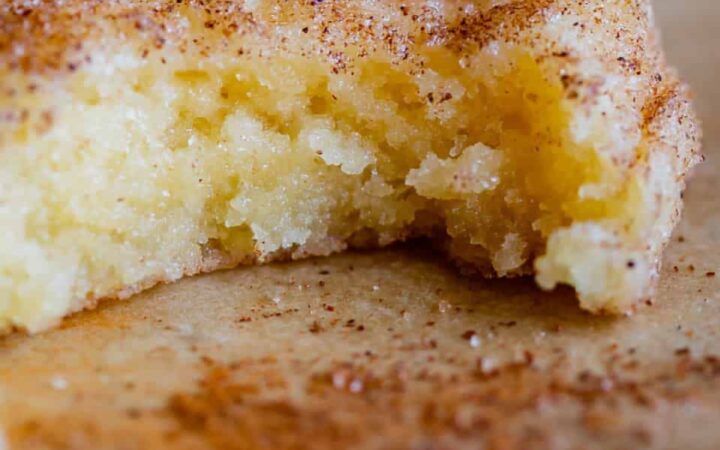
I remember the first time I tried to make fancy cookies for a bake sale. I was young, broke, and my kitchen was a tiny apartment with a wobbly counter. I swore I'd never fuss with rolling out dough and cutting shapes again. That's when I discovered the beauty of slice-and-bake: you shape the log, chill it, slice it, and bake. No rolling pin, no mess, no stress.
Advertisements1
This recipe takes that idea and kicks it up a notch with a colorful design right in the center. It's a showstopper that looks like you spent hours, but honestly, the hardest part is just waiting for the dough to chill. And the best part? You can make the logs ahead, freeze them, and bake fresh cookies whenever the craving hits.
I've tested this dough over and over to get the perfect texture: crisp at the edges, slightly chewy in the center, and sturdy enough to hold the design without spreading into a blob. Trust me, if you can roll a log and use a knife, you've got this.
Why You'll Love This Recipe
About the Ingredients
1 cup (226g) unsalted butter, softened
Use real butter for the best flavor and texture. If you use salted, reduce the added salt to 1/4 teaspoon.
1 cup (200g) granulated sugar
Regular white sugar works best. You can use caster sugar for a finer texture, but it's not necessary.
1 large egg
Bring it to room temperature for easier mixing. If you're out, you can use a flax egg (1 tbsp flaxseed + 3 tbsp water) but the texture will be slightly different.
2 teaspoons vanilla extract
Pure vanilla extract gives the best flavor. You can substitute almond extract for a different twist.
2 cups (250g) all-purpose flour
Measure by spooning and leveling. For a gluten-free version, use a 1:1 gluten-free flour blend.
1/2 teaspoon baking powder
This helps the cookies puff slightly. You can omit it for a denser cookie, but they'll be less tender.
1/2 teaspoon salt
Fine sea salt is best. If using table salt, reduce to 1/4 teaspoon.
Gel food coloring (red, blue, yellow, green, purple)
Gel colors are concentrated and won't affect the dough's consistency. You can use any colors you like; liquid food coloring will work but may make the dough stickier.
Tips & Tricks
- Chill the dough log for at least 4 hours, or overnight, for clean, sharp slices. If you're in a hurry, pop it in the freezer for 1 hour.
- Use a sharp, thin-bladed knife to slice the cookies. Dip the knife in hot water and wipe it dry between cuts for the cleanest edges.
- If the dough cracks when slicing, let it sit at room temperature for 5-10 minutes to soften slightly. Don't let it get too soft or it will lose its shape.
- For uniform cookies, roll the log into a perfect cylinder and mark the top with a light score line before slicing.
Pro Tips
Step-by-Step Instructions
1. Cream Butter and Sugar
In a large bowl, beat the softened butter and sugar with an electric mixer on medium speed until light and fluffy, about 2-3 minutes. Scrape down the bowl. Add the egg and vanilla, and beat until combined, about 1 minute.
2. Mix Dry Ingredients
In a separate bowl, whisk together the flour, baking powder, and salt. Gradually add the dry mixture to the wet ingredients, mixing on low until just combined. Do not overmix, or the cookies will be tough.
3. Divide and Color Dough
Divide the dough into 5 equal portions. Use a kitchen scale for accuracy. Tint each portion with a different gel food coloring, kneading until the color is uniform. Wrap each in plastic wrap and chill for 30 minutes.
4. Shape the Log
On a lightly floured surface, roll each colored dough into a rope about 1 inch (2.5 cm) in diameter. Lay the ropes side by side and press them together gently. Roll the combined block into a single log about 1.5 inches (4 cm) in diameter. Wrap in plastic and chill for at least 4 hours or overnight.
5. Preheat and Slice
Preheat your oven to 350°F (175°C). Line a baking sheet with parchment paper. Slice the chilled log into 1/4-inch (6 mm) thick rounds. Place them 2 inches (5 cm) apart on the baking sheet.
6. Bake to Perfection
Bake for 10-12 minutes, or until the edges are just golden brown. The centers will look slightly underdone, but they'll set as they cool. Rotate the pan halfway through for even baking.
7. Cool and Serve
Let the cookies cool on the baking sheet for 5 minutes, then transfer to a wire rack to cool completely. Enjoy with a cold glass of milk!
Delicious Variations
Chocolate Swirl
Replace 1/4 cup of flour with cocoa powder and tint the dough with brown food coloring for a chocolatey twist.
Citrus Zest
Add 1 tablespoon of orange or lemon zest to the dough for a bright, refreshing flavor.
Sprinkle Party
Roll the finished log in colorful sprinkles before chilling for a festive crunch.
How to Store Slice And Bake Design Cookies
Refrigerator
Store baked cookies in an airtight container at room temperature for up to 1 week. The unbaked dough log can be refrigerated for up to 3 days.
Freezer
Wrap the unbaked log tightly in plastic wrap and then foil. Freeze for up to 3 months. Thaw in the refrigerator overnight before slicing and baking.
Reheating
To refresh baked cookies, warm them in a 300°F (150°C) oven for 3-5 minutes. Do not microwave, as they'll become soggy.
Frequently Asked Questions
Q: Why do my slice-and-bake cookies spread too much?
The most common cause is dough that's too warm. Make sure your log is thoroughly chilled (at least 4 hours) and slice it straight from the fridge. Also, don't overmix the dough, as that can develop gluten and cause spreading.
Q: Can I use liquid food coloring instead of gel?
Yes, but liquid coloring adds extra moisture, which can alter the dough's consistency. You may need to add a little more flour to compensate. Gel coloring is preferred because it's concentrated and doesn't affect the texture.
Q: How do I get clean, sharp slices without the design smudging?
Use a very sharp knife and slice with a single, smooth motion. Dip the knife in hot water and wipe it dry between cuts. Also, keep the log well-chilled; if it softens, pop it back in the freezer for 15 minutes.
Q: Can I make the dough ahead and freeze it?
Absolutely! Shape the log, wrap it tightly in plastic wrap and foil, and freeze for up to 3 months. When ready to bake, thaw it in the refrigerator overnight, then slice and bake as directed.
Ready to wow your friends and family? Grab your butter and food coloring, and let's get baking. These cookies are sure to become a favorite in your kitchen. Happy baking, and keep exploring!

Slice And Bake Design Cookies
Slice and bake design cookies with vibrant swirls and crisp edges, ready in under an hour for a fun, impressive treat.
🧂 Ingredients
- 1 cup (226g) unsalted butter, softened
- 1 cup (200g) granulated sugar
- 1 large egg
- 2 teaspoons vanilla extract
- 2 cups (250g) all-purpose flour
- 1/2 teaspoon baking powder
- 1/2 teaspoon salt
- Gel food coloring (red, blue, yellow, green, purple)
📋 Instructions
- 1Cream Butter and Sugar — In a large bowl, beat the softened butter and sugar with an electric mixer on medium speed until light and fluffy, about 2-3 minutes. Scrape down the bowl. Add the egg and vanilla, and beat until combined, about 1 minute.
- 2Mix Dry Ingredients — In a separate bowl, whisk together the flour, baking powder, and salt. Gradually add the dry mixture to the wet ingredients, mixing on low until just combined. Do not overmix, or the cookies will be tough.
- 3Divide and Color Dough — Divide the dough into 5 equal portions. Use a kitchen scale for accuracy. Tint each portion with a different gel food coloring, kneading until the color is uniform. Wrap each in plastic wrap and chill for 30 minutes.
- 4Shape the Log — On a lightly floured surface, roll each colored dough into a rope about 1 inch (2.5 cm) in diameter. Lay the ropes side by side and press them together gently. Roll the combined block into a single log about 1.5 inches (4 cm) in diameter. Wrap in plastic and chill for at least 4 hours or overnight.
- 5Preheat and Slice — Preheat your oven to 350°F (175°C). Line a baking sheet with parchment paper. Slice the chilled log into 1/4-inch (6 mm) thick rounds. Place them 2 inches (5 cm) apart on the baking sheet.
- 6Bake to Perfection — Bake for 10-12 minutes, or until the edges are just golden brown. The centers will look slightly underdone, but they'll set as they cool. Rotate the pan halfway through for even baking.
- 7Cool and Serve — Let the cookies cool on the baking sheet for 5 minutes, then transfer to a wire rack to cool completely. Enjoy with a cold glass of milk!