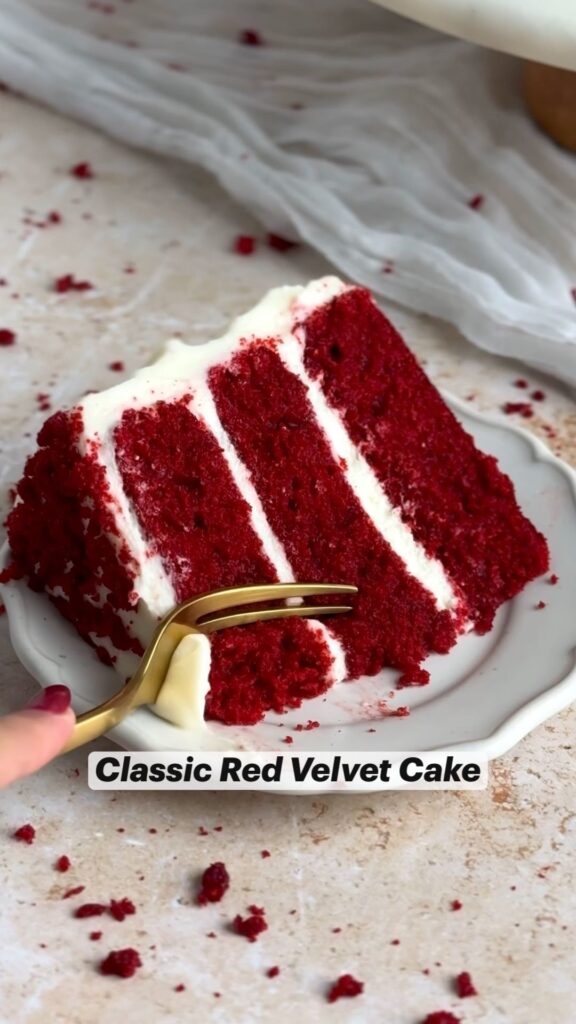
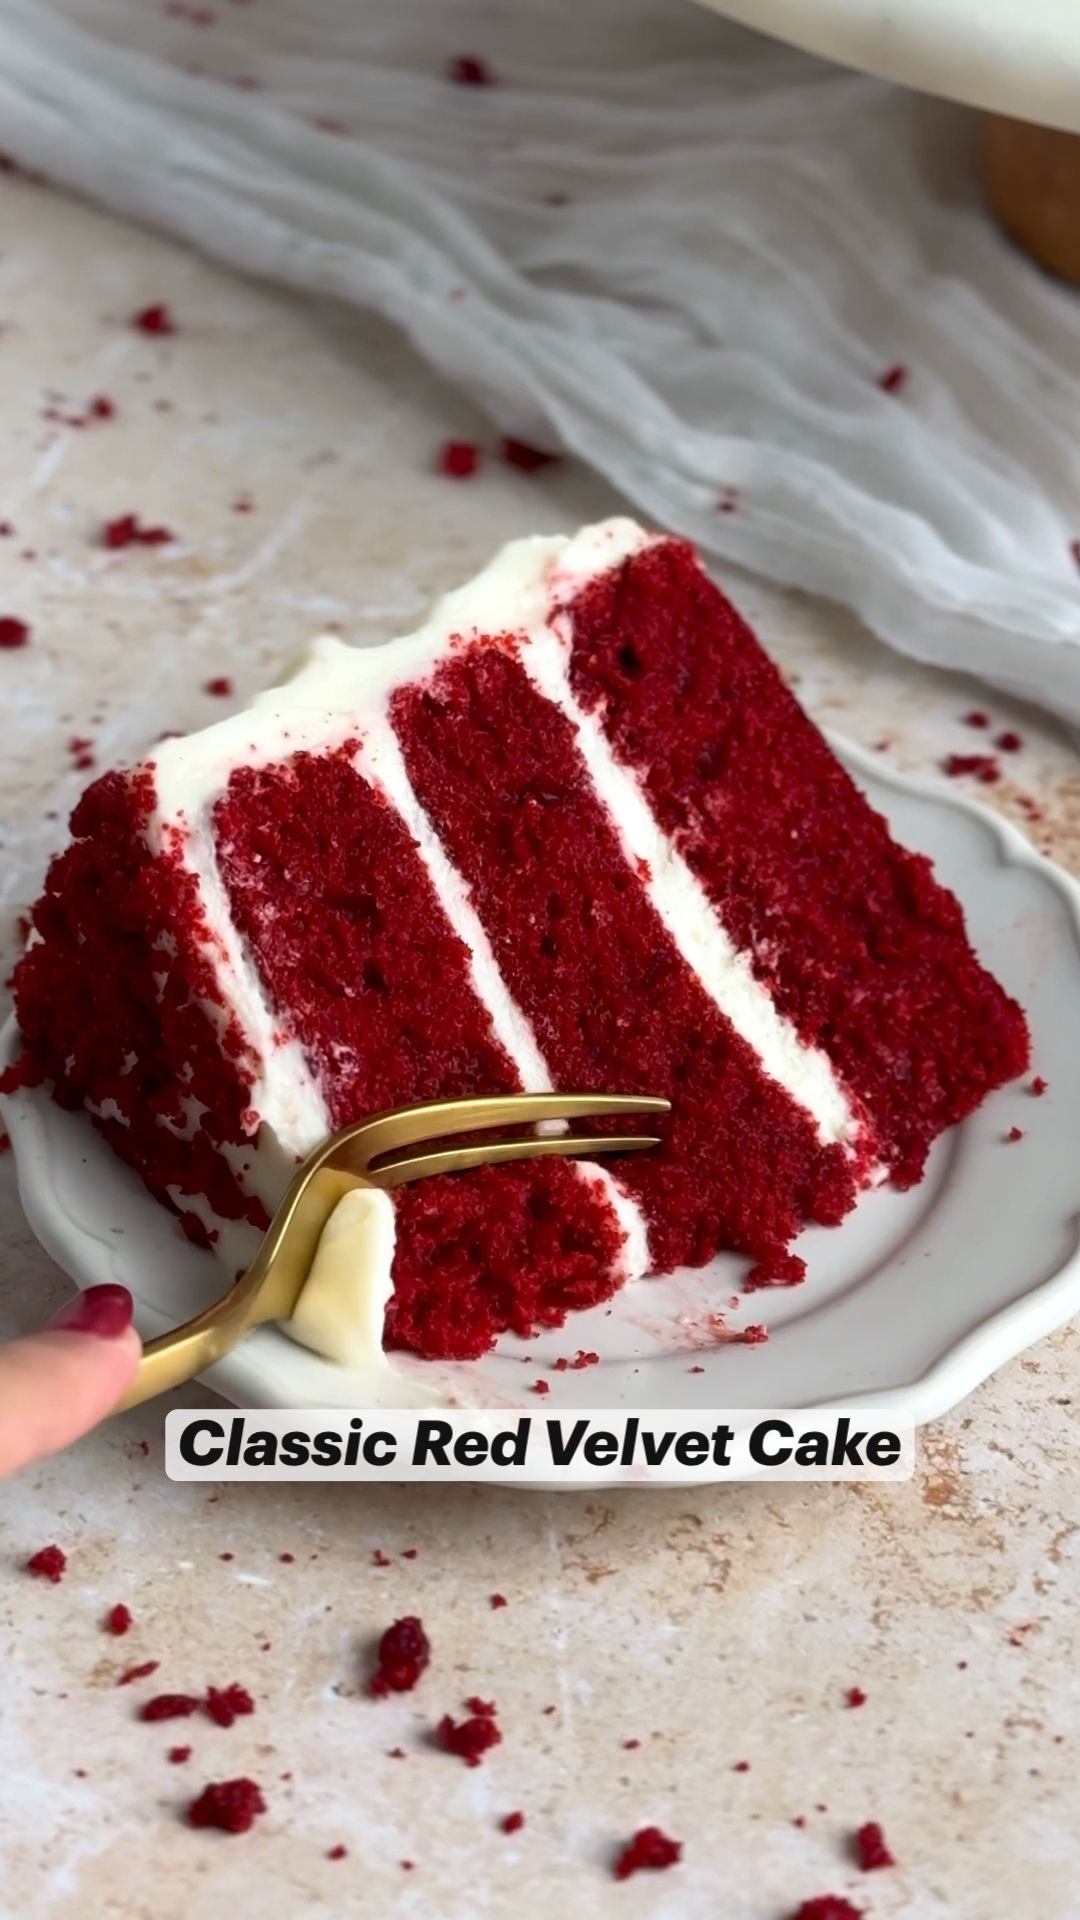
Welcome to my kitchen! Today, I'm sharing my meticulously crafted red velvet cake recipe. This is the cake that has graced countless birthdays, anniversaries, and Sunday dinners in my home. It's a cake that demands attention with its striking crimson hue and elegant cream cheese frosting.
Advertisements1
What sets this red velvet apart is its perfect balance of flavors and textures. The cake itself is moist and tender, with a subtle hint of cocoa and a gentle tang from buttermilk. The cream cheese frosting is luxuriously smooth and not overly sweet, providing the ideal counterpoint to the rich cake.
I've spent years perfecting this recipe, testing every variable from the type of cocoa to the mixing method. The result is a foolproof cake that even beginner bakers can master. So, let's roll up our sleeves and create something beautiful together.
Why You'll Love This Recipe
About the Ingredients
2 1/2 cups (300g) cake flour
Cake flour gives a tender crumb. If you don't have it, substitute 2 cups + 2 tbsp all-purpose flour with 2 tbsp cornstarch.
1 tsp baking soda
Ensure it's fresh for proper leavening. Test by adding a pinch to vinegar – it should fizz.
1 tsp salt
Use fine sea salt for even distribution.
2 tbsp (15g) unsweetened cocoa powder
Dutch-processed cocoa gives a deeper flavor, but natural works too.
1/2 cup (113g) unsalted butter, softened
Room temperature butter creams better. If you only have salted, reduce added salt to 1/2 tsp.
1 1/2 cups (300g) granulated sugar
Regular white sugar is fine; organic cane sugar also works.
2 large eggs, room temperature
Room temperature eggs emulsify better. Place cold eggs in warm water for 5 minutes.
1 cup (240ml) buttermilk, room temperature
Buttermilk adds tang and activates baking soda. No buttermilk? Add 1 tbsp lemon juice to 1 cup milk, let sit 5 minutes.
1 tbsp red gel food coloring
Gel color gives vibrant red without thinning batter. If using liquid, add 2 tbsp and reduce buttermilk by 2 tbsp.
1 tsp white vinegar
Vinegar reacts with baking soda for lift. Use plain white vinegar, not apple cider.
1 tsp vanilla extract
Pure vanilla adds depth. Imitation works but use 1/2 tsp more.
Tips & Tricks
- Use cake flour for the tenderest crumb; if you don't have it, the cornstarch substitute works perfectly.
- Ensure all ingredients are at room temperature to avoid a curdled batter.
- Don't overmix the batter once you add the dry ingredients – mix just until combined to keep the cake tender.
- Use a kitchen scale for accurate measurements, especially for flour.
Pro Tips
Step-by-Step Instructions
1. Preheat and Prep
Preheat your oven to 350°F (175°C). Grease and flour two 9-inch round cake pans, or line the bottoms with parchment paper. This ensures your cakes release cleanly.
2. Whisk Dry Ingredients
In a medium bowl, whisk together the cake flour, baking soda, salt, and cocoa powder. This aerates the flour and evenly distributes the leavening agents.
3. Cream Butter and Sugar
In a large bowl, beat the softened butter and sugar with an electric mixer on medium speed until light and fluffy, about 3-4 minutes. Scrape down the sides as needed.
4. Add Eggs and Vanilla
Beat in the eggs one at a time, mixing well after each addition. Stir in the vanilla extract. The mixture should look smooth and glossy.
5. Combine Wet Ingredients
In a small bowl, mix the buttermilk, red food coloring, and vinegar. This ensures the color is evenly distributed.
6. Alternate Additions
With the mixer on low, add the dry ingredients in three additions, alternating with the buttermilk mixture, starting and ending with dry. Mix just until combined – do not overmix.
7. Divide and Bake
Divide the batter evenly between the prepared pans. Smooth the tops. Bake for 30-35 minutes, until a toothpick inserted in the center comes out with a few moist crumbs, and the tops spring back when lightly pressed. The internal temperature should read 200-205°F (93-96°C).
8. Cool the Cakes
Let cakes cool in the pans for 10 minutes, then turn out onto a wire rack to cool completely. This prevents sticking and ensures even cooling.
9. Frost and Assemble
Once completely cool, level the tops if needed. Spread a layer of cream cheese frosting between the layers, then frost the top and sides. Decorate as desired.
Delicious Variations
Red Velvet Cupcakes
Bake in lined muffin tins for 18-20 minutes at 350°F (175°C). Makes about 24 cupcakes.
Chocolate Red Velvet
Increase cocoa powder to 3 tbsp for a richer chocolate flavor.
Vegan Red Velvet
Use plant-based butter, flax eggs (1 tbsp ground flax + 3 tbsp water per egg), and almond milk with lemon juice as buttermilk.
How to Store Red Velvet Cake Recipe
Refrigerator
Store in an airtight container in the refrigerator for up to 5 days. Bring to room temperature before serving for best flavor.
Freezer
Wrap unfrosted cake layers tightly in plastic wrap and foil. Freeze for up to 3 months. Thaw overnight in the fridge before frosting.
Reheating
For a warm slice, microwave on high for 10-15 seconds. This revives the moistness.
Frequently Asked Questions
Q: Why is my red velvet cake not red enough?
The most common cause is using liquid food coloring instead of gel. Gel colors are much more concentrated. Also, the color deepens as the cake bakes, so don't panic if the batter looks too light. Use the full tablespoon of gel for a vibrant red.
Q: Can I make this cake without buttermilk?
Yes, you can make a buttermilk substitute by adding 1 tablespoon of lemon juice or white vinegar to 1 cup of milk. Let it sit for 5 minutes until it curdles. This provides the necessary acidity for the cake's texture and tang.
Q: How do I know when the cake is done?
The cake is done when a toothpick inserted in the center comes out with a few moist crumbs, not wet batter. Additionally, the top should spring back when lightly pressed, and the internal temperature should read 200-205°F (93-96°C) for perfect doneness.
Q: Can I use all-purpose flour instead of cake flour?
Yes, you can substitute all-purpose flour, but the cake will be slightly denser. To mimic cake flour, remove 2 tablespoons of all-purpose flour from each cup and replace with 2 tablespoons of cornstarch. Sift together to combine.
I hope you enjoy baking this red velvet cake as much as I do. It's a labor of love that pays off with every delicious bite. If you try it, let me know how it turns out in the comments below – happy baking!
Red Velvet Cake Recipe
Make the best red velvet cake with a moist, tender crumb and tangy cream cheese frosting. This easy homemade recipe is perfect for any celebration.
🧂 Ingredients
- 2 1/2 cups (300g) cake flour
- 1 tsp baking soda
- 1 tsp salt
- 2 tbsp (15g) unsweetened cocoa powder
- 1/2 cup (113g) unsalted butter, softened
- 1 1/2 cups (300g) granulated sugar
- 2 large eggs, room temperature
- 1 cup (240ml) buttermilk, room temperature
- 1 tbsp red gel food coloring
- 1 tsp white vinegar
- 1 tsp vanilla extract
📋 Instructions
- 1Preheat and Prep — Preheat your oven to 350°F (175°C). Grease and flour two 9-inch round cake pans, or line the bottoms with parchment paper. This ensures your cakes release cleanly.
- 2Whisk Dry Ingredients — In a medium bowl, whisk together the cake flour, baking soda, salt, and cocoa powder. This aerates the flour and evenly distributes the leavening agents.
- 3Cream Butter and Sugar — In a large bowl, beat the softened butter and sugar with an electric mixer on medium speed until light and fluffy, about 3-4 minutes. Scrape down the sides as needed.
- 4Add Eggs and Vanilla — Beat in the eggs one at a time, mixing well after each addition. Stir in the vanilla extract. The mixture should look smooth and glossy.
- 5Combine Wet Ingredients — In a small bowl, mix the buttermilk, red food coloring, and vinegar. This ensures the color is evenly distributed.
- 6Alternate Additions — With the mixer on low, add the dry ingredients in three additions, alternating with the buttermilk mixture, starting and ending with dry. Mix just until combined – do not overmix.
- 7Divide and Bake — Divide the batter evenly between the prepared pans. Smooth the tops. Bake for 30-35 minutes, until a toothpick inserted in the center comes out with a few moist crumbs, and the tops spring back when lightly pressed. The internal temperature should read 200-205°F (93-96°C).
- 8Cool the Cakes — Let cakes cool in the pans for 10 minutes, then turn out onto a wire rack to cool completely. This prevents sticking and ensures even cooling.
- 9Frost and Assemble — Once completely cool, level the tops if needed. Spread a layer of cream cheese frosting between the layers, then frost the top and sides. Decorate as desired.

Jonas writes about home renovation and woodworking, focusing on DIY projects that are achievable for beginners. He emphasizes careful planning and using simple tools to create lasting results.