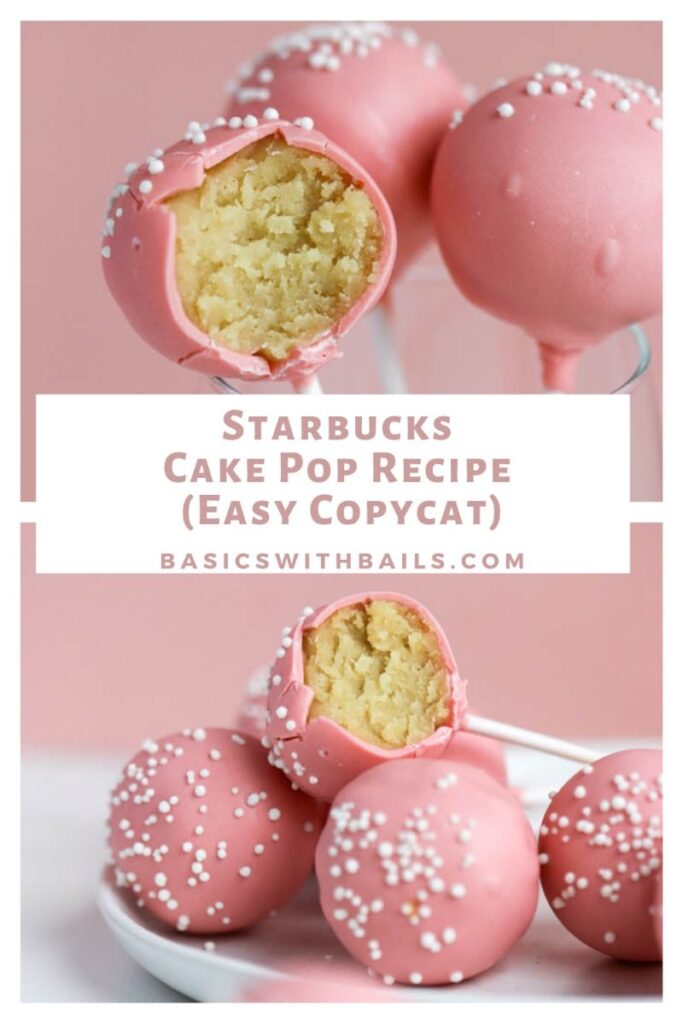
Welcome to the world of cake pops, where every bite is a tiny celebration! I'm Diego, and today we're shaking up the classic with six flavor-packed variations that'll make your taste buds do the salsa.
Advertisements1
From zesty lemon to dreamy cookies and cream, these little pops are perfect for parties, gifting, or just because you deserve a treat. And guess what? They're way easier than you think—no fancy equipment needed.
So grab your mixing bowl, preheat that oven, and let's get our hands dirty with some seriously delicious cake pop adventures!
Why You'll Love This Recipe
About the Ingredients
1 box (15.25 oz / 432g) vanilla cake mix, plus ingredients called for on box (eggs, oil, water)
Use your favorite brand. For a richer flavor, substitute a white cake mix. You can also use a homemade vanilla cake recipe if you prefer.
1 cup (240g) cream cheese frosting, store-bought or homemade
Cream cheese frosting adds a tangy richness that balances the sweet coating. Swap for vanilla buttercream if you like.
1/2 cup (120ml) heavy cream
Heavy cream helps bind the cake crumbs. You can use milk instead, but the pops will be a bit softer.
2 cups (340g) candy melts (white, milk chocolate, or colored), melted
Candy melts are ideal for dipping because they set firmly. You can also use chocolate chips mixed with a teaspoon of coconut oil for a smoother melt.
1/4 cup (30g) sprinkles or other decorations
Use festive sprinkles, crushed nuts, or shredded coconut for topping. Get creative!
For flavor variations: lemon zest, cocoa powder, crushed cookies, peanut butter, strawberry jam, or espresso powder
These are the stars of the show! Pick your favorites from the variations below.
Tips & Tricks
- Make sure your cake is completely cooled before crumbling; otherwise, the mixture will be too sticky.
- Don't overmix the cake and frosting—you want a cohesive dough, not a paste.
- Chill the pops thoroughly before dipping (at least 30 minutes) to prevent them from falling off the sticks.
- If the coating is too thick, add a teaspoon of coconut oil to thin it out.
Pro Tips
Step-by-Step Instructions
1. Bake the Cake
Prepare the cake mix according to package directions. Bake in a 9×13-inch pan at 350°F (175°C) for 25-30 minutes, until a toothpick inserted in the center comes out clean and the edges are golden brown. Let cool completely.
2. Crumble the Cake
Crumble the cooled cake into fine crumbs in a large bowl. Make sure there are no large chunks—this ensures a smooth texture.
3. Mix the Dough
Add the frosting and heavy cream to the crumbs. Mix with your hands or a spatula until the mixture holds together like dough. If it's too dry, add a bit more cream; if too wet, add more crumbs.
4. Add Flavor Variations
Divide the dough into 6 equal portions. To each, fold in your chosen flavor (e.g., 1 tablespoon cocoa powder, 1/2 teaspoon lemon zest, 2 tablespoons crushed cookies, 1 tablespoon peanut butter, 1 tablespoon strawberry jam, or 1 teaspoon espresso powder).
5. Form the Balls
Roll the dough into 1-inch balls (about 1 tablespoon each) and place on a baking sheet lined with parchment paper. You should get about 24 pops. Insert a lollipop stick into each ball, pushing halfway through.
6. Chill the Pops
Refrigerate the pops for at least 30 minutes, or freeze for 10 minutes, until firm. This is crucial for dipping.
7. Melt the Coating
Melt the candy melts in a microwave-safe bowl in 30-second intervals, stirring between, until smooth. For a thinner consistency, add 1 teaspoon of coconut oil.
8. Dip and Decorate
Dip each pop into the melted coating, covering the entire ball. Gently tap off excess. Immediately add sprinkles or other decorations before the coating sets. Place upright in a foam block or glass to dry.
9. Let Them Set
Allow the pops to set completely at room temperature, about 10-15 minutes. Then they're ready to enjoy!
Delicious Variations
Lemon Dream
Add 1/2 teaspoon lemon zest and 1 tablespoon lemon juice to the dough. Dip in white coating and top with yellow sprinkles.
Chocolate Lover
Add 2 tablespoons cocoa powder and 1/4 cup mini chocolate chips. Dip in milk chocolate coating and drizzle with white chocolate.
Cookies and Cream
Fold in 1/2 cup crushed chocolate sandwich cookies. Dip in white coating and sprinkle with crushed cookie crumbs.
Peanut Butter Cup
Mix in 1/4 cup peanut butter and 1/4 cup chopped peanut butter cups. Dip in chocolate coating and top with chopped peanuts.
Strawberry Shortcake
Swirl in 1/4 cup strawberry jam. Dip in pink coating and top with dried strawberry bits.
Mocha Espresso
Add 1 teaspoon instant espresso powder and 1/2 teaspoon cocoa powder. Dip in dark chocolate coating and sprinkle with espresso sugar.
How to Store Cake Pop Flavors
Refrigerator
Store in an airtight container in the fridge for up to 5 days. Place a layer of parchment paper between layers to prevent sticking.
Freezer
Freeze undecorated pops on a baking sheet for 1 hour, then transfer to a zip-top bag. They keep for up to 2 months. Thaw in the fridge before dipping.
Reheating
These are best enjoyed at room temperature. If refrigerated, let them sit out for 10 minutes before serving.
Frequently Asked Questions
Q: How do I keep cake pops from falling off the sticks?
Dip the tip of the stick into the melted coating before inserting it into the ball—this acts as glue. Also, make sure the pops are well chilled before dipping.
Q: Can I use a cake mix instead of baking from scratch?
Absolutely! A boxed mix works perfectly and saves time. Just follow the package instructions and let the cake cool completely before crumbling.
Q: How far in advance can I make cake pops?
You can make them up to 3 days ahead and store them in the fridge. For longer storage, freeze the uncoated pops for up to 2 months.
Q: Can I use chocolate chips instead of candy melts?
Yes, but add 1 teaspoon of coconut oil per cup of chips to help them melt smoothly and set properly.
Q: How do I get a smooth coating on cake pops?
Thin the coating with a little coconut oil, dip the pop fully, and gently tap off excess. Don't swirl too much—just let it drip.
Ready to get your hands dirty? Whip up a batch of these cake pop flavors and let me know which one is your favorite in the comments below!
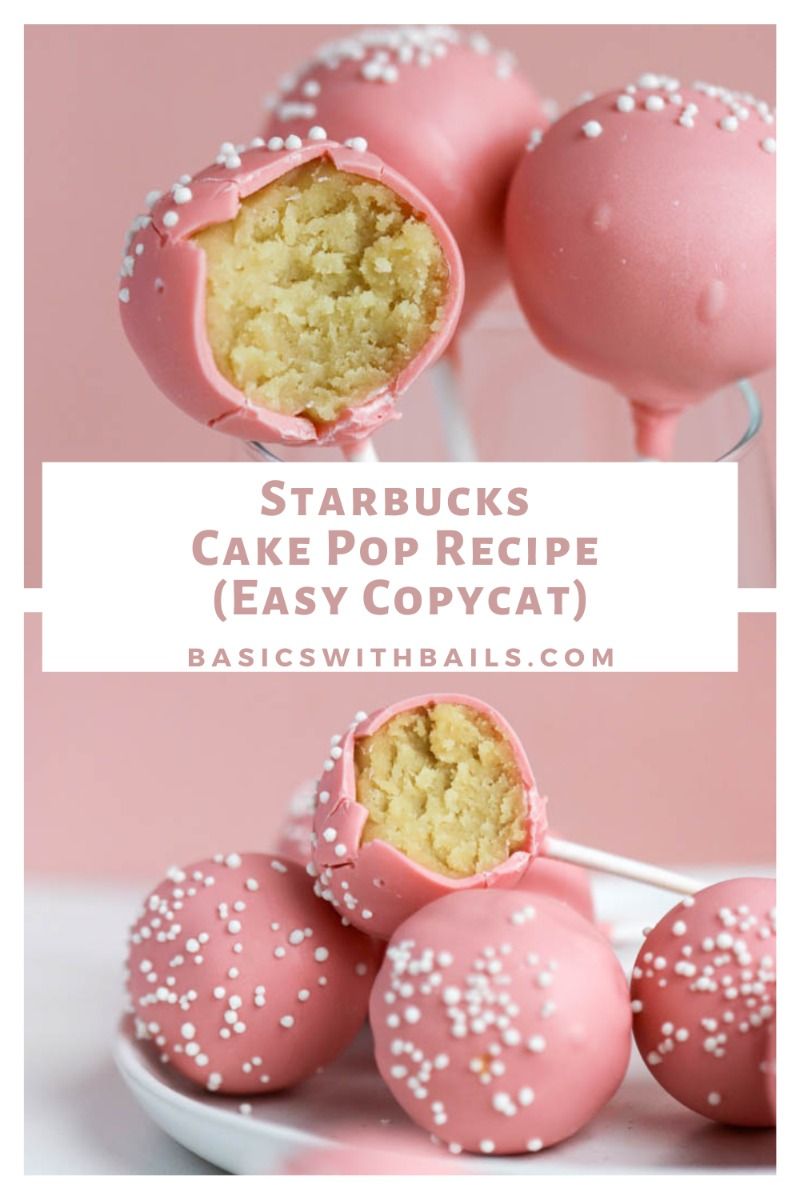
Cake Pop Flavors
Discover 6 irresistible cake pop flavors made easy at home. Perfect for parties and snacking!
🧂 Ingredients
- 1 box (15.25 oz / 432g) vanilla cake mix, plus ingredients called for on box (eggs, oil, water)
- 1 cup (240g) cream cheese frosting, store-bought or homemade
- 1/2 cup (120ml) heavy cream
- 2 cups (340g) candy melts (white, milk chocolate, or colored), melted
- 1/4 cup (30g) sprinkles or other decorations
- For flavor variations: lemon zest, cocoa powder, crushed cookies, peanut butter, strawberry jam, or espresso powder
📋 Instructions
- 1Bake the Cake — Prepare the cake mix according to package directions. Bake in a 9×13-inch pan at 350°F (175°C) for 25-30 minutes, until a toothpick inserted in the center comes out clean and the edges are golden brown. Let cool completely.
- 2Crumble the Cake — Crumble the cooled cake into fine crumbs in a large bowl. Make sure there are no large chunks—this ensures a smooth texture.
- 3Mix the Dough — Add the frosting and heavy cream to the crumbs. Mix with your hands or a spatula until the mixture holds together like dough. If it's too dry, add a bit more cream; if too wet, add more crumbs.
- 4Add Flavor Variations — Divide the dough into 6 equal portions. To each, fold in your chosen flavor (e.g., 1 tablespoon cocoa powder, 1/2 teaspoon lemon zest, 2 tablespoons crushed cookies, 1 tablespoon peanut butter, 1 tablespoon strawberry jam, or 1 teaspoon espresso powder).
- 5Form the Balls — Roll the dough into 1-inch balls (about 1 tablespoon each) and place on a baking sheet lined with parchment paper. You should get about 24 pops. Insert a lollipop stick into each ball, pushing halfway through.
- 6Chill the Pops — Refrigerate the pops for at least 30 minutes, or freeze for 10 minutes, until firm. This is crucial for dipping.
- 7Melt the Coating — Melt the candy melts in a microwave-safe bowl in 30-second intervals, stirring between, until smooth. For a thinner consistency, add 1 teaspoon of coconut oil.
- 8Dip and Decorate — Dip each pop into the melted coating, covering the entire ball. Gently tap off excess. Immediately add sprinkles or other decorations before the coating sets. Place upright in a foam block or glass to dry.
- 9Let Them Set — Allow the pops to set completely at room temperature, about 10-15 minutes. Then they're ready to enjoy!

Diego writes about urban gardening and DIY projects for small spaces, turning balconies and windowsills into green retreats. He shares hands-on tips for beginners and seasoned growers alike.